Table of Contents
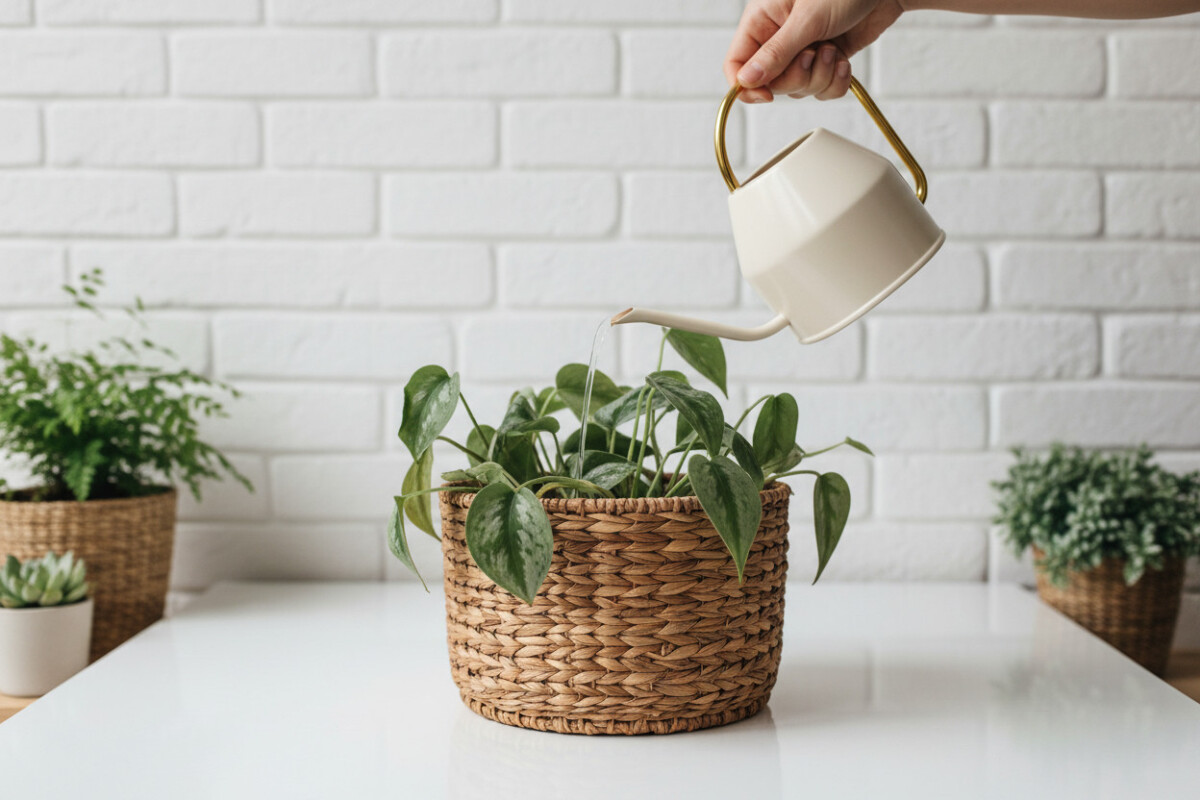
Overwatering doesn’t look dangerous at first.
In fact, it often feels like you’re doing the right thing.
You water regularly. You take care of your plant. You try not to let it dry out.
And then something starts to feel off.
Leaves turn yellow. The plant looks droopy, but the soil is still wet. Growth slows down. In some cases, the plant looks worse the more you water it.
That’s the confusing part.
Because the problem isn’t lack of care.
It’s too much care in the wrong way.
Over time, I realized something important:
overwatering is not just about water — it’s about oxygen.
And once roots lose access to air, everything else starts to fail.
What Really Happens When You Overwater a Plant
It’s easy to think plants love water.
But roots don’t just need water — they also need air.
When soil stays constantly wet:
- air pockets disappear
- roots can’t breathe
- harmful bacteria begin to grow
This leads to something much more serious:
root rot
And once that starts, the plant begins to decline from below the surface.
The problem is, you don’t see it immediately.
By the time leaves show symptoms, the roots are already struggling.
Early Signs of an Overwatered Plant
Catching it early makes a huge difference.
Some signs are subtle, others are more obvious.
Look for:
- yellowing leaves
- soft or mushy stems
- drooping even when soil is wet
- slow or no new growth
- soil that stays wet for days
One thing that confused me at first:
Overwatered plants can look like they need more water.
But watering again only makes things worse.
Step 1: Stop Watering Immediately
This is the most important step.
And also the simplest.
stop watering.
It sounds obvious, but it’s easy to panic and try to fix things by doing more.
At this stage, the plant doesn’t need water.
It needs time to recover.
Let the soil start drying naturally before doing anything else.
Step 2: Remove Excess Water
If the plant is sitting in water, fix that immediately.
Check:
- saucers under the pot
- decorative outer pots
- standing water at the bottom
Empty everything.
Because roots sitting in water will continue to suffocate.
Even small amounts of trapped water can keep the soil too wet.
Step 3: Improve Airflow Around the Plant
Drying the soil is not just about time.
It’s also about environment.
To help the process:
- move the plant to a brighter area
- increase airflow
- avoid dark, stagnant corners
Better airflow helps moisture evaporate faster and brings oxygen back into the soil.
Sometimes, even a slight change in placement makes a noticeable difference.
Step 4: Let the Soil Dry (But Don’t Rush It)
This part requires patience.
You might feel tempted to fix everything quickly.
But recovery takes time.
Let the soil dry gradually.
Do not:
- repot too early
- water again “just a little”
Because the roots need a break from constant moisture.
Step 5: Check the Roots (If Things Look Serious)
If your plant is getting worse, it’s time to check what’s happening below the surface.
Gently remove the plant from its pot.
Healthy roots should be:
- light-colored
- firm
- slightly flexible
Unhealthy roots look like:
- brown or black
- mushy
- soft
- sometimes with a bad smell
These are signs of root rot.
Step 6: Remove Damaged Roots and Leaves
If you find damaged roots, you need to act.
Carefully trim:
- mushy roots
- blackened sections
- dying leaves
This helps the plant focus energy on healthy parts.
Because once rot starts, those parts cannot recover.
Step 7: Repot in Fresh, Well-Draining Soil
If the soil is heavily soaked or compacted, repotting is often the best solution.
Remove as much wet soil as possible.
Then place the plant into:
- fresh soil
- a pot with proper drainage
This gives the roots a reset.
And most importantly:
it prevents the problem from continuing.
Step 8: Let the Roots Dry Before Watering Again
After repotting, don’t rush to water.
This is a common mistake.
Roots that were stressed need time to recover.
Wait until:
- soil feels dry
- plant shows signs of stabilization
Then resume watering carefully.
Step 9: Adjust Light (But Don’t Overdo It)
Light helps plants recover.
But too much direct sunlight can stress an already weak plant.
The best option:
- bright, indirect light
This supports recovery without causing additional damage.
Step 10: Avoid Fertilizer During Recovery
It might feel like feeding the plant will help.
But it doesn’t.
Fertilizer adds stress when roots are already damaged.
Instead:
let the plant recover naturally first.
Only fertilize after you see new healthy growth.
What If You Catch It Early
Not every overwatered plant needs full rescue.
If you catch it early:
- stop watering
- improve airflow
- let soil dry
That alone may be enough.
The earlier you act, the easier it is to fix.
What If It’s Already Severe
If root rot has spread:
- recovery becomes harder
- some parts may not survive
But even then, it’s not always the end.
Sometimes:
- you can save part of the plant
- or propagate healthy sections
The key is acting quickly and removing damaged areas.
A Simple Trick That Helped Me
One small technique made a difference.
Loosening the soil slightly.
Not aggressively.
Just enough to allow:
- air to enter
- moisture to escape
This helps speed up drying without damaging roots.
How Long Recovery Takes
This depends on how severe the damage is.
In mild cases:
- a few days to a week
In more serious cases:
- several weeks
The important thing is consistency.
Don’t rush the process.
The Biggest Lesson I Learned
At one point, I thought plants needed frequent watering to stay healthy.
Now I know:
most plants suffer more from too much water than too little.
And overwatering is often not about how much water you give.
It’s about:
- how often
- how fast soil dries
- how well roots can breathe
How to Prevent Overwatering in the Future
Once you fix the problem, prevention matters most.
Here’s what actually works:
Check soil before watering
Don’t rely on a schedule.
Always feel the soil first.
Use proper drainage
Never use pots without drainage holes.
Water needs a way to escape.
Choose the right soil
Heavy soil holds too much moisture.
Use well-draining mixes instead.
Adjust based on environment
Plants need less water when:
- light is low
- air is cool
- humidity is high
Pay attention to the plant
The plant will always tell you what it needs.
You just need to notice the signs.
The Mindset Shift That Changed Everything
I used to think plant care was about doing more.
More watering. More adjusting. More fixing.
Now I see it differently.
plant care is about balance.
And sometimes, the best thing you can do…
is nothing.
Just let the plant recover.
Final Thoughts
Saving an overwatered plant is not always instant.
It takes patience, observation, and the right steps.
But it’s possible.
Even plants that look like they’re failing can recover if you act in time.
Focus on:
- removing excess water
- restoring airflow
- checking roots
- resetting the environment
And most importantly:
learn from the experience.
Because once you understand overwatering, you avoid one of the most common mistakes in plant care.
And that alone makes a huge difference.