Table of Contents
Cleaning outside windows sounds simple.
Until you actually do it.
Water drips everywhere. Streaks appear out of nowhere. Some spots refuse to come off no matter how many times you wipe. And somehow, the glass ends up looking worse after you finish.
For a long time, I thought the problem was effort.
So I scrubbed harder. Used more cleaner. Spent more time.
Nothing changed.
That’s when I realized something most people miss:
Cleaning outside windows is not about effort. It’s about using the right method in the right order.
Once you understand that, everything becomes easier. Faster. And most importantly — streak-free.
What Actually Causes Streaky Windows
Before jumping into the steps, it helps to understand why windows look bad even after cleaning.
The most common causes are:
- Cleaning under direct sunlight
- Skipping pre-cleaning (removing dirt first)
- Using the wrong tools
- Not rinsing properly
- Letting water dry unevenly
The biggest one?
Sunlight.
When the glass is hot, your cleaning solution dries too quickly. That leaves streaks before you even finish wiping.
And if there’s dirt still on the surface, you’re not cleaning — you’re just spreading it around.
So instead of working harder, the goal is simple:
Control dirt, water, and drying.
Step 1: Choose the Right Time (This Makes a Huge Difference)
Timing alone can change your results completely.
Best conditions:
- Cloudy or slightly overcast
- Mild temperature
- Little to no wind
Avoid:
- Midday sun
- Hot surfaces
- Windy conditions
When you clean at the wrong time, even the perfect method won’t save you.
When you clean at the right time, everything becomes easier.
Step 2: Remove Loose Dirt Before You Touch Water
This step is where most people go wrong.
They go straight to spraying water or cleaner.
But if dust, pollen, or debris is still on the glass, it turns into mud the moment it gets wet.
That’s what causes streaks.
Start by removing:
- Dust
- Cobwebs
- Leaves
- Loose dirt
You can use:
- A soft brush
- A dry cloth
- Or a quick light rinse
This step alone makes the rest of the process much smoother.
Step 3: Use a Simple Cleaning Solution (No Need to Overcomplicate)
You don’t need expensive products.
A simple mix works best:
- Warm water
- A few drops of dish soap
- Optional: a small amount of vinegar
This combination helps break down grease, dirt, and buildup without leaving heavy residue.
Avoid strong chemicals.
They don’t clean better. They just make rinsing harder.
The goal is not to overpower dirt.
It’s to lift it evenly and remove it completely.
Step 4: Scrub the Glass Properly (Top to Bottom Only)
Now you actually clean.
Use:
- A sponge
- A soft cloth
- Or a window scrubber
Always start at the top and work downward.
This prevents dirty water from running over areas you already cleaned.
Focus on:
- Corners
- Edges
- Areas with visible buildup
Don’t rush.
This is where most of the cleaning happens.
Step 5: Rinse Completely (This Is Where Most People Mess Up)
If you remember one thing, remember this:
Soap left on glass = streaks.
After scrubbing, rinse thoroughly with clean water.
Make sure nothing is left behind.
If you see bubbles or residue, keep rinsing.
A proper rinse is what separates clean glass from streaky glass.
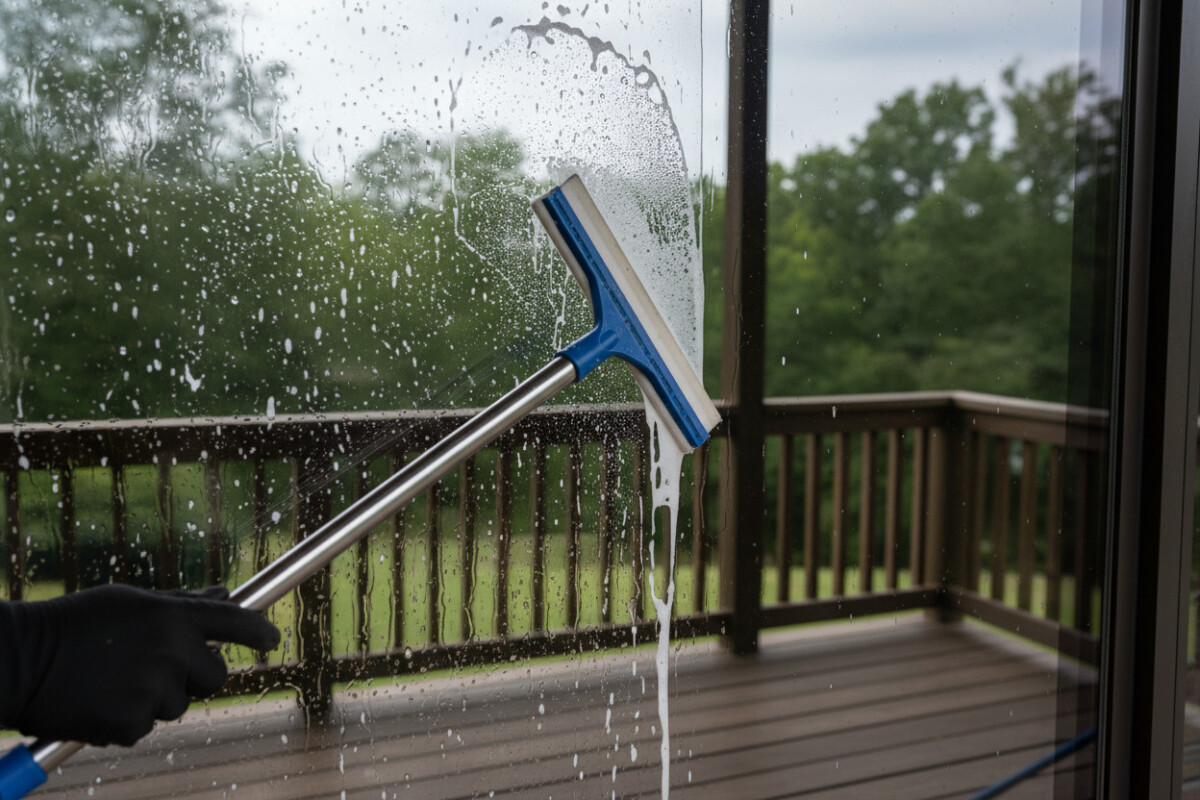
Step 6: Use a Squeegee (This Is the Game Changer)
This is the step most people skip — and the reason they never get perfect results.
A squeegee removes water evenly without leaving streaks.
How to use it:
- Start at the top
- Pull down in smooth, steady strokes
- Wipe the blade after each pass
This prevents lines and water marks from forming.
If you want that “perfect clear glass” look, this is non-negotiable.
Step 7: Dry Edges and Corners
Even with a squeegee, water collects in small areas:
- Corners
- Edges
- Around frames
Use a microfiber cloth to dry these spots.
Avoid paper towels.
They leave lint and ruin the finish.
This small step makes your windows look professionally cleaned.
Step 8: Clean Window Frames (Don’t Skip This)
Clean glass with dirty frames still looks messy.
Frames collect:
- Dust
- Dirt
- Water stains
Wipe them down with mild soap and water.
If you clean frames first, you also avoid spreading dirt back onto the glass later.
Step 9: Clean Window Screens (Hidden but Important)
Screens are often ignored, but they affect how clean your windows look.
Even if the glass is perfect, dirty screens block clarity.
Remove screens if possible.
Then:
- Rinse with water
- Gently scrub if needed
- Let them dry completely
Once clean, your windows will look noticeably brighter.
How to Clean High or Hard-to-Reach Windows
This is where things get tricky.
You don’t always need a ladder.
Better options include:
- Extension poles
- Telescopic squeegees
- Hose attachments
These allow you to clean safely from the ground.
If windows are too high or unsafe to reach, it’s better not to risk it.
Common Mistakes That Ruin the Final Result
Even small mistakes can undo everything.
Avoid these:
Cleaning in sunlight
Causes fast drying and streaks
Using dirty tools
Spreads dirt instead of removing it
Skipping the rinse
Leaves residue behind
Using paper towels
Leaves lint on glass
Not drying edges
Creates water marks later
Most problems are not about the cleaner.
They’re about the process.
How Often Should You Clean Outside Windows?
A simple rule:
- At least twice a year
More often if:
- You live near traffic or dust
- There’s heavy pollen
- You get frequent rain
Regular cleaning prevents buildup and makes the job easier each time.
The Simple System That Always Works
If you want to remember everything easily, follow this order:
- Remove dirt
- Apply solution
- Scrub
- Rinse
- Squeegee
- Dry edges
That’s it.
No complicated tricks.
Just the right sequence.
Final Thoughts
Cleaning outside windows doesn’t need to be frustrating.
Most people struggle because they focus on effort instead of process.
Once you fix the process:
- You use less effort
- You get better results
- You stop dealing with streaks
And the difference is immediate.
Your home looks brighter.
Cleaner.
More cared for.
Not because you worked harder.
But because you did it the right way.