Table of Contents
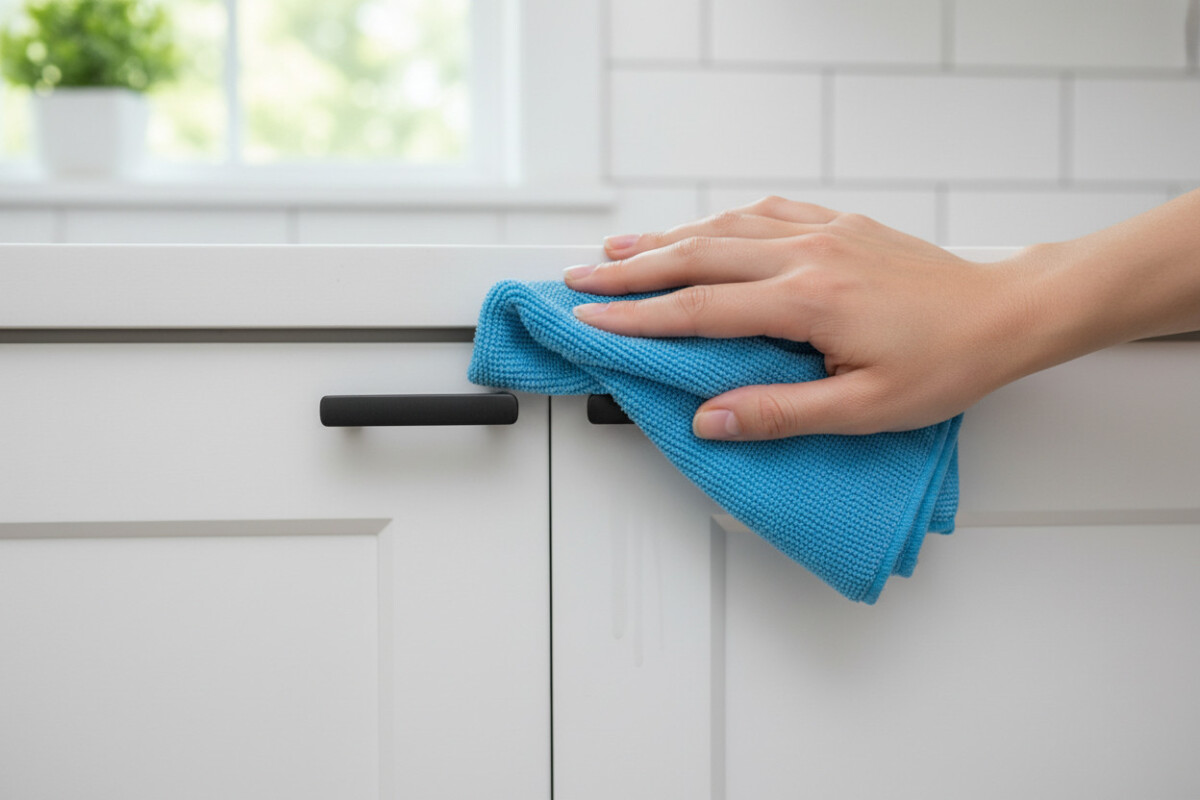
White kitchen cabinets look amazing.
They make a space feel brighter, cleaner, and more modern without much effort. Even a small kitchen can feel bigger just because of them.
But there’s a downside that anyone with white cabinets eventually notices.
They show everything.
Grease near the stove, fingerprints around handles, tiny splashes you didn’t even realize happened — it all builds up faster than expected. And if you don’t clean them properly, they can start to look dull or even yellow over time.
After going through trial and error, I realized something important:
cleaning white kitchen cabinets isn’t about cleaning more often — it’s about cleaning the right way.
Why White Cabinets Get Dirty So Fast
At first, it can feel like white cabinets get dirty “too easily.”
But there’s a reason for that.
Most kitchen mess comes from:
- cooking oils
- steam
- food splatter
- hand contact
And white surfaces don’t hide any of it.
The area around handles is usually the worst because it’s touched constantly. Cabinets near the stove collect grease in a thin layer that’s not always visible right away, but builds up over time.
That’s why regular light cleaning works better than waiting until things look dirty.
The Biggest Mistake That Causes Damage
One of the most common mistakes is using harsh cleaners.
It seems logical. Strong mess → strong cleaner.
But with cabinets, especially painted or laminated ones, that can cause:
- fading
- dull finish
- surface damage
Now I avoid anything too aggressive.
Because protecting the cabinet finish is just as important as removing dirt.
What You Actually Need (Simple and Effective)
You don’t need a long list of products.
Most of the time, I stick to:
- warm water
- mild dish soap
- a soft cloth or sponge
That combination works for everyday cleaning.
For tougher spots, I use slightly stronger methods, but still gentle enough to avoid damage.
Step-by-Step: How I Clean White Kitchen Cabinets
Instead of overcomplicating it, I follow a simple process.
1. Start with a dry wipe
Before adding any moisture, I wipe the surface with a dry cloth.
This removes:
- dust
- loose particles
It prevents spreading dirt around when cleaning.
2. Use a gentle cleaning solution
I mix:
- warm water
- a small amount of dish soap
Then lightly dampen a cloth.
Important detail:
the cloth should be damp, not soaking wet.
Too much water can seep into edges and damage the material over time.
3. Wipe in sections
I clean one section at a time.
This helps avoid:
- streaks
- missed spots
For areas near handles or frequently touched zones, I spend a bit more time.
4. Dry immediately
This step made a big difference.
After cleaning, I always use a dry cloth to wipe the surface again.
Because leaving moisture on cabinets can cause streaking and long-term damage.
How I Handle Grease Buildup
Grease is the hardest part of cleaning kitchen cabinets.
Especially around the stove.
Regular soap works, but sometimes it’s not enough.
For heavier grease, I use:
- warm water
- dish soap
- a slightly longer wiping time
If needed, I gently repeat the process instead of using something harsh.
Because aggressive scrubbing can damage the finish.
Dealing with Sticky Residue
Some spots feel sticky even after cleaning.
That usually comes from oil buildup mixed with dust.
In those cases, I:
- apply the cleaning solution
- let it sit briefly
- wipe gently
Letting it sit for a short time helps break down the residue without needing strong chemicals.
What I Avoid Completely
There are a few things I stopped using entirely.
Because they caused more harm than good.
I avoid:
- abrasive scrubbers
- strong chemical cleaners
- bleach on finished surfaces
These can remove stains, but they also damage the cabinet surface.
And once that happens, it’s hard to fix.
How Often I Clean My Cabinets
At first, I waited until cabinets looked dirty.
Now I clean lightly on a regular basis.
Here’s what works best for me:
- quick wipe every week
- deeper clean every few weeks
This prevents buildup and makes cleaning much easier overall.
The Areas That Need Extra Attention
Not all cabinet areas get dirty the same way.
Some spots need more frequent care.
The main ones are:
- around handles and knobs
- near the stove
- lower cabinets near cooking areas
Focusing on these areas saves time and keeps everything looking cleaner longer.
Keeping White Cabinets Looking Bright
Over time, white cabinets can start to look less bright.
Not necessarily dirty, just slightly dull.
To prevent that, consistency matters.
Regular cleaning helps maintain the original color.
Also, avoiding grease buildup in the first place makes a huge difference.
Because once stains set in deeply, they are harder to remove.
A Small Habit That Helped a Lot
One simple habit made everything easier.
Wiping small messes immediately.
Instead of waiting, I clean:
- splashes
- fingerprints
- small grease spots
right away.
It only takes a few seconds, but it prevents buildup completely.
What Actually Changed for Me
At first, cleaning cabinets felt like a chore.
Something that required effort and time.
But once I simplified the process, it became routine.
And more importantly, it became manageable.
Because instead of dealing with heavy buildup, I’m just maintaining a clean surface.
The Truth About Keeping White Cabinets Clean
White cabinets don’t require constant deep cleaning.
They just require consistency.
small, regular care is more effective than occasional heavy cleaning.
Once you understand that, everything becomes easier.
Final Thoughts
White kitchen cabinets can stay bright and clean for years.
But only if they’re treated properly.
The key is not using stronger products or cleaning more aggressively.
It’s using the right method, consistently.
Focus on:
- gentle cleaning
- regular maintenance
- protecting the finish
And over time, you’ll notice something important.
Cleaning becomes quicker, easier, and far less stressful.
Because you’re no longer fixing problems.
You’re preventing them.