Table of Contents
A dirty oven has a way of making the whole kitchen feel off.
It does not matter how tidy the counters are or how nice the cabinets look. If the oven door is streaked, the glass is cloudy, and there is baked-on grease at the bottom, the whole room starts to feel less clean.
What makes it worse is that oven mess is not the kind of mess you notice all at once. It builds slowly.
A little spill from dinner. A drip from a casserole. A few crumbs that fall to the bottom and never get cleaned right away. Then the next time the oven heats up, everything bakes on a little more. And a little more. Until one day you open the door and realize the inside does not look like a cooking appliance anymore. It looks like a crime scene for lasagna.
That is where vinegar comes in.
Not as some magical product that fixes everything instantly. But as a simple, reliable pantry cleaner that helps loosen grime without turning the whole job into a chemical project.
What I like about a vinegar-based oven clean is that it feels manageable. You do not need a long list of products. You do not need to overthink it. You do not need to spend all day scrubbing with every ounce of strength you have. You just need a few basic ingredients, a little patience, and the willingness to clean in stages instead of expecting one wipe to solve everything.
And that is really the heart of this method.
A clean oven is usually the result of a simple routine, not one dramatic cleaning session.
Why Vinegar Works So Well for Oven Cleaning
Before using vinegar on an oven, it helps to understand what it actually does.
Vinegar is acidic, which makes it useful for breaking down some of the grime that builds up inside ovens. It helps loosen grease, soften residue, and cut through the cloudy film that appears after repeated cooking.
That does not mean it erases every stain instantly. It does not mean it replaces every cleaning tool. But it does give you a very practical starting point.
And for a lot of oven messes, that is enough.
The biggest benefit is that vinegar can help make baked-on residue easier to wipe away. Instead of attacking the oven with harsh scrubbing right away, you give the surface a chance to release some of the mess first. That alone makes the job feel less exhausting.
Another thing I like about vinegar is that it is easy to keep on hand. It is not a specialty cleaner. It is already in the house. That makes it easier to actually do the task when you notice the oven needs attention.
And that matters more than people think.
The best cleaning method is not always the strongest one. It is often the one you will actually use before the mess becomes a bigger problem.
What a Vinegar Oven Clean Is Good For
This method is especially useful when the oven has:
- light to moderate grease buildup
- cloudy residue on the door
- baked-on splatter
- general grime from regular use
- lingering food film around the inside
In other words, it is great for normal oven maintenance.
It is not always the answer for a truly terrible oven situation. If the inside has years of heavy buildup, thick carbonized grease, or deep burnt-on patches, vinegar alone may not be enough. But for routine deep cleaning, it is a smart and simple place to start.
That is how I think about it now.
Not every cleaning method needs to solve every problem. Sometimes the goal is simply to make the oven clean enough that you can keep it that way more easily.
That is where vinegar shines.
The Mistake Most People Make With Ovens
The biggest mistake is waiting too long.
It is easy to think, “I will clean the oven later,” especially when the mess does not feel urgent. The problem is that oven grime gets harder to remove the longer it sits there. Every time you bake, roast, or broil something, the heat helps set the residue even more.
By the time the oven really starts looking bad, the mess has already bonded to the surface.
That is why a simple cleaning habit is so useful. You are not trying to let the oven get terrible first. You are catching the buildup before it reaches that point.
Another mistake is using too much force too quickly. People assume they need to scrub aggressively right away, but that often just spreads the grime around or makes the job more tiring than it needs to be.
With vinegar, the goal is different.
The goal is to soften the mess, give it time to loosen, and then wipe it away with less effort.
That is a much better way to clean.
What You Need
You do not need a giant cleaning kit.
For a basic vinegar oven clean, the essentials are simple:
- white vinegar
- water
- a spray bottle
- a microfiber cloth or soft sponge
- a bowl or heat-safe container
- some patience
That is really it.
I like this kind of cleaning because it feels practical. No complicated setup. No strange ingredients. Just a straightforward process.
If the oven is very greasy, you may also want a little baking soda for extra scrubbing power. But the main focus here is vinegar, because it is the pantry-powered part of the routine that makes the process feel so accessible.
Step One: Let the Oven Cool Completely
This sounds obvious, but it is worth saying clearly.
Never start cleaning an oven while it is hot.
You want the oven completely cool before you begin. That makes the process safer and also keeps the cleaning solution from evaporating too quickly.
A warm oven might seem like it will help loosen dirt faster, but in reality, you want control more than heat. A cool surface lets the vinegar sit where it needs to sit and work on the grime properly.
So the first step is simply to wait until the oven is fully cool.
That alone prevents a lot of trouble.
Step Two: Remove Loose Debris First
Before you spray anything, take a moment to clear out the obvious stuff.
Remove:
- loose crumbs
- food pieces
- trays or racks if needed
- anything that does not belong inside during cleaning
This is a small step, but it matters because it helps the vinegar reach the actual surface instead of getting lost in a layer of debris.
A lot of cleaning works better when you start with the easy stuff. Once the loose mess is gone, the real problem becomes easier to see.
And seeing the real problem is half the battle.
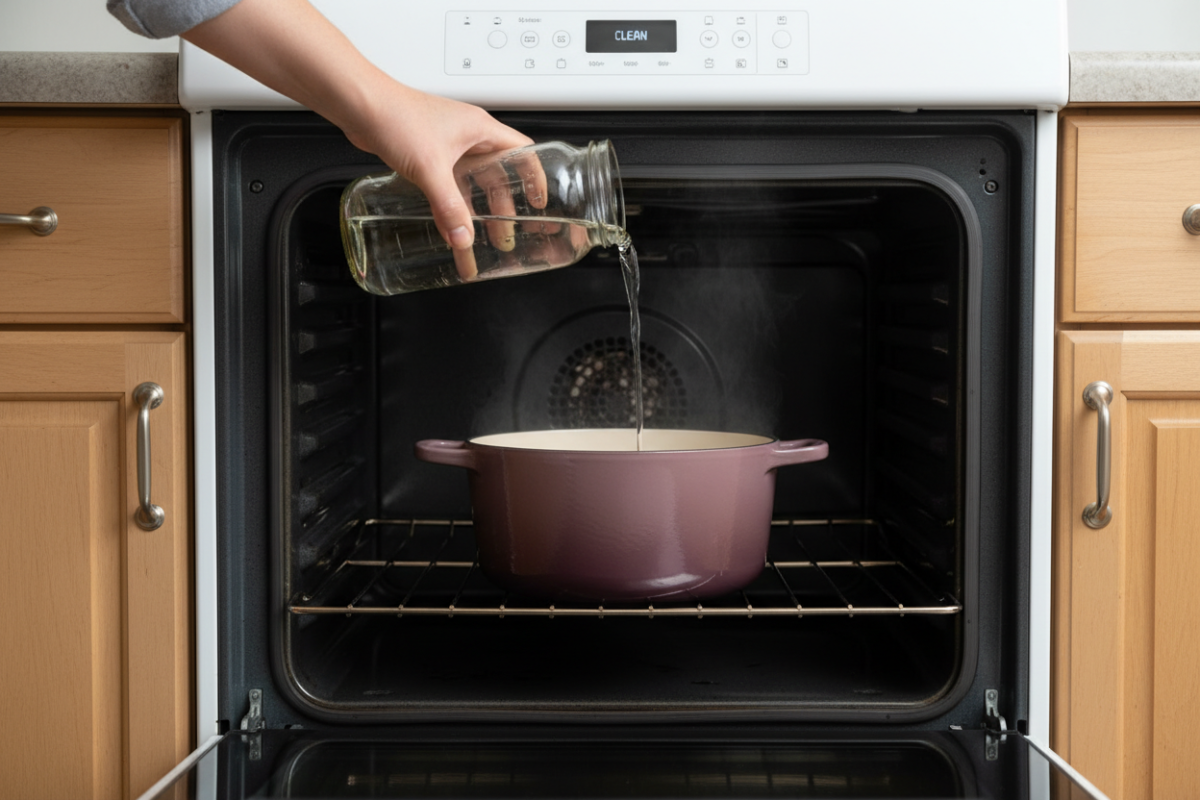
Step Three: Mix the Vinegar Solution
A simple mix of vinegar and water usually works well for routine oven cleaning.
You do not need to overcomplicate the ratio. The point is to create a solution that can be sprayed or applied easily without being too harsh or too sticky.
I like using a spray bottle because it gives control. You can target greasy spots, the oven door, and any areas that need extra attention without soaking everything.
That is important.
You are not flooding the oven. You are giving it a light, even coating that can start loosening the grime.
Step Four: Spray the Dirty Areas
Now comes the part where the vinegar actually starts doing its job.
Spray the greasy and dirty areas inside the oven, paying attention to:
- the bottom
- the sides
- the oven door glass
- spots with visible splatter
- areas with sticky residue
If there are especially bad patches, spray them a little more generously and let them sit.
This is where patience pays off.
The vinegar needs time to soften the mess. It is not a race. If you rush this part, you end up doing more physical work than necessary. If you give it a little time, the grime becomes much easier to remove.
That is the whole reason this method is worth using.
Step Five: Let It Sit
This is the part many people skip.
They spray, wait maybe thirty seconds, and then start wiping like the oven should magically transform on contact.
It does not work that way.
Vinegar needs time to sit on the surface and loosen the buildup. That waiting period is where the method becomes effective. The grime starts to release. The sticky film softens. The whole surface becomes less resistant.
You do not need to stare at the oven while this happens. You just need to let it rest long enough for the cleaning solution to do some of the work for you.
That is the secret.
A good cleaning method should reduce the amount of force you need to use later.
Step Six: Wipe It Down
After the vinegar has had time to sit, wipe the area down with a microfiber cloth or soft sponge.
You should notice that some of the grime lifts more easily than it would have before. That is the payoff.
Work in sections if needed. Clean one area, rinse the cloth, and move to the next one. This helps keep you from just spreading residue around.
For stubborn spots, you may need to repeat the process more than once.
That is normal.
A greasy oven does not become spotless in one swipe. But it does become much more manageable once the grime has been loosened.
And that makes the whole job feel less like a battle.
Step Seven: Repeat on Tough Spots
Some areas will need more attention than others.
That is especially true around:
- the oven door
- corners
- the bottom of the oven
- places where food has burned onto the surface
For those spots, spray a little more vinegar, wait again, and wipe once more.
That repeating process is part of what makes this method work so well. It is gentle, but it is still effective because you are not forcing the mess off in one aggressive step. You are patiently breaking it down.
That is also why this is such a useful pantry-cleaning method. It is realistic.
You do not need perfection right away. You need progress.
What About Baking Soda?
Sometimes vinegar alone is enough.
Sometimes it is not.
For heavier grime, a little baking soda can help. It adds gentle scrubbing power without immediately turning the process into a harsh chemical clean.
If you use baking soda, the idea is still the same: keep it simple, let the product do some of the work, and avoid over-scrubbing the surface.
The goal is not to attack the oven.
The goal is to clean it without damaging it.
That distinction matters.
The Oven Door Needs Special Attention
The glass door often deserves extra care.
It shows fingerprints, streaks, and splatters more easily than the rest of the oven. And because it is right in front of you, dirty glass can make the whole appliance look worse than it is.
Vinegar works well here because it helps cut through cloudy residue and makes the glass look clearer again.
I like to treat the door as its own little cleaning project. Spray, wait, wipe, then go over it once more with a dry cloth to reduce streaking.
That final dry wipe makes a bigger difference than most people expect.
A clean door changes the entire appearance of the oven.
Dry It at the End
Once the grime is gone, dry the surface with a clean cloth.
This step keeps streaks down and helps the oven look finished rather than damp. It also gives you a better sense of whether any spots still need another pass.
That final dry wipe is a small thing, but it is the kind of small thing that makes the result look much more polished.
And when the oven looks better, you are more likely to keep it that way.
That is another reason simple cleaning routines work so well. They make maintenance feel less intimidating, which means you do it more often.
How Often Should You Clean an Oven with Vinegar
For regular use, a light vinegar clean every few weeks is a solid habit. If you cook often, bake frequently, or notice splatter building up faster, you may want to clean it more often.
The right schedule depends on how heavily you use the oven.
A few general signs that it is time:
- visible grease
- burnt-on spills
- cloudy glass
- lingering smells
- food splatter on the interior
You do not need to wait until the oven looks terrible. In fact, cleaning sooner usually means the job takes less time.
That is the part I wish more people believed.
Maintenance is easier than rescue cleaning.
What This Method Does Best
This vinegar method is best for:
- regular maintenance
- light to moderate grime
- loosening buildup
- keeping the oven looking fresh between deep cleans
It is not about perfection. It is about staying ahead of the mess.
That is what makes it so useful. It gives you a simple way to maintain the oven without turning every cleaning session into a long, exhausting project.
Why Simple Cleaning Methods Usually Win
I have found that simple methods tend to stick better than fancy ones.
That is true for ovens, showers, countertops, and just about everything else in the house.
The reason is obvious once you think about it.
If the method is too complicated, you avoid it. If it requires too many steps, you put it off. If it depends on products you do not already have, it becomes another thing on the to-do list instead of a solution.
Vinegar works because it is practical.
It is already there. It is familiar. It is easy to use. And it gives you a clear, repeatable process.
That repeatability is what keeps a kitchen cleaner over time.
The Mindset That Makes This Easier
The best mindset for oven cleaning is not “How do I make this look perfect right now?”
It is:
How do I keep this from getting out of control?
That question changes the way you clean.
Instead of waiting for a huge mess and dreading the entire project, you keep up with small maintenance. You use a simple solution. You clean before buildup becomes hard to remove.
That is a much better system.
And honestly, it makes the kitchen feel better overall.
Final Thoughts
Cleaning your oven with vinegar is one of those simple habits that works better than people expect.
It is easy, affordable, and practical. It gives you a way to handle everyday grease and grime without overcomplicating the job. And when you use it regularly, the oven stays far easier to maintain.
The key is consistency.
Let the oven cool. Remove debris. Spray the vinegar solution. Let it sit. Wipe it clean. Repeat on the stubborn spots. Dry it at the end.
That is it.
No drama. No giant cleaning overhaul. Just a simple pantry-powered method that keeps the oven looking and feeling better over time.
And once you have used it a few times, it starts to feel like one of the easiest cleaning habits in the kitchen.