Table of Contents
There are some parts of a kitchen that stay on your mind every day.
The counters. The sink. The stovetop. Maybe the fridge if it starts looking messy.
And then there are the parts that quietly disappear from your thoughts until one day you open them and think, “Oh right. This exists.”
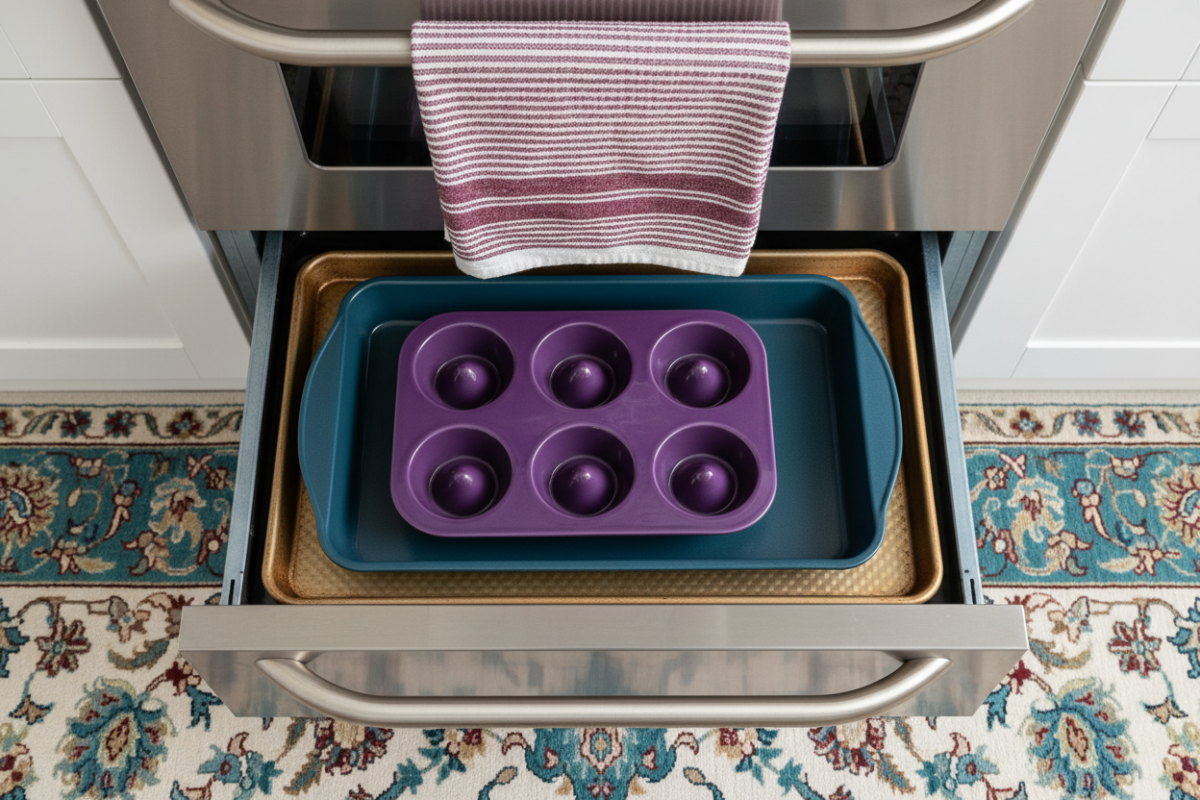
The bottom drawer of the oven is one of those places.
It is easy to ignore because it does not ask for attention very often. It sits there, tucked underneath the main oven cavity, doing whatever job it was meant to do. Some people use it for storage. Some use it as a warming drawer. Some barely touch it at all.
But no matter how it is used, it can collect dust, crumbs, grease, and all the little kitchen messes that slowly build up over time.
That was the part I did not think much about at first.
I assumed if the oven itself looked fine, everything underneath was probably fine too.
That turned out not to be true.
Once I finally checked the bottom drawer properly, I realized how much grime can hide in a place that looks harmless from the outside. And once you know that, it becomes hard to ignore.
The good news is that cleaning it is not difficult.
You just need to know how often to clean it, what kind of drawer you have, and the safest way to do it without making a bigger mess.
Why the Oven Bottom Drawer Gets Dirty So Easily
The bottom drawer sits in a very awkward place.
It is close to heat. It is close to food. It is close to grease splatter, crumbs, steam, and everything else that happens in a kitchen.
Even if you are careful, mess finds its way there.
A tiny spill from a tray. A dropped crumb. A bit of oil vapor. Dust from the room. Something from cleaning the floor. Over time, all of it adds up.
And because the drawer is low and mostly out of sight, it is easy to assume nothing is happening in there.
That is usually when buildup starts.
What makes this space tricky is that it can collect both visible dirt and hidden residue. The visible part is easy to spot once you pull the drawer open. The hidden part is the stuff that clings to corners, tracks, and seams.
That is why the drawer can go from “looks okay” to “how did this get so bad” surprisingly fast.
How Often Should You Clean the Oven Bottom Drawer?
For most homes, a good rule is to clean the bottom drawer every few weeks to once a month.
That is the simple answer.
But the real timing depends on how you use your oven and what kind of drawer it is.
If the drawer is only storage and you rarely touch it, you may not need to clean it as often. If it is a warming drawer, or if your oven gets heavy use, grease and heat can make it dirty faster.
A few things can change the schedule:
- how often you cook
- whether the drawer stores pans or trays
- whether spills have happened recently
- how much grease builds up in your kitchen
- whether the drawer is exposed to heat during use
If you notice crumbs, sticky residue, or a greasy film, do not wait for the calendar. Clean it sooner.
The safest rule is this:
clean it before buildup becomes visible and annoying.
That keeps the job easier and prevents smells or stains from settling in.
First, Figure Out What Kind of Drawer You Have
This matters more than people realize.
Not every oven bottom drawer is the same.
Some ovens have a storage drawer underneath, which is mainly for pans, baking sheets, or kitchen tools. Others have a warming drawer, which is designed to stay warm during cooking. Some models may have a broiler drawer in certain older setups.
Why does this matter?
Because you should not clean all of them the same way.
A storage drawer is usually simpler. A warming drawer may have more delicate parts or electrical components that you need to protect. If you are not sure what yours is, take a moment to check before using any water or cleaner.
That one step can save you from damaging the drawer or the appliance itself.
The Biggest Mistake People Make
The most common mistake is using too much water.
It sounds harmless, but it is not.
The bottom drawer may look sturdy, but some parts of the oven can be sensitive to moisture. If water gets into the wrong place, it can cause problems later. That is especially true if your oven drawer is part of a warming system or has hardware that should stay dry.
Another mistake is using abrasive tools too aggressively.
Scrubbing hard with rough pads can scratch surfaces, damage finishes, and make the drawer harder to clean next time because the rougher surface traps dirt more easily.
The goal is not to attack the grime.
The goal is to remove it gently but thoroughly.
What You Need Before You Start
You do not need a huge list of supplies.
A simple cleaning setup usually works best:
- warm water
- mild dish soap
- a soft cloth
- a sponge
- a dry towel
- optional baking soda for stubborn buildup
That is enough for most jobs.
If the drawer has heavy grease or sticky residue, you may need to let the cleaner sit for a few minutes before wiping. But in many cases, basic soap and water do the job well if you are consistent.
The real trick is not fancy products.
It is regular cleaning before the mess becomes heavy.
Step One: Let the Drawer Cool Completely
This is an important step that should never be skipped.
If the oven has been in use, make sure everything is fully cool before you begin.
Cleaning a warm drawer can make things harder and less safe. It can also cause cleaning products to evaporate too quickly, which makes them less effective.
So before anything else, give the oven enough time to cool.
That part is simple, but it matters.
Step Two: Remove Everything from the Drawer
If the drawer is used for storage, take everything out first.
Pans. Trays. Foil. Loose tools. Random items that somehow ended up there.
This makes it much easier to see what you are working with. It also helps you notice if there is hidden dust or buildup in the corners.
If the drawer is a warming drawer, remove any removable parts according to the oven’s design.
Once the inside is empty, the cleaning process becomes much easier and much more accurate.
Step Three: Vacuum or Wipe Out Loose Debris First
Before adding water or cleaner, get rid of the dry mess first.
Crumbs. Dust. Loose bits of food. Tiny pieces that have collected at the bottom.
You can use a handheld vacuum, a brush, or a dry cloth for this step.
This matters because if you skip it, you may just turn dry crumbs into sticky sludge when you start wiping with cleaner. That only makes the job harder.
A dry first pass always helps.
Step Four: Clean the Surface with Mild Soap and Warm Water
Once the loose debris is gone, mix a small amount of mild dish soap with warm water.
Then dampen your cloth or sponge.
The important word here is damp.
Not dripping. Not soaking. Just damp enough to clean the surface without leaving too much moisture behind.
Wipe the inside of the drawer carefully, paying attention to:
- edges
- corners
- seams
- tracks
- any areas where grease collects
If the drawer has a removable base or tray, clean that too.
This is usually where most of the visible grime disappears.
Step Five: Let Stubborn Spots Sit for a Moment
If you come across sticky grease or baked-on residue, do not immediately scrub harder.
Instead, let the soapy solution sit on the spot for a short time.
That softens the buildup and makes it easier to wipe away.
This works much better than forcing it off with pressure.
A little patience does more than aggressive scrubbing.
Step Six: Use Baking Soda for Tougher Grime
If the drawer has a few stubborn patches, baking soda can help.
Make a light paste with baking soda and a small amount of water. Apply it to the problem areas and let it sit briefly before wiping.
This is especially useful for:
- sticky residue
- faint stains
- grease marks
- dull spots that need extra attention
Again, the goal is gentle cleaning. Not scrubbing the finish away.
Step Seven: Rinse Carefully
If you used soap or baking soda, wipe the drawer again with a clean damp cloth to remove residue.
This step is easy to overlook, but it matters.
Leftover cleaner can leave streaks or attract more dust later.
Once you have removed the grime, a clean wipe helps the drawer look truly finished instead of just half-clean.
Step Eight: Dry Everything Thoroughly
This step is more important than many people think.
After cleaning, use a dry towel to remove as much moisture as possible.
Then let the drawer air dry fully before putting anything back inside.
Why?
Because moisture left behind can cause:
- streaks
- odors
- surface damage
- buildup from dust sticking to damp areas
A dry drawer stays cleaner longer and feels fresher immediately.
If Your Drawer Is a Warming Drawer, Be Extra Careful
Warming drawers can be a little more sensitive than standard storage drawers.
If yours is designed to warm food, avoid over-wetting any components. Be careful around vents, edges, and controls. Check the manual if needed before cleaning anything beyond the visible surfaces.
The more complex the drawer, the more careful you want to be.
You are cleaning a part of an appliance, not just wiping down a shelf.
That small difference matters.
How to Handle Grease Build-Up
If your kitchen gets a lot of cooking action, the bottom drawer may collect a thin greasy layer over time.
This can happen even if the drawer is not directly exposed to food spills.
In that case, your best approach is:
- remove loose debris
- use warm soapy water
- let tough spots sit briefly
- wipe gently
- dry thoroughly
The biggest thing to avoid is panic-cleaning with harsh products. That usually causes more trouble than the grease itself.
A steady, repeatable method works much better.
What Not to Use
Not every cleaner is a good idea for this job.
Avoid:
- overly abrasive scrubbers
- harsh chemical sprays unless specifically safe for your oven material
- soaking the drawer
- metal scouring pads
- anything that could scratch or damage the finish
A lot of the time, stronger is not better.
Especially on appliance surfaces.
The purpose is to preserve the drawer while cleaning it, not to strip it down.
How Often I Would Personally Check It
If I had to keep it simple, I would do this:
- quick visual check every couple of weeks
- light cleaning monthly
- deep clean if there is visible grease or odor
That keeps the drawer from getting out of control.
And once you make it a habit, it stops feeling like a big task.
That is the whole point.
A small maintenance job should stay small.
What Happens If You Ignore It
Ignoring the bottom drawer does not usually create a dramatic disaster right away.
It just slowly becomes unpleasant.
You might notice:
- stale smells
- sticky buildup
- crumbs collecting in corners
- grime that is harder to remove later
Eventually, the drawer can start feeling like one of those hidden spaces that quietly make the kitchen feel less clean than it really is.
And that is frustrating because the fix is not complicated.
It just requires attention before the buildup gets stubborn.
The Best Way to Keep It Clean Longer
The easiest way to prevent the drawer from getting dirty fast is to keep unnecessary items out of it.
If it is a storage drawer, do not overload it with random things you do not use. Keep only the essentials.
If it is a warming drawer, follow the intended use and clean it regularly.
Also, if you ever spill something inside or drop crumbs nearby, wipe it sooner rather than later.
That one habit prevents most of the buildup before it starts.
A Simple Routine That Actually Works
Here is the version that makes the most sense in real life:
- empty the drawer
- remove dry debris
- wipe with mild soap and warm water
- treat stubborn spots gently
- rinse with a clean damp cloth
- dry completely
- return only what belongs there
That is enough for most drawers, most of the time.
No complicated process. No unnecessary products.
Just a clean, repeatable routine.
The Truth About This Tiny Task
The oven bottom drawer is easy to ignore because it does not demand constant attention.
But once you clean it properly, the whole area feels better.
The appliance feels more maintained. The kitchen feels less hidden-messy. And the drawer stops being one of those little spaces that only gets worse with time.
That is what makes this worth doing.
Not because it is dramatic.
Because it is simple maintenance that keeps a small problem from turning into a bigger one.
Final Thoughts
Cleaning the oven bottom drawer does not need to be difficult.
It just needs to be done often enough that grime never gets the chance to settle in.
For most homes, a monthly cleaning or regular quick check is enough. If you cook often or notice buildup sooner, clean it sooner. If it has been a while, start with a gentle deep clean and reset the space.
Focus on:
- cooling the drawer first
- removing loose debris
- using mild cleaner
- avoiding excess water
- drying everything fully
That is the safest and easiest way to handle it.
And once you get into the habit, it becomes just another small part of keeping the kitchen clean instead of one more job to dread.