Table of Contents
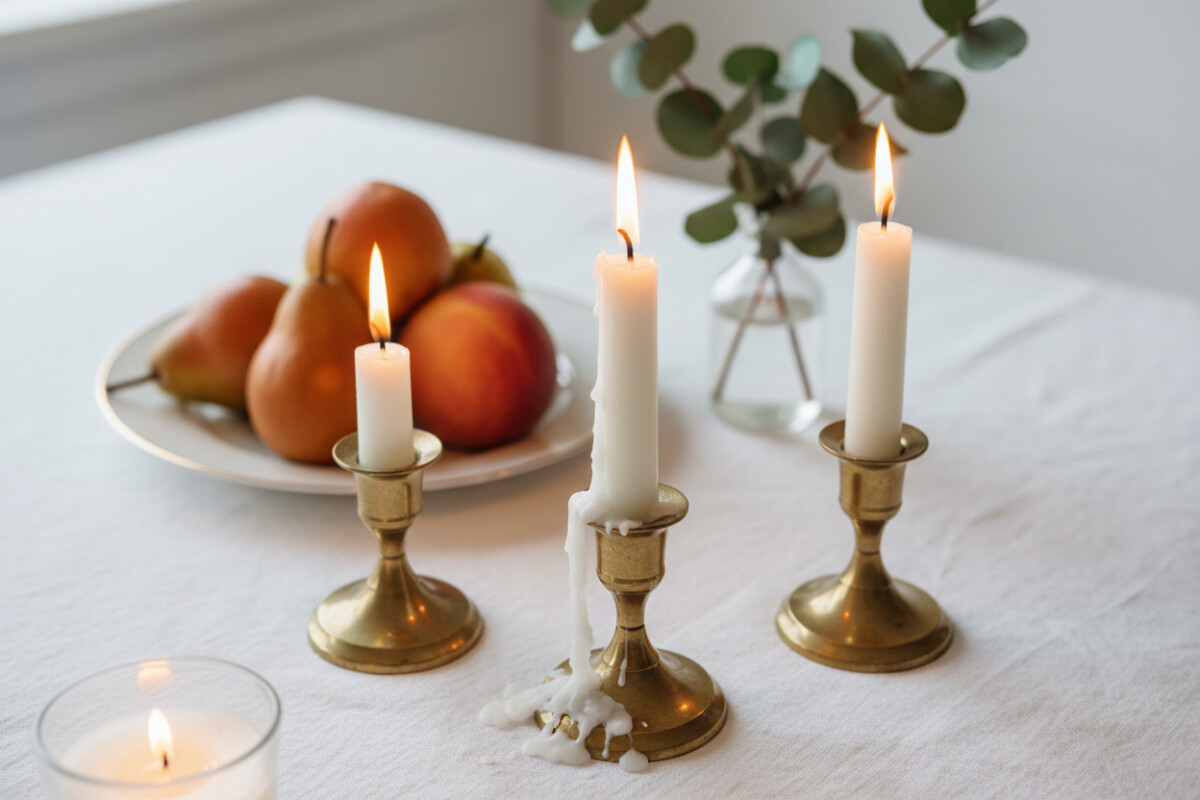
Candle wax has a way of showing up in the exact wrong place.
One minute the room feels calm, warm, and put together. Then suddenly there is a drip on the table, a hardened streak on the counter, or a blob of wax on fabric that looked completely fine just a second ago.
And the frustrating part is that candle wax never looks as simple as it is.
When it is warm, it spreads. When it cools, it hardens. When you try to scrape it too quickly, it smears. When you rush the cleanup, you usually end up making the problem bigger.
That is why cleaning wax feels more annoying than it should.
At one point, it felt like every surface needed a different rescue plan. Fabric. Wood. Glass. Carpet. Each one reacted differently, and each mistake made the mess harder to fix.
Over time, though, I learned something that made the whole process much easier:
the best trick for cleaning candle wax is not one magic move — it is using the right order of steps.
That is what matters.
If you try to remove wax before it is ready, you make the stain worse. If you clean too aggressively, you risk damaging the surface. But if you let the wax firm up first and then remove it carefully, most of the mess comes away much more easily.
So the real trick is simple:
cool it, lift it, clean the residue.
That three-part approach works far better than panic scraping.
Why Candle Wax Is So Annoying to Clean
Wax behaves differently from most other household messes.
A spill from juice or coffee can usually be blotted. Grease can be wiped. Dirt can be swept. But candle wax changes shape depending on temperature.
When it is warm, it is soft and sticky. When it cools, it becomes hard and brittle. That means the cleanup method has to change depending on the stage of the mess.
If you try to wipe warm wax, you usually spread it. If you try to chip away hardened wax too aggressively, you can scratch the surface underneath. If you pull at wax stuck to fabric, you can stretch the fibers or leave residue behind.
That is why so many people feel stuck. Wax does not behave like a normal stain.
It is part spill, part solid, part residue. And because of that, the cleanup has to be a little more thoughtful.
The Best Trick: Let the Wax Harden First
This is the part that changes everything.
When candle wax spills, the first instinct is to grab a cloth and wipe it immediately. That usually makes it worse.
The better move is to let the wax harden completely.
Once it firms up, it becomes much easier to remove in one piece or in larger flakes. You are no longer pushing a soft, sticky mess around the surface. You are lifting a solid material off the top.
That one change makes the whole cleanup calmer.
Instead of chasing wax while it moves, you wait until it stops moving.
That is the real trick.
Step One: Do Not Rush
The worst thing you can do is panic.
A wax spill feels dramatic, especially on a nice table or a favorite candle tray. But speed is not the goal here. Patience is.
If the wax is still warm, give it time to cool. If it is already cooling, leave it alone until it fully hardens. Do not smear it. Do not press it deeper into the surface. Do not keep touching it.
A little waiting makes the cleanup much easier later.
This is one of those times where doing less first saves you a lot of work later.
Step Two: Gently Lift the Hardened Wax
Once the wax is cool and firm, the next step is to remove the bulk of it.
For many surfaces, you can gently lift the wax with:
- a plastic card
- a dull edge
- your fingernail if the surface allows it
- a soft scraper that will not damage the finish
The goal is not to gouge or force the wax off. The goal is to lift it in flakes or chunks.
If the wax is brittle enough, some of it may come off in pieces on its own. That is ideal.
If it resists, do not fight it too hard. That is how scratches happen.
Why Plastic Works Better Than Metal
A lot of people reach for knives or sharp tools because they want the wax gone quickly.
That is usually a mistake.
Metal scrapers can easily damage wood, glass coatings, painted surfaces, or delicate fabrics. Even if they remove the wax, they may leave behind visible marks.
Plastic is much safer for most jobs because it is firm enough to lift the wax but gentle enough to avoid scratches.
That is why a simple plastic edge often does the job better than something sharper.
Step Three: Use Heat Only After the Bulk Is Gone
This is where the method gets more effective.
After the solid wax is removed, there is often still a thin residue left behind. That residue clings to the surface and can make the area look dull or greasy.
This is when gentle heat becomes useful.
You are not trying to melt a large puddle of wax. You are simply softening the leftover film so it can be wiped away.
A few common ways to do this include:
- a warm cloth
- mild heat from a hair dryer
- a paper towel and low heat
- careful warming followed by wiping
The important thing is to keep it gentle.
Too much heat can spread the wax or damage the surface underneath. The idea is to soften, not flood.
How to Clean Wax from Different Surfaces
The best trick still stays the same, but the exact method changes depending on where the wax landed.
On Wood
Wood needs extra care because it can scratch or stain easily.
The first step is to let the wax fully harden. Then gently lift off the top layer with a plastic edge or soft scraper.
After that, warm the remaining residue slightly and wipe it away with a soft cloth.
What matters most on wood is avoiding aggressive scraping and avoiding too much moisture. Wood does not like being soaked, and it does not like rough treatment.
A gentle approach works best.
If the wood has a finish, be especially careful not to rub too hard. You want to remove the wax, not dull the surface.
On Glass
Glass is one of the easier surfaces to clean, but it still requires care.
Once the wax is hardened, it can often be lifted fairly cleanly. After the bulk is removed, any remaining smear can usually be softened and wiped away.
Glass handles gentle heat well, so this is one surface where a warm cloth or mild warming method often works nicely.
Still, avoid sharp blades unless you are very comfortable and know the glass will not be scratched. Even on glass, one careless move can leave a mark.
On Fabric
Fabric is where candle wax feels most stressful.
At first glance, it looks like the wax has ruined everything. But in many cases, the fabric can still be saved if you work carefully.
The first step is always to let the wax harden.
Then, gently scrape off as much as possible without pulling the fibers. After that, use a warm method to lift the residue into an absorbent layer, rather than rubbing it deeper into the cloth.
The worst thing you can do to fabric is aggressively rub while the wax is soft. That tends to spread the stain and work it further into the weave.
Patience matters most here.
On Carpet
Carpet is another surface that makes people nervous.
The main goal is to avoid pushing the wax deeper into the fibers.
Once the wax hardens, remove as much as you can carefully. Then use gentle heat and absorbent material to draw up what remains.
Do not scrub hard. That usually makes the area worse. Keep the process controlled and avoid overworking the spot.
Carpet rewards patience more than force.
On Countertops
Countertops usually handle wax better than soft materials, but the finish still matters.
Stone, laminate, and sealed surfaces all respond a little differently.
The safest route is still the same:
let it harden, lift the bulk, soften residue, wipe clean.
If the countertop has a delicate finish, avoid anything that could scratch. If the wax spread near edges or seams, be extra careful not to force it into crevices.
A light touch goes a long way.
Why Warm Wax Is Harder to Clean
Warm wax is dangerous because it behaves like a glue.
It sticks to almost anything. It spreads before it settles. It can seep into pores, cracks, fibers, and grain.
That is why trying to clean it too soon often creates a bigger mess.
The best thing you can do is give it time to stabilize.
Once wax cools, it becomes manageable.
That is the turning point.
Why Overheating Can Make Things Worse
There is a temptation to blast wax with heat until it disappears.
That can backfire fast.
Too much heat can:
- spread the wax farther
- soften it too much
- push it deeper into the surface
- damage delicate materials
- leave new stains behind
Gentle heat is helpful. Intense heat can make cleanup harder.
The goal is to soften residue, not create a wax flood.
A Simple Cleaning Order That Works Almost Every Time
If you want the easiest way to remember the process, use this order:
1. Let it cool
Do not rush to wipe warm wax.
2. Lift the solid wax
Remove the bulk carefully with a safe tool.
3. Soften the leftover residue
Use mild heat only if needed.
4. Wipe the surface clean
Finish with a soft cloth or appropriate cleaner for the material.
That is the full rhythm.
It is simple, but it works because it respects how wax behaves.
The Mistakes That Usually Cause Trouble
Most wax-cleaning problems come from a few common mistakes.
Scraping too hard
This can scratch wood, glass, and painted surfaces.
Wiping too early
This spreads the wax and pushes it deeper.
Using too much heat
This melts the wax into a larger mess.
Rubbing fabric aggressively
This damages fibers and smears residue.
Ignoring the surface type
Each material needs a slightly different touch.
Once you stop doing those things, cleanup gets much easier.
What to Do If the Wax Left a Stain
Sometimes the wax itself comes off, but a faint mark remains.
That is usually residue, discoloration, or an oil component from the candle.
In that case, the cleanup is not really finished yet.
You may need to follow the wax removal with a gentle surface-specific cleaner. The important thing is not to use something too harsh just because the stain looks stubborn.
Wax cleanup often happens in stages.
First you remove the solid material. Then you deal with what it left behind.
Why Candle Type Matters
Not all wax behaves the same.
Some candles melt more quickly. Some leave more residue. Some contain dyes or fragrance oils that can stain more easily than plain wax.
That means one spill may clean up with almost no trouble, while another leaves a visible mark.
This is why the best trick is not only about the surface. It is also about the type of candle.
If a wax spill is colored or heavily fragranced, treat the cleanup a little more carefully because there may be more residue to deal with later.
A Trick That Makes Cleanup Easier Before It Starts
One of the smartest things you can do is protect the surface before lighting candles.
That might mean placing candles on:
- trays
- coasters
- candle holders
- heat-safe surfaces
That way, if a drip happens, the cleanup stays limited.
Prevention is not flashy, but it saves the most time.
A few seconds of preparation can prevent a much longer cleanup later.
The Real Secret Behind Wax Cleanup
The real secret is that candle wax is not hard to remove once you stop fighting it.
You do not need to attack it. You need to work with its texture.
When it is warm, let it cool.
When it is solid, lift it.
When residue remains, soften it gently.
That is the whole method.
It sounds almost too simple, but that is why it works.
Final Thoughts
So what is the best trick for cleaning candle wax?
It is this:
let the wax harden first, remove the bulk carefully, and only then clean the residue with gentle heat or a soft cloth.
That one approach works better than rushing, scrubbing, or overcomplicating the job.
It protects surfaces. It reduces mess. It keeps the cleanup controlled.
And most importantly, it saves you from making a small spill feel like a disaster.
Wax spills happen.
That part is normal.
But with the right method, they do not have to stay a problem for long.
The next time candle wax lands where it should not, do not panic.
Just remember the order:
cool it, lift it, clean it.
That is the trick that actually works.