Table of Contents
A cracked wooden cabinet can make a whole room feel less finished.
It does not always look dramatic at first. Sometimes the crack is small. Sometimes it is just a thin line along the edge, or a split near the corner where the cabinet gets the most stress. But once you notice it, you cannot unsee it.
And the annoying part is that wood cracks tend to feel more serious than they actually are.
They look like a sign that something is falling apart, when in reality, many cabinet cracks are repairable if you handle them early and carefully. Not every crack needs glue. Not every crack needs a full replacement. In a lot of cases, there is a much simpler way to stabilize the damage, make the cabinet usable again, and keep the problem from getting worse.
That was the biggest lesson for me.
Because when a cabinet cracks, the first reaction is usually to panic or overcomplicate it. But the truth is, many cracks are not about rebuilding the entire cabinet. They are about reducing stress, reinforcing the weak area, and making sure the split does not spread.
Once you understand that, the repair becomes a lot more manageable.
Why Wooden Cabinets Crack in the First Place
Wood is beautiful, but it is also a material that responds to its environment.
It expands. It contracts. It shifts slightly with humidity, temperature, and age. That means a cabinet can look fine for years and then suddenly develop a crack because the material has been under stress for too long.
Common causes include:
- humidity changes
- dry indoor air
- age and wear
- pressure from heavy doors or shelves
- poor installation
- repeated opening and closing
- impact or accidental damage
Some cracks happen slowly. Others show up after one specific moment, like bumping a cabinet door or pulling on a hinge that was already loose.
The important thing is not just what caused the crack. It is whether the wood around it is still stable enough to repair.
Most of the time, it is.
When You Can Fix It Without Glue
This is the part most people want to know first.
A cracked cabinet can often be fixed without glue when:
- the crack is not fully separating the wood
- the cabinet is still structurally stable
- the damage is mainly cosmetic or surface-level
- the surrounding wood is not rotting or falling apart
If the crack is small, clean, and not actively spreading, you may be able to repair it by reinforcing the area instead of bonding it with glue.
That is especially useful when glue would be messy, hard to control, or not the right solution for the finish.
In some cases, glue is not ideal because:
- you do not want residue on the surface
- the crack is in a visible area
- the join is too awkward to clamp
- the cabinet needs a cleaner cosmetic repair
That is where alternative methods come in.
What “Without Glue” Really Means
A lot of people hear “without glue” and think it means doing nothing to hold the crack together.
That is not the idea.
It means using other repair methods to stabilize, reinforce, and conceal the damaged area without relying on adhesive as the main solution.
The goal is to:
- stop the crack from spreading
- restore the cabinet’s appearance
- reduce pressure on the damaged section
- keep the wood from shifting more over time
You are not pretending the crack never happened.
You are repairing it in a cleaner, more controlled way.
Step 1: Check the Crack Carefully
Before touching anything, take a close look at the damage.
Ask yourself:
- Is the crack shallow or deep?
- Is the wood still attached?
- Is the cabinet door or panel loose?
- Is the crack near a hinge, corner, or load-bearing section?
- Is the surrounding wood dry, soft, or damaged?
This step matters because not every crack should be repaired the same way.
A small surface split in a cabinet door is very different from a crack near a joint that holds the whole frame together.
If the cabinet is still stable, you have more options.
If it is weak or shifting, you may need to reinforce it more aggressively.
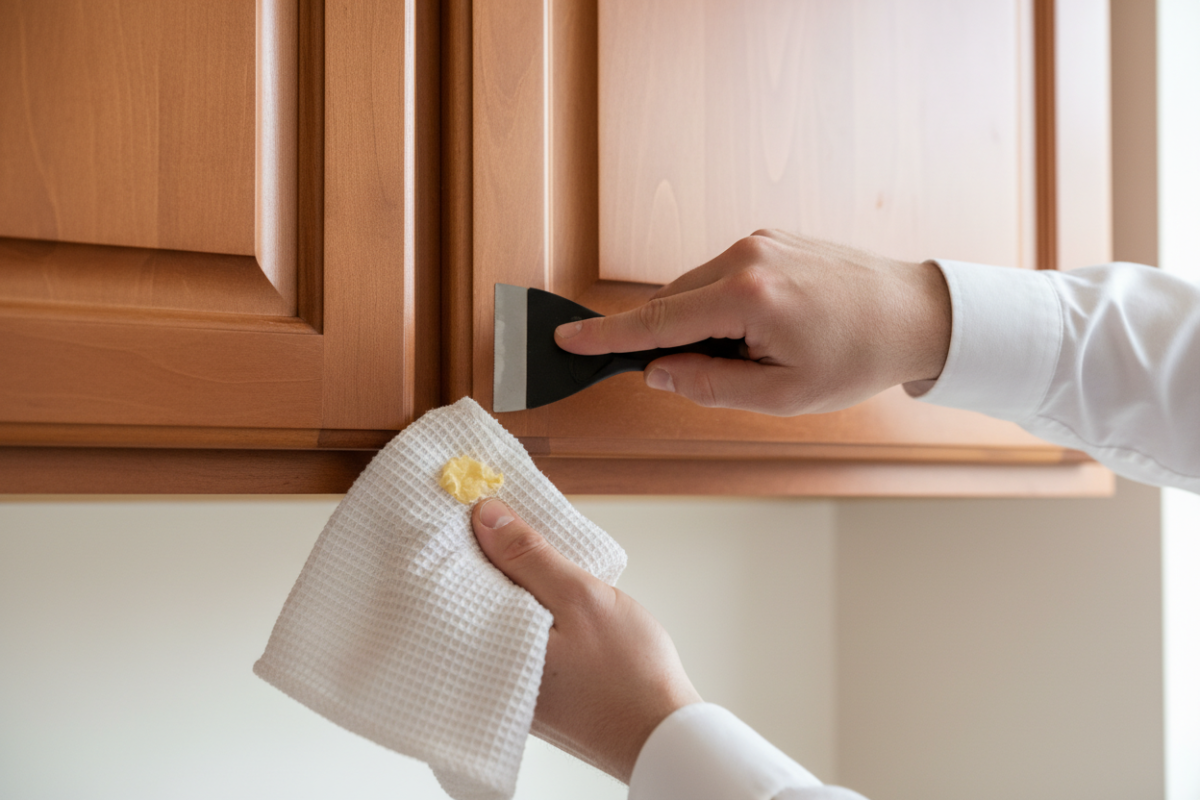
Step 2: Clean the Area First
A repair will always work better if the surface is clean.
Dust, grease, and residue can make it harder to work on the crack and can also hide the real shape of the damage.
Before doing anything else:
- wipe the cabinet surface
- remove dust from the crack
- clean away grease or dirt
- let the area dry fully
This is especially important in kitchens, where cabinets often collect oils from cooking.
A clean surface makes it much easier to see exactly what you are dealing with.
Step 3: Prevent the Crack From Spreading
Once a crack appears, the main fear is that it will keep growing.
That is why the first real repair goal is stabilization.
If the crack is small and clean, you may be able to keep it from spreading by reducing stress in the area and reinforcing the structure from the inside or around the edge.
Depending on the cabinet style, that may involve:
- tightening nearby hardware
- adjusting the door alignment
- reducing pressure on the damaged section
- supporting the cabinet better
- preventing moisture exposure
The best repair is not always the flashiest one. Sometimes it is the one that simply stops the crack from getting worse.
Step 4: Tighten Loose Hinges and Hardware
A surprising number of cracks happen because of loose hardware.
If a hinge is pulling too hard on the cabinet door, the wood around it can crack over time. If screws are loose, the stress shifts into the surrounding wood. And once that happens, the split can grow.
So before focusing only on the visible crack, check the cabinet hardware.
Look for:
- loose hinges
- wobbly screws
- uneven doors
- shifting doors that rub the frame
- hardware pulling away from the wood
Sometimes tightening or adjusting the hardware reduces enough stress that the crack stops becoming a problem.
This is one of those small fixes that can make a bigger difference than expected.
Step 5: Use Reinforcement Instead of Glue
If you want to repair the cabinet without glue, reinforcement is often the best option.
This can mean using:
- small brackets
- corner supports
- screws placed carefully
- wood filler for cosmetic repair
- surface patching
- touch-up materials
The exact method depends on where the crack is.
If the crack is along a corner, a small support piece may help stabilize it from behind or underneath. If the crack is on a panel, a cosmetic repair may be enough. If it is near a hinge, the hardware may need to be adjusted and reinforced.
The point is to support the weak area so the wood is no longer carrying all the stress on its own.
Step 6: Keep the Cabinet Dry
Moisture is one of the biggest enemies of wooden cabinets.
Even if the crack is fixed well, too much humidity or repeated wetting can cause the wood to expand and split again.
That is why it helps to think about the environment around the cabinet, not just the cabinet itself.
Try to avoid:
- water splashing directly on the wood
- wet cloths left on the surface
- steam buildup from cooking
- long-term dampness under sinks
- poor ventilation
If the cabinet is in a kitchen or bathroom, keeping it dry matters just as much as the repair.
A crack can come back if the wood keeps moving.
Step 7: Fix the Cosmetic Side of the Damage
Once the crack is stable, the next goal is appearance.
Even if the cabinet is structurally fine, a visible split can still be distracting.
That is where cosmetic repair comes in.
Depending on the finish, you may want to:
- fill the visible line
- smooth the surface
- blend the color
- touch up the finish
- hide the crack as much as possible
If the crack is thin, a cosmetic patch can make a huge difference.
The idea is not to make the cabinet look fake or heavily altered. It is to restore a clean, consistent appearance so the damage does not stand out every time you walk into the room.
Step 8: Do Not Force the Crack Closed
This is an easy mistake to make.
If a crack is open, it is tempting to push it together as tightly as possible and hope that solves it.
But forcing the wood can sometimes make things worse.
Wood needs a little flexibility. If the cabinet is still under stress, forcing the crack closed without fixing the cause may create a new split somewhere else.
A better approach is to:
- stabilize first
- reduce pressure
- reinforce the area
- then improve the appearance
That sequence matters.
Step 9: Know When the Crack Is Beyond a Simple Fix
Not every cabinet crack can be handled with a light repair.
If you notice:
- severe separation
- rotting wood
- soft or crumbling material
- repeated cracking in the same spot
- major structural weakness
then the cabinet may need more than a surface solution.
That does not always mean full replacement, but it does mean the damage is more serious.
The more important question becomes whether the cabinet can still safely hold weight and function normally.
If it cannot, the repair needs to address structure, not just appearance.
Step 10: Protect the Cabinet After Repair
A successful repair should not be the end of the story.
It should be the start of better care.
Once the cabinet is fixed, keep it from cracking again by:
- checking hinges regularly
- avoiding excess moisture
- wiping up spills quickly
- not overloading shelves
- keeping the room from getting too dry
- watching for new stress points
Wood cabinets last longer when they are maintained gently.
And that is often the difference between a repair that lasts and one that fails a few months later.
What I Learned From Repairing Cabinets the Simple Way
The biggest thing I learned is that cabinet damage often feels worse than it is.
A crack looks alarming, especially on wood. But a crack does not always mean disaster. In many cases, it just means the material needs support, stabilization, and a little care.
That is why the “no glue” approach can be so useful.
It keeps things cleaner.
It keeps the repair focused.
And it avoids making a simple problem unnecessarily messy.
A Practical Mindset for Wood Repairs
The best way to think about a cracked cabinet is this:
the crack is not the whole problem.
The real issue is usually stress.
Stress from moisture. Stress from hardware. Stress from age. Stress from movement.
Once you identify what is stressing the wood and reduce that pressure, the repair becomes much easier to manage.
That is true for a cabinet door, a drawer front, or a side panel.
The wood is telling you where it needs support.
Final Thoughts
Fixing cracked wooden cabinets without glue is absolutely possible in many cases.
You do not always need a dramatic repair. You do not always need to replace the whole cabinet. And you do not always need to reach for adhesive first.
Instead, focus on:
- checking the crack carefully
- cleaning the area
- tightening loose hardware
- reinforcing the weak spot
- keeping the wood dry
- repairing the cosmetic damage
- preventing new stress
That approach is usually cleaner, simpler, and more practical.
And once the cabinet is stable again, the whole room feels better.
Not because the wood is perfect.
But because it is no longer falling apart in front of you.
That is the real goal of a good repair.