Table of Contents
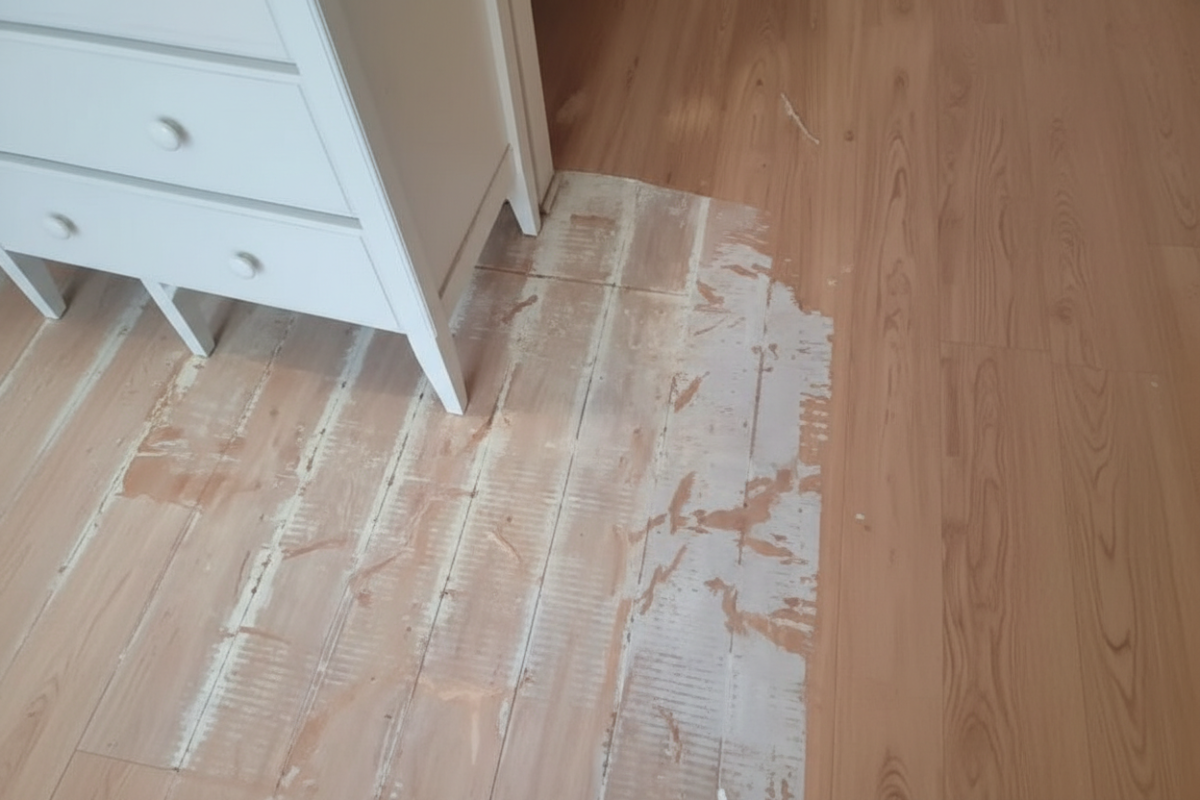
Adhesive on a wood floor has a way of making even a clean room feel unfinished.
It might be a strip of tape left behind after moving furniture. It might be sticky residue from a rug pad, a sticker, old flooring glue, or something that seemed easy to remove at first but turned into a stubborn mess. At a glance, it can look like a small problem. Then you touch it, and suddenly you realize it is not coming off nearly as easily as you expected.
That is usually the moment people start scrubbing harder.
And that is also where the real damage begins.
Wood floors are beautiful, but they are not forgiving when you treat them the wrong way. Too much water, the wrong chemical, too much scraping, or an overly aggressive cleaner can leave behind dull spots, scratches, or discoloration that is much harder to fix than the adhesive itself.
The goal is not to get the floor clean at any cost. The goal is to remove the sticky residue without harming the finish, the wood, or the long-term look of the floor.
Once that becomes the priority, the process gets much more manageable.
Why Adhesive Is So Hard to Remove
Adhesive is designed to stick. That is the entire point.
So when it ends up on a wood floor, it does not just sit on top in a neat little layer. It bonds to the surface, settles into tiny texture changes, and can hold on even after the main object has been removed.
Sometimes the adhesive is soft and tacky. Sometimes it is dry and rubbery. Sometimes it feels like a sticky film that spreads instead of lifting. And depending on how long it has been there, it can behave very differently.
Fresh adhesive is usually easier to deal with. Old adhesive tends to harden, collect dust, and become more stubborn.
That is why time matters.
The longer you wait, the harder the residue is to remove safely.
The Most Important Rule: Be Gentle First
This is the part that saves the floor.
When adhesive shows up on wood, the instinct is usually to grab the strongest cleaner or the sharpest tool available. But wood floors are not the kind of surface that improve under pressure.
Start with the least aggressive method possible.
That means:
- soft cloths
- plastic tools instead of metal
- minimal moisture
- slow, patient removal
If a gentle approach works, that is always the best outcome. If it does not, you can move up carefully. But jumping straight to harsh scrubbing often creates more trouble than the adhesive itself.
What You Should Avoid
Before getting into what works, it helps to know what usually causes damage.
Avoid:
- metal scrapers
- abrasive pads
- too much water
- strong solvents used carelessly
- excessive heat
- hard scrubbing in one spot
These can scratch the floor, dull the finish, or drive the problem deeper.
Even if the adhesive comes off, the floor may end up looking worse than before.
That is why the safest process is slower, but smarter.
Step 1: Identify What Kind of Adhesive You Are Dealing With
Not all sticky residue behaves the same way.
Some adhesive is soft and tacky. Some is old and dried. Some comes from tape, labels, glue, carpeting, or rug pads. Some leaves a thin shiny film. Others form a thick patch that feels almost rubbery.
The type of adhesive matters because it changes how you remove it.
For example:
- fresh residue often lifts more easily
- old glue may need softening first
- sticky tape residue may respond to mild cleaner
- construction adhesive may be much tougher and require more patience
Understanding the texture helps you choose the right method instead of forcing one approach on everything.
Step 2: Start by Softening the Adhesive
A dry adhesive patch is much harder to remove than one that has been gently loosened.
The first move is often to soften it a little.
That can mean using a mild cleaning solution, a small amount of warm water on a cloth, or a floor-safe adhesive remover if the situation calls for it. The key is to avoid soaking the wood. Wood and excess moisture are not friends.
A damp cloth is usually enough.
Apply it carefully, let it sit for a short moment if needed, and see whether the adhesive becomes more flexible. You are not trying to flood the area. You are just trying to make the residue less stubborn.
That small difference can save you a lot of scraping later.
Step 3: Lift, Do Not Dig
Once the adhesive softens, use a plastic scraper or a soft edge to lift it gently.
This part matters a lot.
You want to lift the residue from the surface, not dig into the finish underneath it. A metal scraper can bite into the wood or leave a line that you will notice every time light hits the floor.
A plastic tool is slower, but safer.
Work from the outside edge inward. If the residue starts to peel or roll up, that is a good sign. If it resists, stop and soften it more rather than forcing it.
Patience usually protects the floor better than strength ever will.
Step 4: Use a Safe Cleaner for the Remaining Film
Even after the main adhesive is removed, there is often a thin sticky layer left behind.
That film is what makes the floor still feel dirty even after the obvious residue is gone.
For that stage, a safe cleaner can help. The important thing is choosing something that will not damage the finish.
A small amount applied to a cloth is usually better than pouring anything directly onto the floor. Wipe lightly, test in a small area first, and always make sure the floor is not left wet.
If the film loosens, continue gently. If it does not, do not keep flooding the area with product. That is how wood floors get damaged over time.
The cleaner should help the process, not become a new problem.
Step 5: Wipe Dry Immediately
This step is easy to overlook, but it matters more than many people realize.
Once the adhesive is gone, wipe the area dry right away.
Wood floors do not like standing moisture. Even a small amount left behind can affect the finish if it sits too long.
Drying immediately helps:
- prevent streaking
- reduce water exposure
- keep the finish looking even
It is a simple step, but it protects the result of all the work you just did.
When the Adhesive Is Really Stubborn
Some adhesive is easy. Some is not.
If the residue has been there for a long time, it may need a few rounds of softening and lifting. That does not mean you should use more force. It just means the process will take longer.
In stubborn cases, the best approach is often:
- soften the adhesive
- gently lift what comes away
- wipe the area
- repeat if needed
That cycle is boring, but effective.
Trying to rush it usually leads to scratches or dull patches that are much harder to fix than the original sticky spot.
Why Heat Is Not Always the Answer
People often assume heat will solve anything sticky.
Sometimes it helps. Sometimes it makes things worse.
Heat can soften certain adhesives, but it can also affect the finish on wood floors if used carelessly. Too much heat in one place may cause the surface to react badly or become uneven.
If you ever use warmth, keep it very mild and very controlled.
Never blast the floor with strong heat and assume it will be fine.
Wood floors prefer calm, not intensity.
What If the Adhesive Came from Tape or Labels
This is one of the most common situations.
Tape residue and label glue usually leave behind a tacky patch that attracts dust. It looks minor at first, but it can keep collecting dirt if you ignore it.
The good news is that this type of residue is often easier to remove than deeper glue. A gentle softening method and a careful lift are usually enough.
The bad news is that if you keep rubbing it with the wrong cloth or dragging a rough tool across it, the area can start to look cloudy or scratched.
That is why a light touch matters so much.
What If It Came from Flooring Glue or Rug Pads
This is a harder category.
Rug pad residue, old flooring adhesive, and installation glue can be much more stubborn than tape residue. They can cling tightly to the finish and may not respond well to the first attempt.
This is where many people panic and start reaching for stronger chemicals or sharper tools.
That is usually the wrong move.
A safer approach is to go slowly and test cautiously. Some residues may come off in layers. Some may need repeated softening. Some may require a product specifically meant for floor-safe adhesive removal.
The big warning here is simple:
do not assume stronger is better.
Stronger often means riskier.
Why Testing a Small Spot Matters
This is one of the smartest things you can do before treating the whole area.
Every wood floor is slightly different. Different finishes react differently. What works beautifully on one floor may dull another.
So before applying anything to the adhesive itself, test a tiny, hidden section first if possible.
That lets you check for:
- finish dulling
- discoloration
- residue spreading
- unwanted softening of the surface
A small test can prevent a very big mistake.
A Simple Routine That Works Better Than Panic Cleaning
When adhesive appears on a wood floor, the process is easier if you keep it structured.
A good routine usually looks like this:
- assess the type of residue
- soften it gently
- lift it with a plastic edge
- remove leftover film with a safe cleaner
- dry immediately
- repeat only if needed
That kind of method is not flashy, but it works.
And because wood floors are expensive to repair, boring is often exactly what you want.
What Not to Do When You Are Frustrated
The hardest part of adhesive removal is emotional, not technical.
It is easy to get annoyed when the sticky spot will not budge. You clean a little, nothing happens. You try again, still nothing. That is when people start pressing harder and making bad choices.
That is the moment to stop.
Do not:
- scrape harder just because you are frustrated
- soak the floor to “speed things up”
- switch to rough materials
- keep rubbing the same spot aggressively
If the adhesive is resisting, it usually needs more softening, not more force.
How to Know When You Are Done
You are not just looking for the visible blob to disappear.
You also want to make sure the floor feels clean under your hand and does not have a sticky film left behind.
Run your fingers lightly over the area once it is dry.
If it feels smooth, you are probably done.
If it still grabs a little, there may be leftover residue. That is normal. Sometimes it takes one more round to get it fully clean.
The goal is a floor that looks clean and feels clean.
How to Prevent Adhesive Problems in the Future
Once you have dealt with one sticky mess, you start to become a lot more careful about what touches the floor.
A few habits help:
- use floor-safe tape only when necessary
- check under rug pads regularly
- clean spills before they harden
- remove stickers or labels quickly
- avoid placing adhesive-backed items directly on wood
Prevention is easier than rescue.
That is especially true for wood floors, where every repair feels more annoying than it should.
The Bigger Lesson Here
This kind of problem teaches you something useful.
When a floor is delicate, the safest solution is rarely the fastest one.
That is true for adhesive, and honestly for most cleaning tasks on wood.
The best result usually comes from:
- patience
- gentle technique
- the right tools
- not overreacting
Once you understand that, sticky residue stops feeling like an emergency and starts feeling like a fixable nuisance.
And that is a much better place to be.
Final Thoughts
Removing adhesive from wood floors safely is really about protecting what makes the floor beautiful in the first place.
The sticky residue is annoying, yes. But the real danger is damaging the finish while trying to remove it.
So the smartest approach is:
- soften first
- lift gently
- avoid harsh tools
- keep moisture low
- dry the area immediately
That process may take a little longer, but it helps preserve the floor and keeps the repair from becoming a bigger problem.
And with wood floors, that is always the goal.
Not just clean.
Clean, safe, and still looking like wood should.