Table of Contents
A clean fridge changes the whole kitchen.
Not in a dramatic way, and not in the kind of way anyone brags about online. It is more subtle than that. The shelves look brighter. The air feels fresher. Food is easier to find. Leftovers stop disappearing behind random containers. And the whole kitchen suddenly feels more under control.
The annoying part is how quickly a fridge can go from “fine” to “why does this smell like that?” without much warning.
A forgotten container. A small spill. A drip from a bottle. Some sticky sauce on a shelf. A little condensation around the crisper drawer. None of it seems like a big deal at first, but together they build up into a fridge that feels tired, cluttered, and slightly unpleasant every time you open the door.
That is why learning how to clean the inside of a fridge in 10 minutes is such a useful habit.
Not because the fridge will be perfectly deep-cleaned in that amount of time. It will not. But because a quick, focused reset can make the entire space feel fresh again without turning it into a huge project.
That is the real goal here.
Not perfection. Just a clean, usable fridge that does not fight you every time you reach for something.
Why the Fridge Gets Messy So Fast
The fridge is one of those places that gets used constantly but cleaned too slowly.
Food goes in and out all day. Bottles get moved around. Leftovers are placed on top of other leftovers. Tiny spills happen and get ignored because the door closes and the mess disappears from view. Then one day, you notice the smell, or a sticky shelf, or a mystery puddle underneath a container you forgot existed.
Fridge mess usually comes from a few simple things:
- spills
- crumbs
- condensation
- leaky containers
- expired food
- items shoved into corners and forgotten
The problem is that most of these messes are small enough to overlook in the moment. But fridges are closed environments. So even small messes stay there and keep affecting the space.
That is why a quick regular clean works so well. It prevents one small problem from turning into a bigger one.
Why 10 Minutes Is Actually Enough
Ten minutes sounds too short until you stop trying to do everything at once.
The point is not to empty the entire fridge, scrub every surface until it shines, reorganize all the food, and label every container. That would take much longer.
The point is to do the most important things first:
- remove obvious bad food
- wipe visible messes
- clean the shelves and drawers that actually need attention
- reset the fridge so it feels fresh again
Once you stop trying to make it perfect, ten minutes becomes very realistic.
This is one of those tasks where a timer helps more than motivation. When you know you only have ten minutes, you move differently. You focus on what matters. You stop overthinking the process. And surprisingly, that makes the job easier and faster.
The Fridge Cleaning Habit That Helps Most
The biggest difference comes from cleaning the fridge before it becomes a problem.
That means not waiting until the shelf is sticky enough to notice, or the smell is strong enough to ignore, or the forgotten item has turned into a mystery science experiment.
A fridge stays cleaner longer when you do small resets regularly.
That does not mean deep cleaning every week. It means handling small messes before they spread. Wiping a spill right away. Tossing expired food when you see it. Straightening one shelf instead of leaving it for later. These tiny habits add up fast.
And they make the ten-minute clean much easier when it is time to do it.
What You Actually Need
A fridge cleanup does not need a long list of supplies.
Most of the time, you only need a few simple things:
- a bowl of warm water
- mild dish soap
- a soft cloth or sponge
- a dry towel
- a trash bag
If there is a stubborn spot, a little baking soda can help. But for most jobs, the basics are enough.
The goal is to clean without making the process complicated.
Because the more complicated it feels, the less likely it is to happen regularly.
Step One: Empty the Obvious Trash First
The first thing I do is look for the obvious stuff.
Anything expired. Anything spoiled. Anything with mold. Anything that has been sitting there so long it no longer feels safe to trust.
This step is important because it creates space right away.
There is no point wiping shelves if the food sitting on them is already bad. So the fastest way to improve the fridge is to remove the things that clearly need to go.
That usually includes:
- old leftovers
- wilted produce
- expired condiments
- half-empty containers you know nobody is using
- anything with a strange smell
This alone can make the fridge feel better very quickly.
Step Two: Take Out the Messiest Items
You do not need to empty the entire fridge if you are working with only ten minutes.
Instead, focus on the items that are making the most mess.
For example:
- leaking bottles
- sticky jars
- containers with drips underneath
- produce drawers with loose crumbs or water
- shelves with obvious spills
These are the things that create the biggest visual and practical problems.
By removing them first, you make it much easier to clean the surface underneath.
And once the mess is visible, it usually takes far less time than people expect.
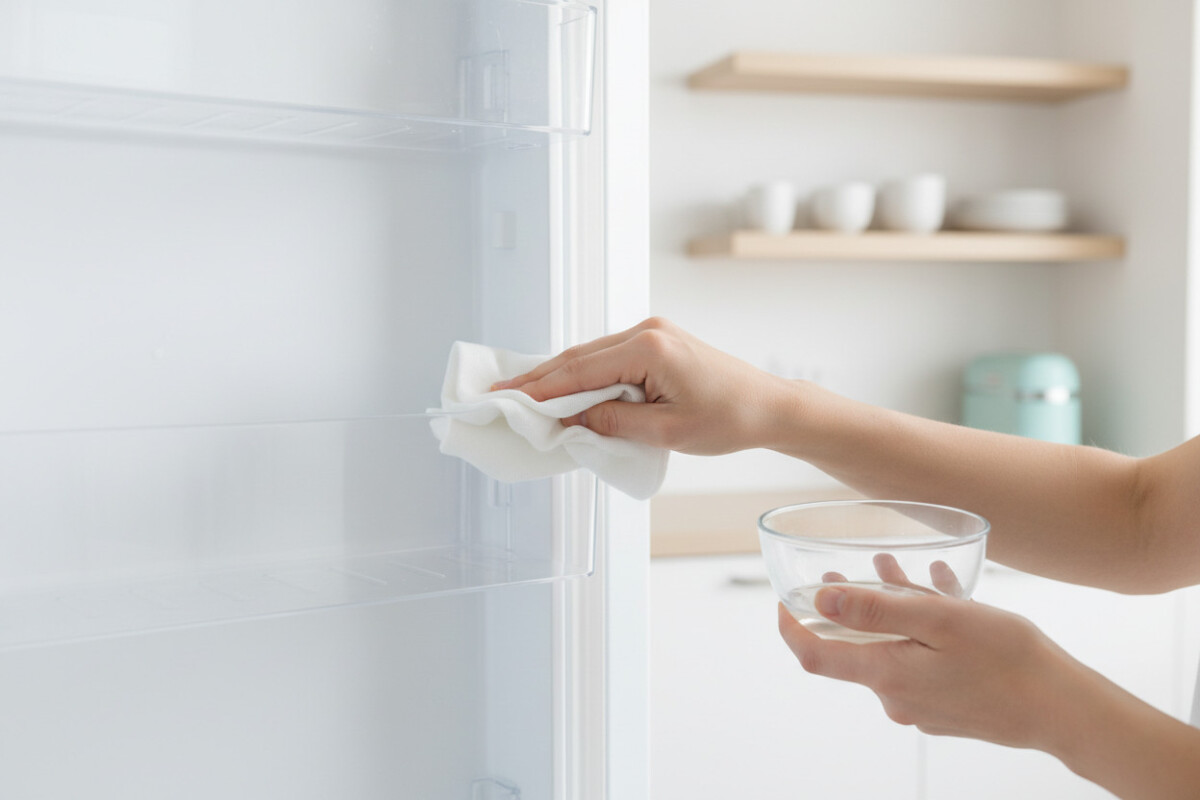
Step Three: Wipe the Shelves While They Are Clear
This is the part that makes the whole job feel real.
Once a shelf is empty or mostly empty, wipe it immediately.
Do not wait. Do not move on to another task first. Do not assume you will come back to it.
Wipe the shelf while you can actually reach it.
Use warm water with a little mild soap and a soft cloth. Focus on:
- sticky patches
- crumbs
- water droplets
- sticky residue around containers
- corners where spills collect
A refrigerator does not need aggressive scrubbing most of the time. It needs consistent wiping.
That is a much easier task to repeat.
Step Four: Clean the Door Shelves Too
A lot of people forget the fridge door.
That is where small messes love to hide.
The door shelves collect:
- sauce drips
- bottle leaks
- dust
- sticky buildup from fingerprints
- crumbs from jars or containers
Because the door is opened so often, it gets touched constantly. And the more often it is touched, the more grime it collects.
Even a quick wipe of the door shelves makes a huge difference.
It is one of those small details that changes the whole feeling of the fridge.
Step Five: Check the Drawers
The produce drawers and lower compartments often become the messiest parts of the fridge.
That is where moisture collects. That is where crumbs fall. That is where forgotten vegetables go to slowly disappear.
If you only have a few minutes, lift out the obvious debris, wipe the surfaces, and check for anything slimy or damp.
These drawers do not have to be fully deep-cleaned every time. But they should not be ignored either.
A quick wipe and a fast reset are usually enough to keep them from turning into a problem.
Step Six: Wipe the Gaskets and Edges
This step is easy to skip because it is not very visible.
But the rubber seal around the fridge door matters.
It traps crumbs, moisture, and sticky bits over time. If it gets dirty, it can affect how the door closes and how fresh the fridge feels overall.
A quick wipe around the edges and gaskets helps more than most people realize.
It also makes the fridge look cleaner, even if you have only done a basic wipe-down inside.
Step Seven: Put Things Back With a Little Intention
This is where the ten-minute clean stops being just a cleaning job and becomes a reset.
When you put food back, do it with some order.
Not perfection. Just intention.
Keep similar items together:
- dairy in one area
- leftovers in another
- condiments grouped
- produce in the drawers
- drinks where they are easy to reach
This makes the fridge easier to use later, which means it stays cleaner longer.
Because when things are easier to find, they are less likely to get buried and forgotten.
Step Eight: Move the Oldest Food to the Front
This is one of the easiest habits to build and one of the most useful.
If older items stay hidden behind newer ones, they are forgotten. Then they expire. Then they become clutter. Then they turn into the reason you need a bigger cleanup later.
So when you put things back, place the older items where they are easiest to see.
That way you actually use them.
And your fridge starts working with you instead of against you.
Step Nine: Dry Surfaces Before Closing the Door
This is the part a lot of people skip.
After wiping, do not leave the shelves wet.
Dry them with a clean towel if needed. It helps prevent streaks, moisture buildup, and that slightly cold damp feeling that makes a fridge seem less fresh.
A dry surface also makes it easier to spot new spills later.
And that is a small detail that really matters over time.
What to Do If Something Is Stuck
Sometimes a spill dries into a sticky spot that does not come off easily.
That is when a little extra patience helps.
Let the warm soapy cloth rest on the area for a moment. Then wipe again.
Most fridge messes are not complicated. They are just dried and ignored.
Once moisture loosens them, they usually come off pretty quickly.
There is no need to scrub aggressively or use anything harsh unless the surface truly needs it.
How to Keep the Fridge Cleaner Between Deep Cleans
The ten-minute clean works best when it is backed by small habits.
A few simple things help a lot:
- wipe spills immediately
- toss expired food when you notice it
- avoid putting uncovered food in the fridge
- check leftovers before they disappear into the back
- keep containers closed properly
These tiny habits make the next cleaning easier.
And over time, they keep the fridge from developing that “I should really deal with this” feeling.
Why Regular Small Cleaning Is Better Than Waiting
It is tempting to ignore the fridge until it really needs attention.
But waiting usually makes the job feel bigger than it is.
A quick ten-minute reset every so often is much easier than a full rescue mission later. Less smell. Less scrubbing. Less food waste. Less frustration.
That is the real benefit.
Not just a cleaner fridge, but a lower-stress routine.
What a Clean Fridge Changes in Daily Life
This might sound dramatic for a fridge, but the difference is real.
When the inside is clean:
- food is easier to find
- leftovers are more visible
- you waste less
- the smell improves
- the whole kitchen feels fresher
It is one of those invisible improvements that ends up affecting your whole day.
Because every time you open the fridge, you get a tiny reminder that things are under control.
That matters more than it seems.
When a Full Deep Clean Is Still Worth It
The ten-minute method is great for maintenance.
But sometimes the fridge does need more than that.
If there is a spill under the drawers, a strong smell, old food hidden in the back, or a buildup you cannot handle quickly, then a deeper clean is worth doing.
That is fine.
The short version keeps things manageable. The deeper clean resets the entire space when needed.
Both have a place.
A Simple Ten-Minute Fridge Routine
If you want a basic routine that actually works, it looks like this:
First, remove expired or spoiled food.
Then take out the messiest items.
Wipe the shelves and door bins.
Check the drawers.
Dry the surfaces.
Put the food back in a more organized way.
That is the whole process.
Nothing fancy. Nothing overwhelming. Just a quick, practical reset that makes the fridge feel clean again.
Final Thoughts
Cleaning the inside of a fridge in ten minutes is not about doing a perfect job.
It is about doing the right job quickly.
A small reset can make the whole kitchen feel better, reduce smells, prevent spills from building up, and keep food more organized. And once you get used to the rhythm, it stops feeling like a chore and starts feeling like a simple maintenance habit.
That is the real lesson here:
small regular cleaning beats occasional big cleaning every time.
And a fridge that gets that kind of attention stays easier to use, easier to clean, and much nicer to open every single day.