Table of Contents
Baseboards are one of those details you barely notice when they are clean, but somehow they make the whole house feel off when they are not.
A room can be freshly vacuumed, the counters can be spotless, and the furniture can be perfectly arranged, but if the baseboards are covered in dust, scuffs, and that thin gray line that seems to appear out of nowhere, the space still feels unfinished.
That is the strange thing about baseboards. They are low enough to collect everything, but quiet enough to be forgotten.
For a long time, I treated them like background trim. Something there to frame the room, not something worth paying attention to. But once I started cleaning them regularly, I realized how much of a difference they make. Clean baseboards do not scream for attention, but they make the entire room look sharper, brighter, and more cared for.
The good news is that baseboard cleaning is not complicated. It just needs the right rhythm, the right tools, and a simple plan that does not make the job feel bigger than it really is.
Why Baseboards Get Dirty So Fast
Baseboards sit in the exact place where dust likes to settle.
They catch:
- dust from the air
- pet hair
- crumbs
- shoe marks
- cleaning residue
- scuffs from vacuum heads, mops, and furniture
Because they are close to the floor, they also get hit by whatever moves through the room every day. That means dirt does not just sit on top of them. It clings, builds up, and becomes more noticeable over time.
The frustrating part is that baseboards can look fine from a distance while still being dusty enough to make a room feel dull. That is why they are so easy to ignore. You do not always see the mess immediately, but once you clean them, the difference is obvious.
A room with clean baseboards looks fresher without any other change. It is one of those small improvements that has a bigger visual impact than expected.
How Often Should You Clean Baseboards?
There is no perfect schedule for every home, but a simple routine works well for most people.
A light cleaning every few weeks is enough to keep dust from building up. A deeper clean every month or two helps remove scuffs and grime before they become stubborn.
Homes with pets, kids, or a lot of foot traffic may need more frequent attention. So may homes in dusty areas or spaces with open windows.
The best rule is not to wait until baseboards look obviously dirty. Once they are visibly dusty, they usually need more than a quick wipe. A little regular care makes the job much easier later.
Start With Dust First
This sounds obvious, but it matters more than people think.
Before adding water or cleaner, remove the loose dust first. If you skip this step, you end up pushing dust around instead of actually removing it.
A dry microfiber cloth works well. A vacuum with a brush attachment can also help, especially if the baseboards are very dusty or if the area has a lot of pet hair. In some rooms, a duster with a long handle is useful for reaching low and awkward spots without bending over too much.
The point is simple: cleaning works better when you remove the loose layer first.
Once the dust is gone, the actual wiping step becomes much easier and much more effective.
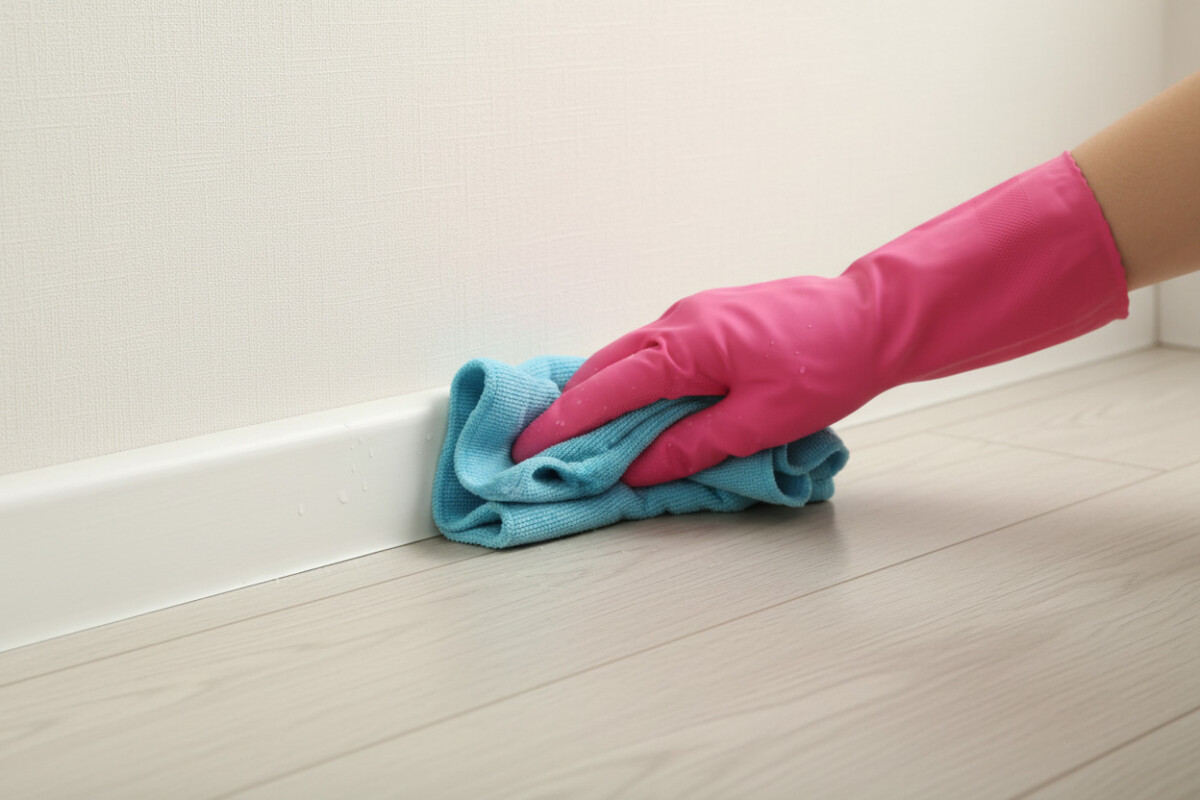
The Best Basic Cleaning Method
For everyday cleaning, you do not need anything fancy.
Most baseboards can be cleaned with:
- warm water
- a small amount of mild soap
- a microfiber cloth
That is usually enough for normal dust and light grime.
Dampen the cloth slightly, then wipe along the baseboards in sections. Do not soak them. Too much water is unnecessary and can create problems on certain finishes or in areas where moisture should be kept minimal.
After wiping, use a dry cloth to go over the surface again. That helps prevent streaks and leaves the baseboards looking cleaner and brighter.
This simple method works especially well when you keep up with it regularly. If you wait too long, the dirt becomes more stubborn, and then you need a deeper cleaning step.
Scuffs Need a Different Approach
One of the most common problems on baseboards is scuff marks.
These usually come from shoes, furniture, cleaning tools, or everyday movement around the house. They are especially noticeable on white or light-colored baseboards.
For scuffs, a damp cloth may not be enough.
A gentle scrubbing sponge, a bit of cleaner, or even a soft eraser-type sponge can help remove the mark without damaging the paint. The key is to start gently and increase only if needed.
There is no reason to scrub aggressively right away. That can remove paint or leave dull patches. Baseboards should look clean, not worn down.
The best rule is to test a small area first and work carefully.
Corners and Edges Need Extra Attention
The corners are where grime likes to hide.
Dust settles there. Hair gathers there. Cleaning residue can build up in the seams. And if the room is near a doorway, the corners usually get more dirt than you expect.
When I clean baseboards, I always spend a little more time on:
- corners
- seams
- the lower edge where the baseboard meets the floor
- areas behind furniture
- spots near doors and high-traffic paths
Those are the places that tend to get missed during a quick pass. They are also the areas that make the biggest difference when they are finally cleaned properly.
A baseboard can look “mostly clean” and still feel unfinished because of dirty corners. That is why detail work matters.
Do Not Forget the Top Edge
A lot of people wipe the face of the baseboards and stop there.
But the top edge is one of the biggest dust collectors in the room.
It sits flat enough for dust to settle, and because it is less visible, it often gets ignored for weeks or months.
When cleaning, run your cloth or duster along the top edge too. If the baseboards have a molding profile or grooves, use a cloth that can follow the shape. Small details make a big difference here.
That top line is often what makes a room look either polished or neglected.
How to Handle Greasy or Sticky Baseboards
Some baseboards pick up more than dust.
In kitchens, hallways, and rooms near entryways, they can also collect greasy film, sticky residue, or grime from the air and from hands, shoes, and nearby surfaces.
In those cases, plain water may not be enough.
A mild soap solution usually does the trick. Apply it lightly, wipe the area, then dry it right away. If the residue is stubborn, let the damp cloth sit on the spot for a few seconds before wiping again.
The goal is not to soak the surface. It is to loosen the grime without damaging the paint or trim.
If the room is near cooking areas, a little buildup can happen faster than expected. Regular attention keeps that from turning into a bigger job.
Painted Baseboards Need Gentle Care
Painted baseboards are common, especially white ones.
They look beautiful when clean, but they can also show every scuff and every small mark.
That means the cleaning method matters.
Avoid using anything too rough. Abrasive scrubbers can dull the finish or leave shiny patches where the paint has been worn down. Harsh chemicals can also damage the surface over time.
A soft cloth and gentle cleaner are usually enough. If a stain needs more attention, work slowly and test a small spot first.
The aim is to refresh the baseboard, not strip its finish.
Wood Baseboards Need a Slightly Different Touch
Wood baseboards can look rich and elegant, but they also need a bit more care.
If the wood is sealed or finished, a slightly damp cloth is usually fine. If the surface is older or more delicate, less moisture is better.
The biggest rule with wood is to avoid leaving water behind. Wipe and dry as you go.
For dark wood, dust tends to show in a different way than on white trim. The buildup may not look as dramatic, but it can still dull the finish and make the room feel less polished.
A gentle touch keeps the wood looking clean without overdoing it.
A Vacuum Can Help More Than You Think
Before wiping baseboards, I often use a vacuum with a brush attachment.
This is especially useful if the house has:
- pets
- carpet
- a lot of dust
- crumbs along the floor line
Vacuuming first removes loose debris quickly and saves time later. It also helps keep dust from spreading around when you start wiping.
If there is a lot of buildup near the floor, this step makes the whole job feel much easier.
A dry pass first, then a wipe, usually works better than trying to clean everything with one cloth.
The Best Baseboard Cleaning Routine
The simplest routine is also the most sustainable.
Here is the version that works best for most homes:
- Dust or vacuum the baseboards first
- Wipe with a lightly damp microfiber cloth
- Use mild soap for dirty spots
- Clean scuffs with a gentle sponge
- Dry immediately
- Check corners and top edges before finishing
That routine is not complicated, and that is exactly why it works. You can do it without turning the task into a full-day project.
Regular small cleaning is better than waiting until the trim looks bad enough to require major scrubbing.
How to Make It Easier to Keep Up With
The easiest way to stay on top of baseboards is to attach the task to something else you already do.
For example:
- clean baseboards when vacuuming the floors
- wipe them when deep cleaning the bathroom
- include them in a monthly room refresh
- do a quick pass when moving furniture
That way the job does not feel separate or overwhelming. It just becomes part of the normal rhythm of cleaning.
Once baseboards are part of the routine, they stop being one of those forgotten details that only get attention twice a year.
What Not to Do
A few mistakes make baseboard cleaning harder than it needs to be.
Do not:
- soak the baseboards with water
- scrub too hard
- use harsh chemicals on painted trim
- forget to dry the surface
- ignore the top edge and corners
- wait until buildup is heavy
These mistakes usually lead to more work later. They can also wear down the finish and make the baseboards harder to maintain over time.
Gentle, regular cleaning is the better path.
Why Clean Baseboards Change the Whole Room
This is the part that surprises people.
Baseboards are not a huge feature. They are not the focus of the room. But when they are clean, the whole space feels sharper and more complete.
The floors look brighter. The walls look fresher. Even furniture seems to sit better in the room.
That is because baseboards create a visual line where the floor and wall meet. When that line is dusty or scuffed, everything around it feels a little off.
Clean it, and suddenly the room looks more finished without changing anything else.
It is a small detail with a big effect.
A Simple Seasonal Habit Helps Too
Some homes collect more dust in certain seasons than others.
Open windows, dry air, heating systems, pets shedding, and heavy foot traffic can all change how quickly baseboards get dirty. That is why a seasonal check is useful.
When the seasons shift, take a quick look at the trim in the busiest rooms. If the dust has built up more than usual, give it a proper wipe before it turns into a bigger job.
That little reset keeps the whole house feeling fresher.
Final Thoughts
Baseboard cleaning is one of those chores that feels tiny until you do it well.
Then the difference becomes obvious.
A clean room with dusty baseboards still looks unfinished. A room with clean, bright trim suddenly feels more cared for, more polished, and more put together.
The best approach is simple:
- dust first
- wipe gently
- handle scuffs carefully
- dry the surface
- stay consistent
That is really all it takes.
You do not need a complicated system. You just need enough consistency to keep the dirt from building up.
And once you make baseboard cleaning part of your routine, it stops feeling like a forgotten task and starts becoming one of the easiest ways to make your home look better fast.