Table of Contents
Have you ever looked down at your beautiful tile floors and realized that the lines between the tiles have turned from a crisp white or bright gray to a dingy, dark brown? If so, you are certainly not alone. Tile is an incredibly durable, stylish, and water-resistant flooring option that is perfect for kitchens, bathrooms, and high-traffic entryways. However, the grout that holds these tiles together presents a completely different maintenance challenge. Learning how to clean dirty floor tile grout is a rite of passage for any homeowner, primarily because grout acts like a microscopic sponge for dirt, spills, and grime.
When your grout lines become discolored, it can make the entire floor look unsanitary and aged, no matter how often you mop the actual tiles. Fortunately, restoring your floors to their former glory does not require a complete renovation or spending hundreds of dollars on professional services. With a little bit of elbow grease and the right cleaning solutions—many of which are likely sitting in your pantry right now—you can bring those grout lines back to life.
In this comprehensive guide, we will walk you through everything you need to know to tackle this chore effectively. From understanding why your grout gets so stained in the first place to exploring the most effective methods to clean dirty floor tile grout, this article has you covered.
Why Does Grout Get So Dirty?
Before diving into the solutions, it helps to understand the root of the problem. Why is grout so susceptible to staining while the tile itself repels messes?
Traditional sanded and unsanded grout is made from a mixture of cement, water, and sand. Because of its cementitious nature, grout is highly porous. It contains thousands of microscopic holes and crevices. When you mop your floors with dirty water, spill a glass of wine, or simply walk across the room with muddy shoes, the liquid and microscopic dirt particles settle deep into these tiny pores.
Furthermore, if your grout is located in a damp environment like a bathroom, it can easily become a breeding ground for mold and mildew. Kitchen grout, on the other hand, is frequently bombarded with grease, food particles, and colored liquids. Over time, without proper sealing and maintenance, these substances embed themselves permanently into the surface, turning your pristine grout lines into a dark, unsightly grid.
Essential Supplies You Need to Clean Dirty Floor Tile Grout
Before you get down on your hands and knees to start scrubbing, you need to gather your arsenal of cleaning supplies. You do not necessarily need all of these items, as different levels of grime require different solutions, but having them on hand will ensure you are ready for any stain.
- A Stiff-Bristled Brush: An old toothbrush works well for small areas, but a purpose-built grout brush with stiff nylon bristles will save your hands and scrub much more effectively. Avoid metal or wire brushes, as they can scratch your tiles and eat away at the grout.
- Warm Water: The universal solvent, perfect for loosening surface dirt.
- White Vinegar: A mild, natural acid that breaks down grease and grime.
- Baking Soda: A mild abrasive and natural brightener that works wonders when combined with liquid.
- Hydrogen Peroxide: A fantastic, eco-friendly alternative to bleach that gently lifts stains and kills mold spores.
- Oxygen Bleach (e.g., OxiClean): A powerful, non-toxic cleaner for heavy-duty stains.
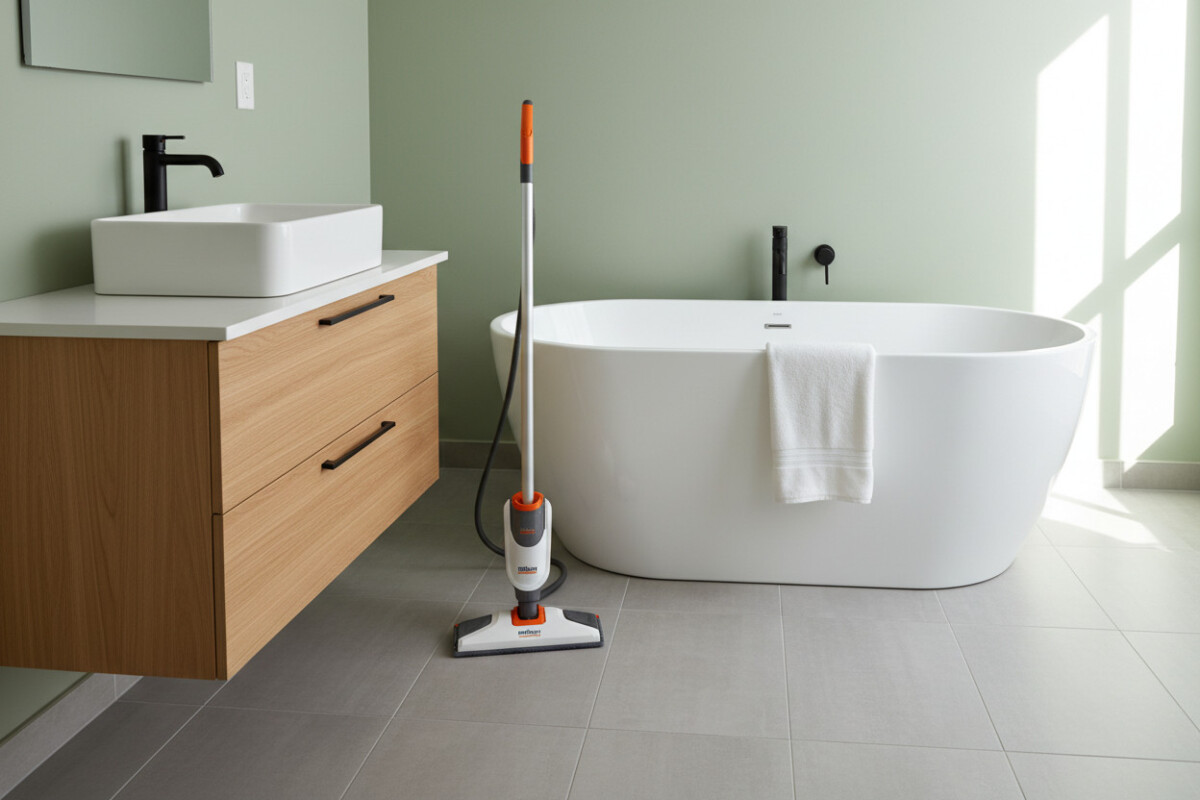
- Microfiber Cloths or a Mop: To wipe away the dirty residue once you are finished scrubbing.
Step-by-Step: The Best Ways to Clean Dirty Floor Tile Grout
There is no single “best” way to clean grout because the right method depends entirely on how dirty your grout is and what kind of tiles you have. Note: If you have natural stone tiles like marble, granite, or travertine, avoid acidic cleaners like vinegar altogether, as they will etch and ruin the stone. Stick to pH-neutral cleaners or plain water and baking soda.
Here is a progression of methods, starting from the mildest approach and moving toward heavy-duty solutions.
Method 1: Warm Water and a Stiff Brush (For Mild Dirt)
If your floor is relatively well-maintained and just needs a quick touch-up, start with the most gentle method available.
- Sweep or vacuum the floor to remove any loose debris, dust, and pet hair.
- Spray warm water generously over the grout lines.
- Let the water sit for a minute or two to loosen the top layer of dirt.
- Scrub the grout lines in a circular motion using your stiff-bristled nylon brush.
- Wipe away the dirty water with a damp microfiber cloth or mop.
Method 2: Vinegar and Warm Water (For Moderate Grime)
If plain water is not cutting it, it is time to introduce a mild acid to break down the buildup. White vinegar is excellent for cutting through kitchen grease and soap scum in the bathroom.
- Mix equal parts white vinegar and warm water in a standard spray bottle.
- Spray the solution directly onto the grout lines until they are saturated.
- Allow the mixture to sit for five to ten minutes. This dwell time is crucial, as it allows the vinegar to dissolve the grime.
- Scrub the grout lines vigorously with your brush.
- Rinse the area thoroughly with clean water and wipe it dry.
Method 3: The Baking Soda and Vinegar Paste (For Tough Stains)
When you need a bit of abrasive power to lift stubborn, set-in dirt, combining baking soda and vinegar creates a bubbly, effective chemical reaction that forces dirt out of the grout’s pores.
- Make a thick paste by mixing baking soda with a little bit of water.
- Apply this paste directly to the dirty grout lines using your fingers or a brush.
- Spray the vinegar and water solution (from Method 2) over the baking soda paste. It will immediately begin to fizz and foam.
- Wait for the bubbling to stop completely. This means the chemical reaction has done its job loosening the dirt.
- Scrub the grout lines with your stiff brush, paying extra attention to heavily stained areas.
- Rinse the floor meticulously with plain water to remove all baking soda residue, which can leave a cloudy white film if left behind.
Method 4: Hydrogen Peroxide (For Discoloration and Mold)
If you have moderate stains, particularly in damp areas where mold and mildew might be present, hydrogen peroxide is your best friend. It safely bleaches the surface without the harsh fumes of chlorine bleach.
- You can use hydrogen peroxide straight from the bottle or mix it into a paste with baking soda for extra cleaning power.
- Apply the peroxide or paste to the grout lines.
- Let it sit for at least 15 to 20 minutes to allow the brightening properties to take effect.
- Scrub thoroughly and rinse the area clean.
Method 5: Oxygen Bleach (For Extreme Grime)
When nothing else seems to work and you need to clean dirty floor tile grout that hasn’t been touched in years, oxygen bleach is the heavy-duty hero. Oxygen bleach is sold in powdered form and activates when mixed with water.
- Ensure the room is well-ventilated, though oxygen bleach is much safer than chlorine bleach.
- Mix the powdered oxygen bleach with warm water according to the manufacturer’s instructions.
- Pour or spray the solution onto the grout lines, ensuring they are fully submerged.
- Let the solution sit for 15 to 30 minutes. The longer it sits, the better it works. You may see the dirt literally lifting to the surface.
- Scrub with your stiff-bristled brush.
- Rinse the floor entirely with clean water. You may need to mop a few times to remove all the soapy residue.
How to Keep Your Grout Looking Brand New
Once you have put in the hard work to clean dirty floor tile grout, the last thing you want to do is repeat the process a month later. Preventative maintenance is the key to keeping your floors looking pristine year-round.
Apply a High-Quality Grout Sealer
The absolute most important step you can take after deep-cleaning your grout is to apply a penetrating grout sealer. Because grout is porous, the sealer sinks into those microscopic holes and creates an invisible, waterproof barrier. This barrier prevents liquids, dirt, and oil from seeping into the grout, keeping stains on the surface where they can be easily wiped away. You should aim to reseal your grout every one to two years, depending on the level of foot traffic in the area.
Regular Sweeping and Vacuuming
Dirt and sand act like sandpaper on your floors. When you walk over them, they grind down the surface of the grout and tile. Sweeping or vacuuming your floors every few days prevents loose debris from being ground into the grout lines.
Use the Right Mopping Technique
When you mop, make sure you are not just pushing dirty water around. Change your mop water frequently. If your water looks dark and murky, you are essentially just redistributing dirt right back into the porous grout lines. Additionally, avoid using excessively soapy cleaners, as soap residue is sticky and will actually attract more dirt to your floors over time.
Tackle Spills Immediately
Do not let spills sit on your tile floors. Whether it is a dropped meatball in the kitchen, a spilled glass of juice, or muddy paw prints from the dog, wipe them up immediately. The less time a staining agent has to sit on the grout, the less likely it is to penetrate the surface and leave a lasting mark.
Common Mistakes to Avoid When Cleaning Grout
While it might be tempting to grab the strongest chemicals under your sink, harsh cleaners can do more harm than good.
- Avoid using straight chlorine bleach, as long-term use can degrade and break down the grout, causing it to crumble and crack.
- Similarly, never use acidic cleaners like vinegar or lemon juice on natural stone tiles, as they will cause permanent etching.
- Finally, as mentioned earlier, always avoid metal wire brushes. The stiff bristles will undoubtedly scratch your tile glaze and aggressively wear down the grout lines, leading to expensive repairs in the future.
Conclusion
Restoring the beauty of your tiled surfaces does not have to be an overwhelming, impossible task. By understanding the porous nature of your floors and utilizing the right tools, you can easily conquer the grime. Whether you opt for a simple vinegar solution or turn to the heavy-duty power of oxygen bleach, knowing how to clean dirty floor tile grout effectively will drastically improve the look and feel of your home. Remember that preventative maintenance, specifically regular sealing and immediate spill cleanup, is your best defense against future discoloration. Roll up your sleeves, grab your scrub brush, and get ready to reveal the beautiful, bright grout lines hiding beneath the dirt.