Table of Contents
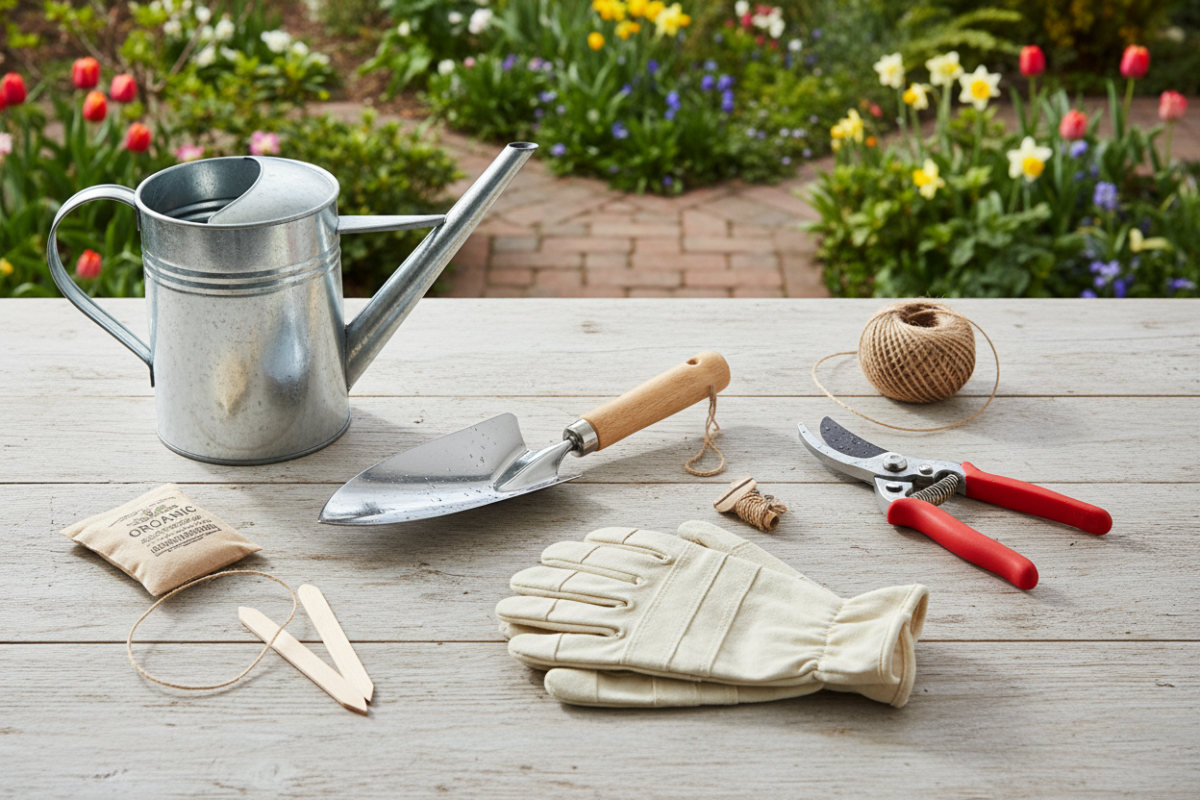
Spring is just around the corner — and that means it’s time to bring your gardening tools back to life. Preparing your tools and containers now not only protects your investment but also dramatically reduces the risk of transmitting plant diseases and pests once you start digging again. Cleaning and maintaining your gear ensures you’ll hit the spring growing season with confidence and efficiency.
Below is a complete guide to getting every tool and planter in tip-top shape before you plant, prune, and grow!
Why Cleaning Your Gardening Gear Matters
Before your first spring planting, cleaning your tools and containers isn’t just about aesthetics — it’s about plant health and tool longevity. Dirty or neglected tools can spread fungus, bacteria, and pests from last season to fresh soil and tender new growth. Similarly, old soil and hardened minerals in containers can inhibit water flow and harbor unwanted pathogens that affect seedlings and mature plants alike.
Now let’s walk through the essential steps for the most common items in your garden shed.
Cleaning and Maintenance Checklist
Digging Tools
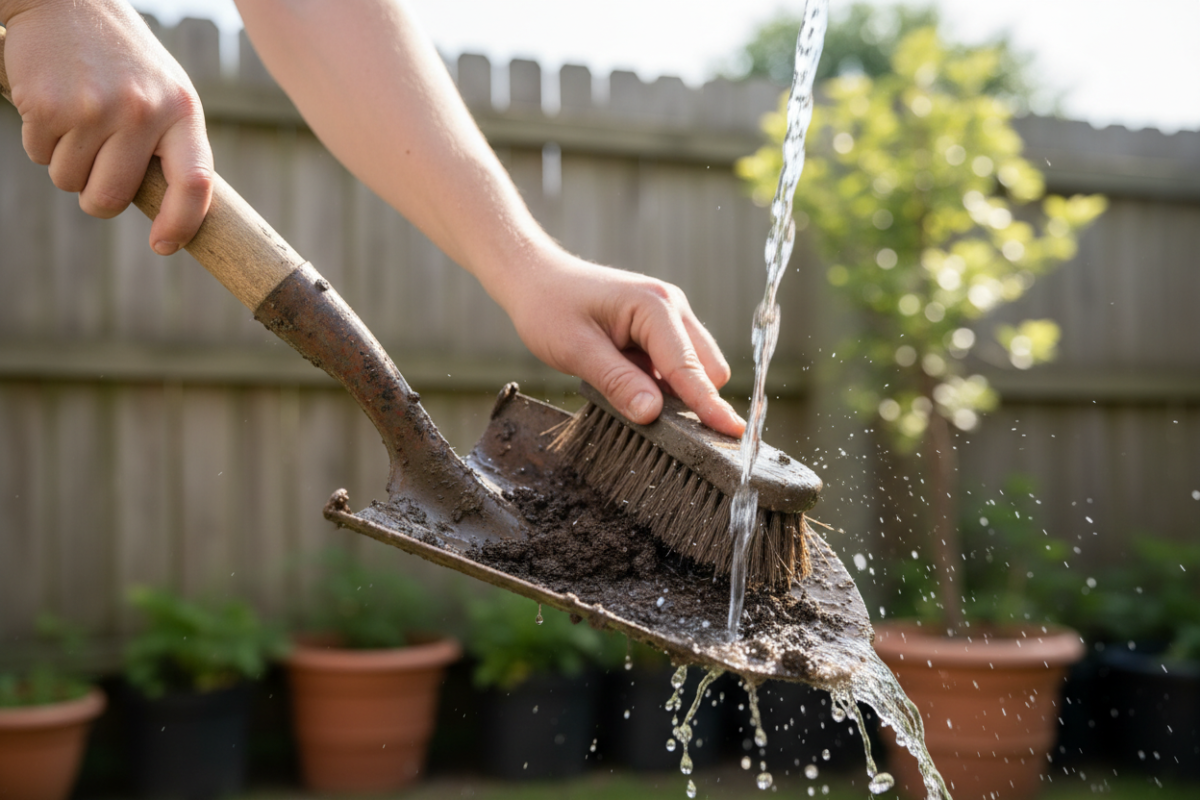
Spades, shovels, and trowels are among the hardest-working garden tools — and they often carry the most grime.
- Remove Dirt: Use a garden hose or bucket of water to wash off mud and debris.
- Soak and Scrub: Prepare hot water with a bit of dish soap and soak tools for 15–20 minutes. Use a stiff brush to scrub away stubborn soil.
- Check for Rust: Scrape off rust with a wire brush or steel wool and wipe tools dry. A light protective coating of oil can help prevent future rust.
Pruning and Cutting Tools
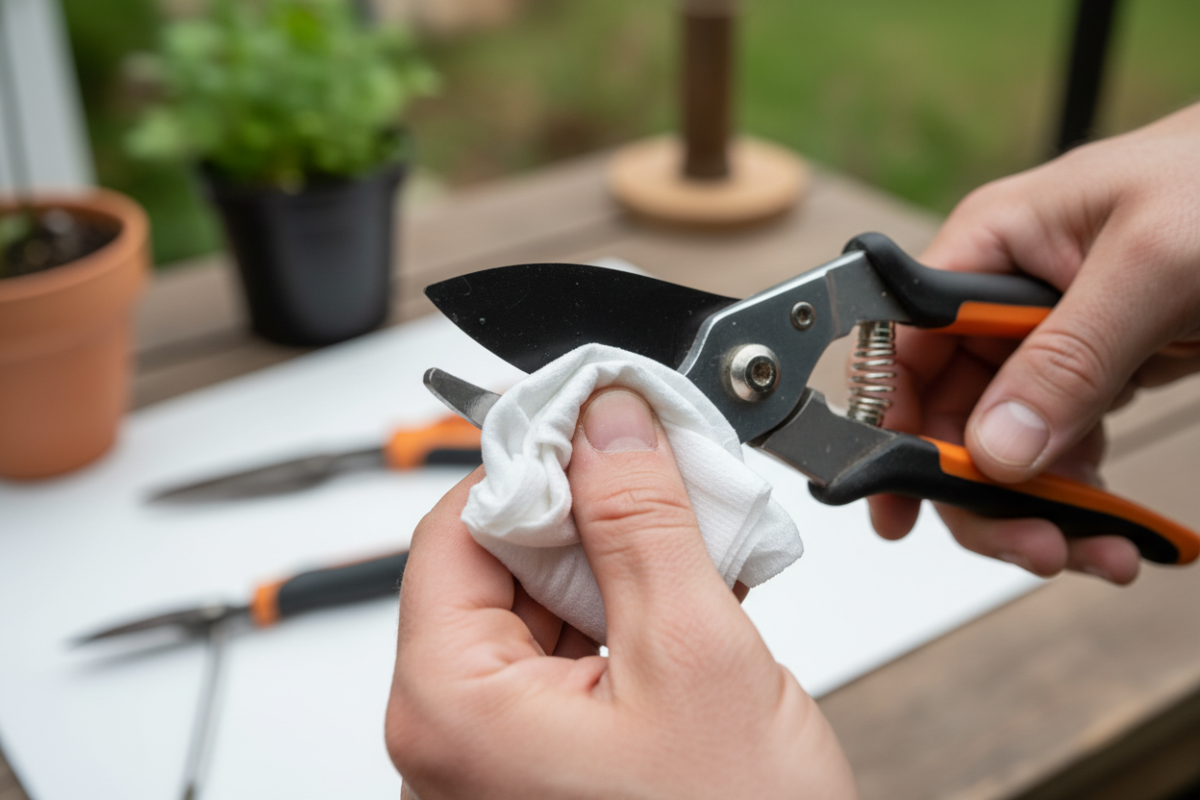
Pruners, clippers, and snips can easily spread disease because they come into direct contact with plant tissue.
- Wash Thoroughly: Soak in soapy water to remove sap and plant residue.
- Disinfect Blades: Wipe blades with isopropyl alcohol to kill lingering pathogens.
- Sharpen if Needed: Use a sharpening stone to refine blade edges before storage or use.
Wooden-Handled Tools
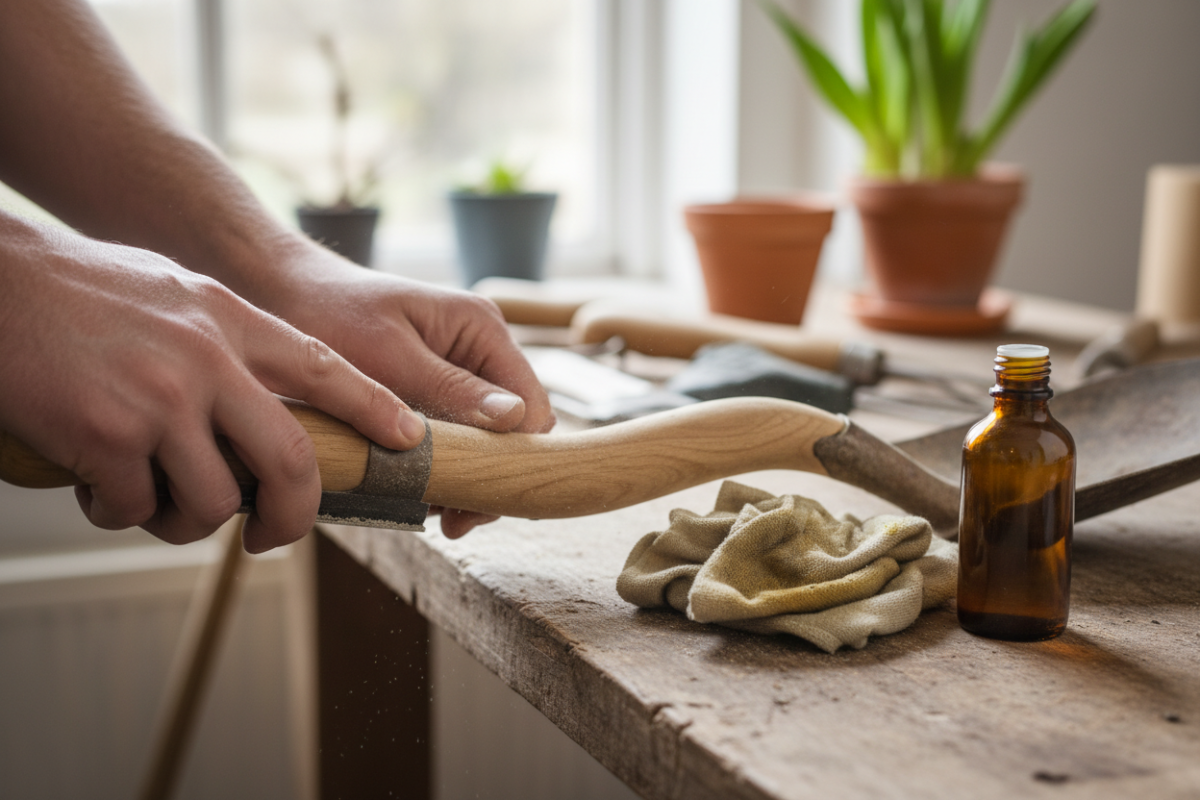
Wood is beautiful — but it can dry out, crack, and weaken if neglected.
- Sand Rough Spots: Lightly sand handles to smooth splinters and rough patches.
- Condition the Wood: Apply linseed oil or another wood conditioner to protect against moisture and splitting.
Garden Trellises and Plant Supports
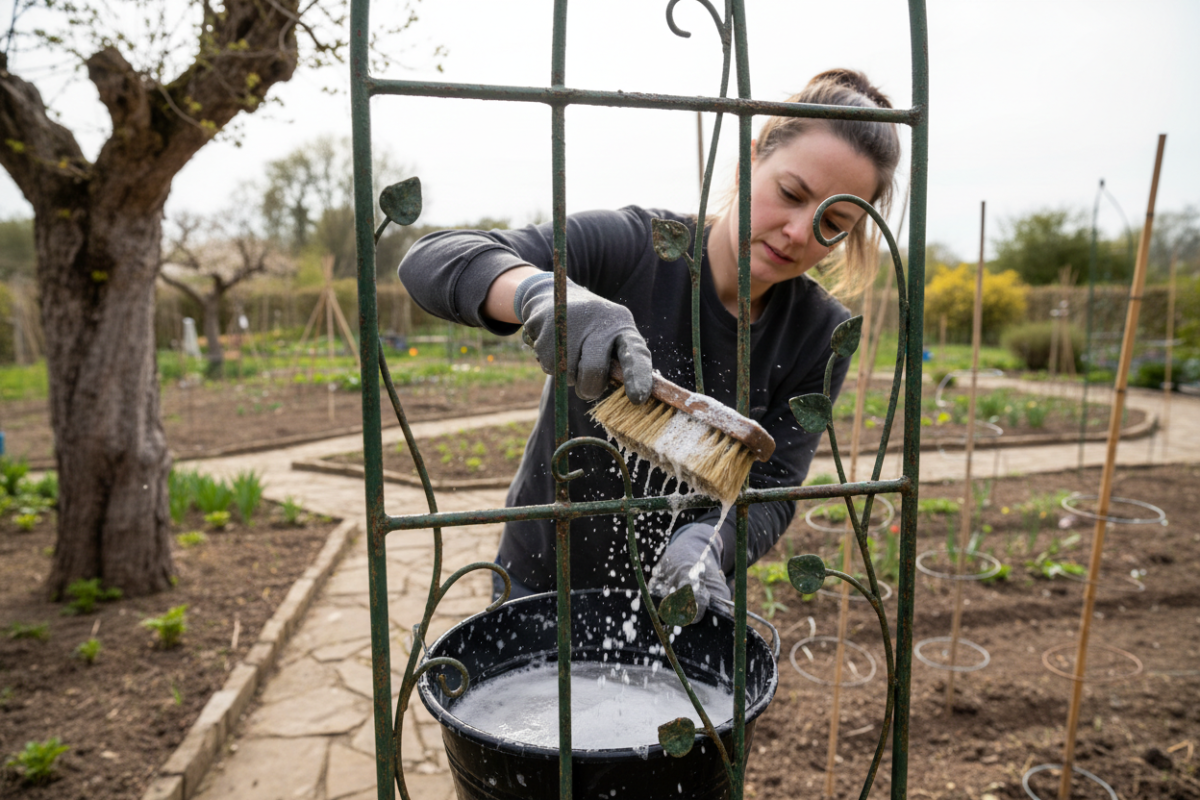
Trellises, cages, and support stakes deserve attention too — they’re often overlooked but essential for climbing plants.
- Scrub All Surfaces: Use soapy water and a soft brush to remove old soil and pest debris.
- Disinfect and Repair: Wipe down with rubbing alcohol and touch up rust spots with weather-proof paint where appropriate.
Planters and Containers
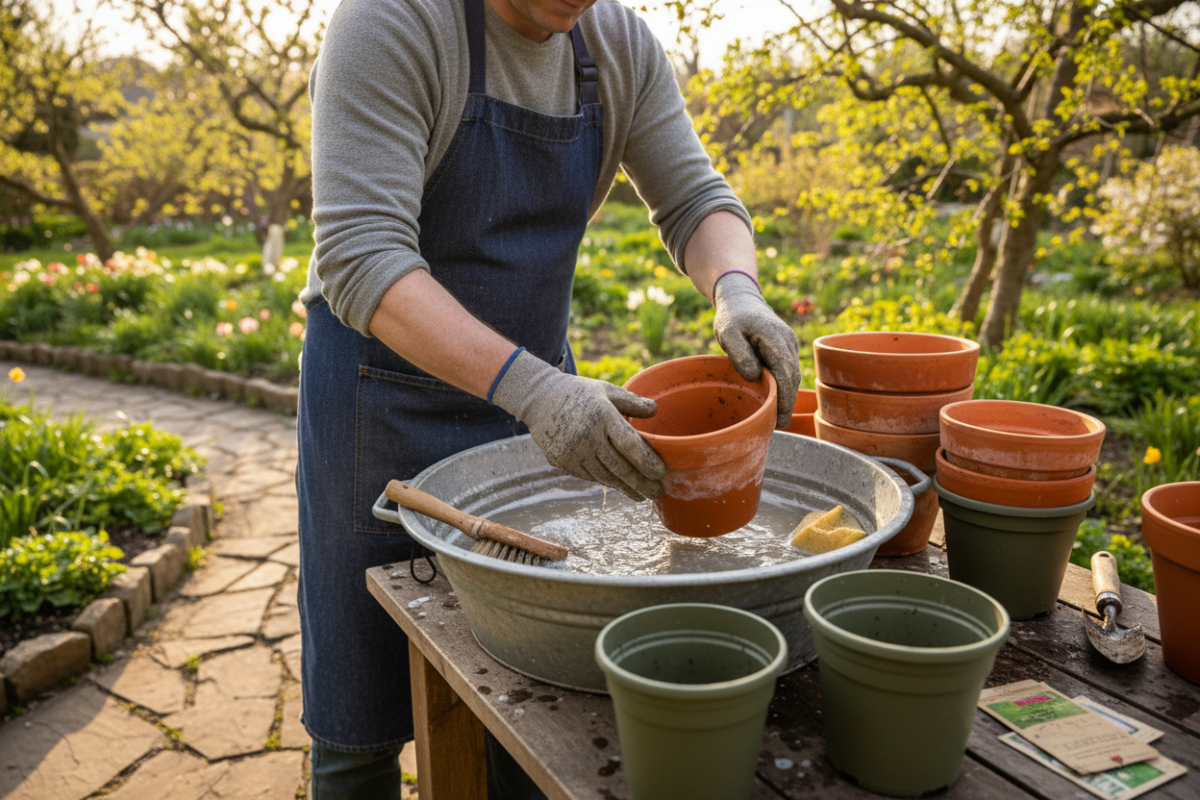
Whether you’re starting seeds, arranging annuals, or refreshing perennials, planters need a deep clean.
- Empty and Remove Debris: Toss out old soil and use a stiff brush to dislodge stuck-on particles.
- Soapy Wash: Submerge pots in warm soapy water and clean inside and out.
- Sterilize: Soak in a diluted bleach solution (about 1 part bleach to 9 parts water) for 15–20 minutes to kill any lingering pathogens. Rinse well and allow pots to dry completely.
- Eliminate Mineral Buildup: Soak terra cotta or plastic containers in a vinegar solution to dissolve crusty mineral stains before a final scrub.
Final Tips for Spring Readiness
- Inspect Tools Regularly: Don’t wait until spring to check for damage. Year-round care makes annual cleaning easier.
- Disinfect Between Uses: If you prune plants showing signs of disease, disinfect tools immediately to avoid spreading illness.
- Organize Storage: Keep tools dry and accessible in a clean shed or garage to prolong their lifespan.
Conclusion
With the right cleaning routines, your tools and containers will be ready to support healthy, vigorous growth all spring long. Spending a little time now pays off in fewer plant problems, smoother workflows, and longer-lasting gear.