Table of Contents
Have you ever opened your refrigerator door only to be greeted by a mysterious, unpleasant odor or a sticky spill that seems to have materialized out of nowhere? You are certainly not alone. For many homeowners and busy professionals, deep cleaning the refrigerator is a dreaded household chore that constantly gets pushed to the bottom of the weekly to-do list. We often imagine that this task will inevitably take hours of backbreaking work, hauling heavy, awkward glass shelves to the kitchen sink, and scrubbing endlessly at crystallized juice spills.
But it absolutely does not have to be this way. If you want to reclaim your weekend and maintain a hygienic kitchen, learning how to clean the inside of a fridge in 10 minutes is a total game-changer. Speed cleaning is not about cutting corners or leaving germs behind; it is about maximum efficiency, having the right tools prepared ahead of time, and knowing exactly where to focus your physical energy. In this comprehensive, step-by-step guide, we will walk you through a lightning-fast method to transform your refrigerator from a chaotic, sticky mess into a sparkling, organized, and hygienic food storage haven.
Why You Need a Speed Cleaning Routine for Your Refrigerator
Before we dive into the mechanics of the 10-minute clean, it is important to understand why adopting a rapid-cleaning mindset is incredibly beneficial for your home.
1. Improved Food Safety
Your refrigerator is the heart of your kitchen’s food storage. When spills are left unattended, they become breeding grounds for dangerous bacteria and mold, which can easily cross-contaminate your fresh produce, dairy, and meats. By employing a fast, weekly cleaning routine, you drastically reduce the risk of foodborne illnesses.
2. Better Energy Efficiency
A cluttered, messy fridge has to work much harder to maintain its internal temperature. When air cannot circulate properly around your groceries due to overcrowding and sticky debris blocking vents, your appliance draws more electricity. A clean, well-organized fridge is an energy-efficient fridge, ultimately saving you money on your utility bills.
3. Reduced Food Waste
Have you ever found a container of leftovers pushed to the deep, dark back of the fridge, completely unrecognizable and covered in fuzz? Regular speed cleaning forces you to take inventory of what you actually have. When you know what is inside your fridge, you are far more likely to eat it before it spoils, saving you hundreds of dollars a year in wasted groceries.
Essential Supplies for a 10-Minute Fridge Clean
The absolute secret to learning how to clean the inside of a fridge in 10 minutes is preparation. You cannot achieve this aggressive time goal if you are constantly stopping to look for a sponge or a roll of paper towels. Gather these essential supplies in a caddy or on your kitchen counter before you even touch the refrigerator door handle:
- A Large Trash Bag: Position this right next to the fridge for immediate disposal of expired items.
- Microfiber Cloths: These are superior to paper towels because they grip dirt and absorb moisture rapidly without leaving lint behind.
- All-Purpose Food-Safe Cleaner: You can buy a commercial eco-friendly cleaner, or make a DIY solution by mixing equal parts distilled white vinegar and warm water in a spray bottle.
- A Non-Abrasive Scrub Sponge: For tackling those stubborn, dried-on spots without scratching the plastic or glass surfaces.
- Dry Dish Towel: For a final wipe-down to prevent streaks and moisture buildup.
Step-by-Step: How to Clean the Inside of a Fridge in 10 Minutes
Set a timer on your phone. It is time to see how fast and effective you can truly be when you stay focused. Follow this minute-by-minute breakdown.
Minutes 1-2: The Great Purge and Declutter
The moment the timer starts, open the door and immediately begin pulling out anything that is obviously expired, moldy, or empty. Toss these directly into your waiting trash bag. Do not overthink it—if that takeout container has been in there for two weeks, it has to go. Next, quickly remove all the remaining items from the top shelf and place them on the counter. You will work your way down.
Minutes 3-5: The Top-Down Wipe Down
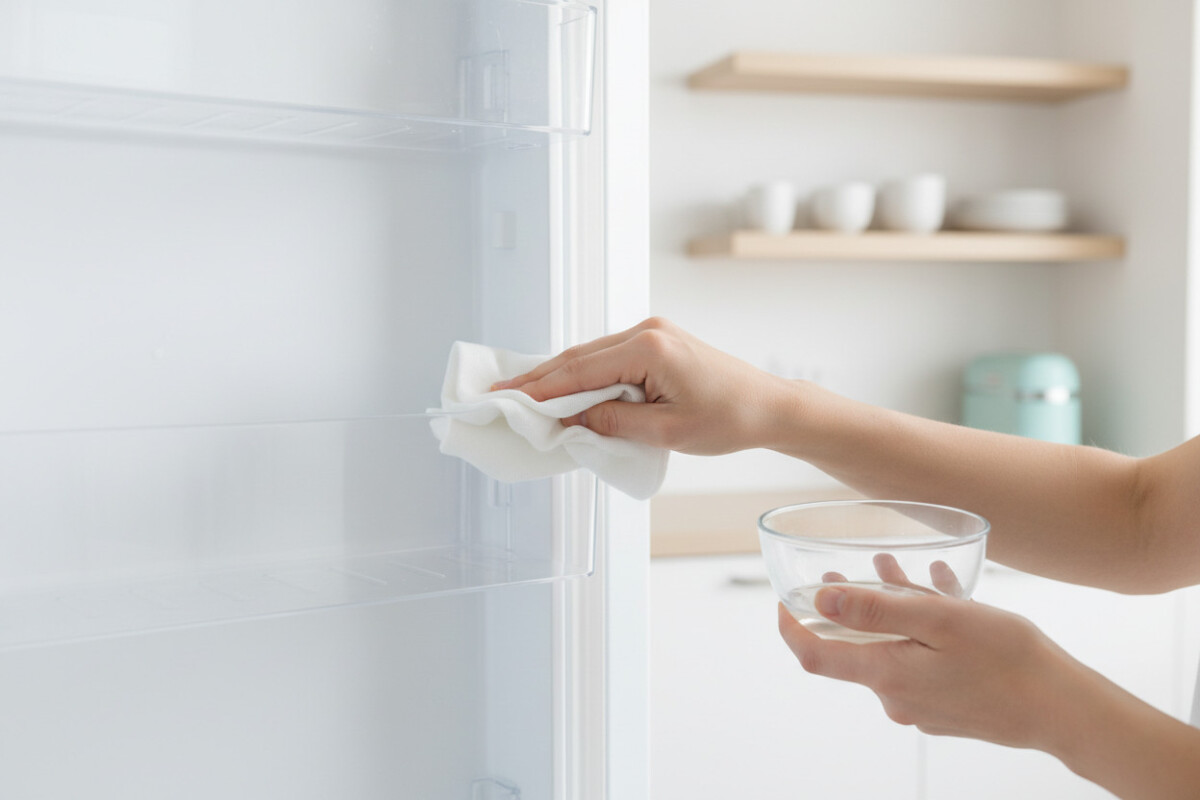
With your top shelf clear, spray your vinegar solution or food-safe cleaner generously across the surface, the interior walls, and the ceiling of the fridge. Grab a damp microfiber cloth and wipe starting from the back, pulling crumbs and debris toward the front so you can easily scoop them into your hand or a waiting cloth.
Once the top shelf is clean, quickly reload the food items you placed on the counter, giving the bottoms of jam jars and hot sauce bottles a rapid wipe as they go back in. Repeat this rapid “remove, spray, wipe, and replace” process for the middle and bottom shelves. Working from top to bottom ensures that any crumbs that fall during the process land on a dirty shelf you haven’t cleaned yet, rather than one you just finished.
Minutes 6-7: Conquering the Crisper Drawers
Crisper drawers are notoriously the dirtiest part of any refrigerator. Onion skins, spilled berry juice, and wilted lettuce leaves tend to congregate here. Pull the drawers out slightly (or entirely if they come out easily). Spray the interior of the drawers and use your non-abrasive scrub sponge to agitate any sticky fruit residue. Wipe them completely clean with your microfiber cloth.
Pro Tip: If you have a solid, crystallized spill in the drawer, spray it heavily right at the beginning of the 10 minutes and let the cleaner sit while you do the upper shelves. By the time you reach the crisper, the spill will easily wipe away.
Minutes 8-9: Detailing the Door Bins
The door compartments are usually reserved for condiments, milk, and beverages. Because these items are grabbed frequently, the bins get sticky fast. You don’t need to take all the bottles out at once. Simply shift the bottles to one side of the bin, spray the empty space, wipe it down, and then shift the bottles to the clean side to wipe the other half. Pay special attention to the dairy compartment and the bottom shelf of the door, as these are high-spill zones.
Minute 10: The Rubber Gaskets and Final Polish
In your final minute, shut the refrigerator door and grab a fresh, damp microfiber cloth. Open the door just enough to access the rubber seal (the gasket) that runs along the inside perimeter of the door. Run your cloth through the folds of the seal to pick up trapped crumbs and pet hair. A clean gasket ensures a tight seal, which keeps your food colder and your energy bills lower. Finally, step back, grab a dry dish towel, and give the exterior handle and door a quick polish to remove any fingerprints you left during the cleaning process.
5 Common Mistakes to Avoid When Speed Cleaning
While speed is the goal, you want to make sure you aren’t making errors that could damage your appliance or compromise your food.
- Using Harsh Chemicals: Never use bleach, ammonia, or heavily fragranced chemical cleaners inside your fridge. The odors can easily transfer to your food, altering the taste and potentially making it unsafe to consume.
- Using Hot Water on Cold Glass: If you decide to take a cold glass shelf out of the fridge to wash it in the sink, do not run hot water over it immediately. The extreme temperature shift can cause the glass to shatter.
- Leaving the Door Wide Open Too Long: If you are slow and leave the door open for 30 minutes, the internal temperature will spike, putting your perishables at risk. This is exactly why the 10-minute method is so highly recommended.
- Forgetting to Wipe Condiment Bottoms: Placing a sticky ketchup bottle back onto a pristine glass shelf defeats the entire purpose of cleaning. Always give the bottoms of jars a quick swipe.
- Ignoring the Drip Pan: While it is not part of the daily or weekly 10-minute clean, remember that your fridge has a drip pan underneath or behind it. Make sure to check it every few months to prevent foul odors.
Pro Tips to Keep Your Fridge Fresher for Longer
Now that you know how to clean the inside of a fridge in 10 minutes, you probably want to stretch out the time between these cleaning sessions. Here are a few expert ways to maintain that freshly cleaned look and smell:
- Use Washable Shelf Liners: Invest in plastic, washable shelf liners or even simple plastic placemats. If a spill happens, you can just remove the liner, wash it in the sink, and put it back without having to scrub the fridge interior.
- The Baking Soda Trick: The old wives’ tale is true. Keeping an open box of baking soda in the back of the fridge absorbs ambient odors perfectly. Replace it every three months for maximum effectiveness.
- Implement the FIFO Method: “First In, First Out” is a rule used in professional kitchens. Whenever you buy new groceries, place the newer items behind the older ones. This guarantees that older food gets eaten first, preventing rot and sticky messes from forgotten produce.
- Store Meat Properly: Always place raw meats on the very bottom shelf in a dedicated plastic bin with a raised lip. If a package of chicken leaks, the juices will be contained in the bin rather than dripping down through every shelf in the refrigerator.
Conclusion
A sparkling, clean refrigerator doesn’t require dedicating your entire Saturday afternoon to scrubbing. By gathering your supplies beforehand, employing a systematic top-to-bottom strategy, and staying focused on the task at hand, maintaining your kitchen’s most important appliance becomes incredibly simple. Remember that consistency is key. If you practice how to clean the inside of a fridge in 10 minutes every week or two, massive spills and terrifying odors will become a thing of the past. Set your timer, grab your microfiber cloth, and get ready to enjoy a cleaner, fresher, and more organized kitchen today!