Table of Contents
If you want a big visual update without the mess, price tag, or contractor scheduling headaches, peel and stick tile deserves a hard look. These thin, adhesive-backed tiles have come a long way — better textures, more realistic stone and ceramic looks, and stronger adhesives mean they’re no longer just a dollar-store gimmick. That said, they’re not a perfect substitute for traditional tile. Use them in the right places, prep surfaces properly, and they’ll deliver a stylish, inexpensive transformation that lasts for years.
What is peel and stick tile?
Peel and stick tile (also written “peel-and-stick tile”) is a thin tile or tile-look sheet with an adhesive backing that you expose and press into place. Materials range from vinyl to thin rigid composites printed with tile patterns — from marble to encaustic-look patterns — and many are textured to mimic grout lines or stone. Because they don’t require thinset mortar, grout, or special tools, installation is fast and typically friction-free for DIYers.
The pros: why people love it
- Fast, low-cost upgrade: Materials and no-professional labor make this one of the cheapest ways to change a room’s look.
- Ideal for renters: Many peel and stick tiles remove cleanly (if installed and removed correctly), making them renter-friendly for bedrooms, backsplashes, and feature walls.
- Tons of styles: Manufacturers now offer convincing stone and porcelain looks, geometric patterns, and wood-look planks, so you can get an elevated aesthetic on a budget.
- DIY-friendly: Little to no special skill required — cuts are usually made with a utility knife, and pieces click or butt together depending on the design.
The cons: where peel and stick falls short
Peel and stick tiles are not as durable as ceramic, porcelain, or natural stone. They’re more prone to scratching, staining, and adhesive failure over time, especially where moisture or heavy foot traffic is present. Prolonged exposure to steam, spills, or poorly prepared surfaces can make the adhesive release, causing edges to curl or whole tiles to lift. For long-term heavy-use floors or full wet-zone bathrooms (like shower floors), traditional tile is still the better choice.
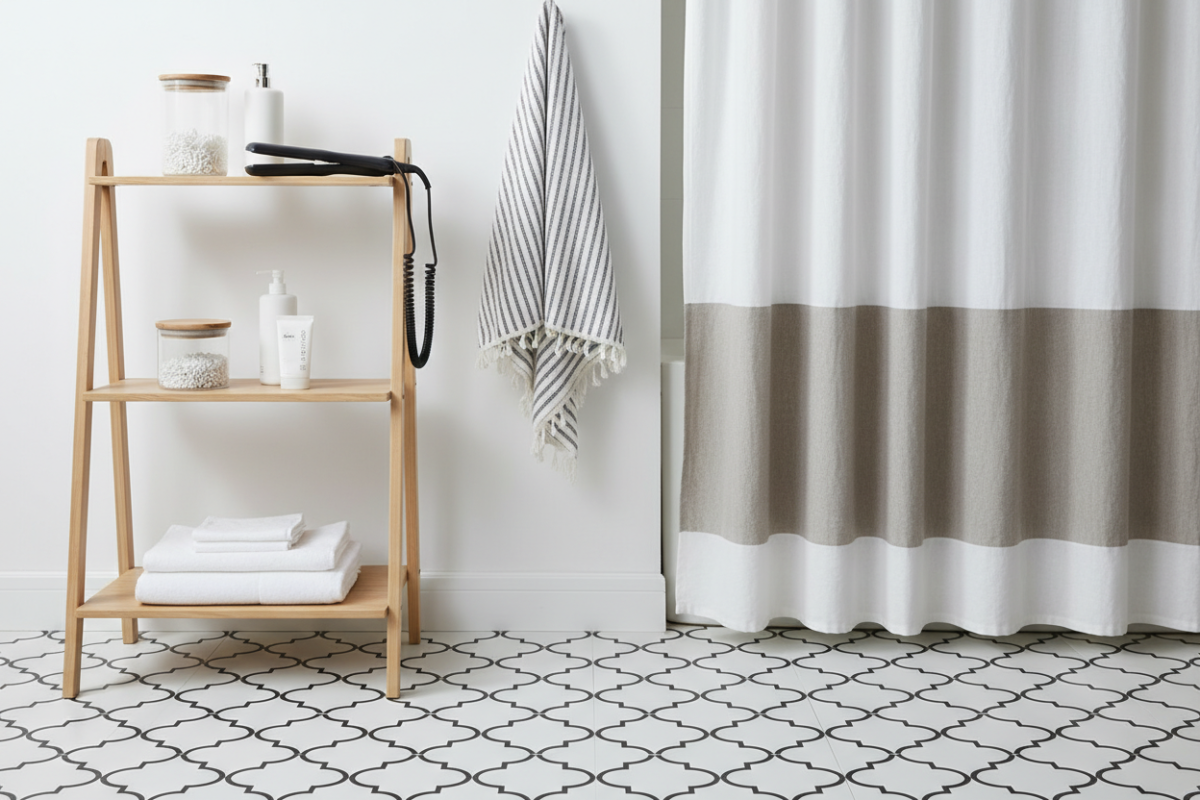
Best places to use peel and stick tile
Pick locations where the tiles will get attention but not heavy wear. Great examples:
- Kitchen backsplashes — dramatic impact without redoing counters or cabinets.
- Accent walls — behind a bed or in a powder room for texture and pattern.
- Stair risers — small surfaces that add personality without much risk.
- Laundry rooms or closets — low-moisture, low-foot-traffic zones where a fresh look matters.
Avoid high-moisture, high-traffic areas like shower floors, full bathroom floors, or busy entryways unless the product explicitly rates for that use.
Surface prep: the step people skip (and regret)
Prep is everything. Peel-and-stick adhesives perform best on smooth, clean, dry, and stable surfaces — primed drywall, painted wood, or smooth concrete. That means:
- Remove old adhesives, wax, grease, and loose paint.
- Sand rough patches and fill holes; the smoother the surface, the longer the bond.
- Clean with isopropyl alcohol or recommended cleaner, not just water.
- Let the surface dry completely before sticking tiles.
On some old-painted or porous surfaces, applying a compatible primer can improve adhesion and reduce the chance of tiles lifting later. Don’t rush this. A rushed prep is the single biggest cause of failure.
Step-by-step installation tips (so it looks pro)
- Measure and plan: dry-fit rows to avoid awkward thin slivers at edges. Start centered for symmetrical results.
- Cut for corners and edges using a straight edge and utility knife (thin vinyl) or a fine-tooth saw for rigid tiles.
- Peel slowly and align carefully — once adhesive bites, adjusting is hard without damage.
- Press with even pressure; a roller (floor roller for floors or hand roller for backsplashes) ensures full contact.
- For floors, allow recommended cure time before placing furniture or heavy items. Use transition strips at doorways.
- Seal seams if the product recommends it — some designs benefit from seam sealer or caulk to keep moisture out.
Good installation can extend the life of peel and stick tile by years, and a tidy job will fool most guests at a glance.
Maintenance: keep it looking new
- Clean with gentle, non-abrasive cleaners and a soft mop or cloth.
- Wipe spills quickly to prevent staining and adhesive weakening.
- Use felt pads under furniture and rugs with breathable backings to reduce abrasion and trapped moisture.
- Repair lifted edges right away: clean adhesive residue, apply a small amount of contact adhesive or manufacturer’s recommended glue, and press firmly.
Routine care will keep peel and stick tiles attractive and functional far longer than neglect will.
Styling ideas that look high-end
- Use a bold patterned tile as a backsplash with simple, neutral counters to let the tile sing.
- Create a faux inlay: use contrasting tiles as a framed “rug” on a small floor or entry.
- Mix sizes carefully: keep visual scale in mind — tiny tiles can read busy in large rooms.
- Pair tile with complementary paint colors and matte metals (like brushed brass or black) for a designer finish.
Because these tiles are inexpensive, you can afford to be playful — try a feature wall or geometric stair riser for maximum impact. (Pro tip: photograph your layout first to preview the pattern repeat.)
Common mistakes (and how to avoid them)
- Skipping prep: always clean, sand, and prime if needed.
- Choosing the wrong area: don’t use peel and stick where constant moisture or high traffic will test the adhesive.
- Not allowing proper acclimation: some rigid products need time to adjust to room temperature; follow manufacturer instructions.
- Cutting without measuring twice: measure twice, cut once — and dry-fit before sticking.
Avoid these pitfalls and your project will be more durable and look far more polished.
Are peel and stick tiles worth it?
Yes — if your goal is a quick, affordable aesthetic uplift in the right spot. They give renters and budget-conscious renovators a chance to test bold looks without commitment. But if you want a lifelong, maintenance-light floor or a wet-zone solution, traditional tile still wins for durability and resale confidence. The verdict? Use peel and stick tile where it plays to its strengths: looks-first, low-moisture, and low-traffic surfaces.
Quick FAQ
Q: Do I need grout?
A: Most peel and stick tiles are designed to mimic grout lines without actual grout. Real grout is unnecessary — and often impractical — but some people use caulk or seam sealers for a finished edge.
Q: Will it ruin my walls when I remove it?
A: If installed and removed carefully on the right surfaces, many peel and stick products come off cleanly. On porous or weak paint, removal can pull finish off — test in an inconspicuous spot first.
Q: How long will it last?
A: Lifespan varies by product quality and location; properly installed tiles in low-traffic areas can last several years, but they won’t match the decades-long life of ceramic or porcelain.
Conclusion: pick the right project and prep like a pro
Peel and stick tile is a powerful tool in the design toolbox — fast, affordable, and surprisingly stylish when you choose quality materials, the right location, and proper prep. Think of it as a cosmetic upgrade, not a structural one: treat surfaces properly, respect the product limits, and you’ll get a big visual return for a small investment. Ready to try it? Start with a backsplash or accent wall so you can test the look before going bigger.