Table of Contents
Christmas window painting is a cheerful way to decorate glass doors and windows with scenes that people can recognize from indoors or the street. Santa, gingerbread houses, nutcrackers, Christmas trees, and painted ornaments all bring holiday character without requiring permanent decorations. A few well-placed designs can make a small window feel festive, while larger panes offer room for a complete Christmas story.
Before painting, decide where the design will be viewed from and how much glass you want to leave clear. Clean and dry the surface, then choose washable window paint or markers that the manufacturer approves for that glass. Test a small spot first, especially on tinted or coated windows, and check the removal instructions. These Christmas window painting ideas range from easy, recognizable motifs to more
detailed scenes for anyone who enjoys a holiday craft project.
1. Paint a Santa Hat Surrounded by Snowflakes
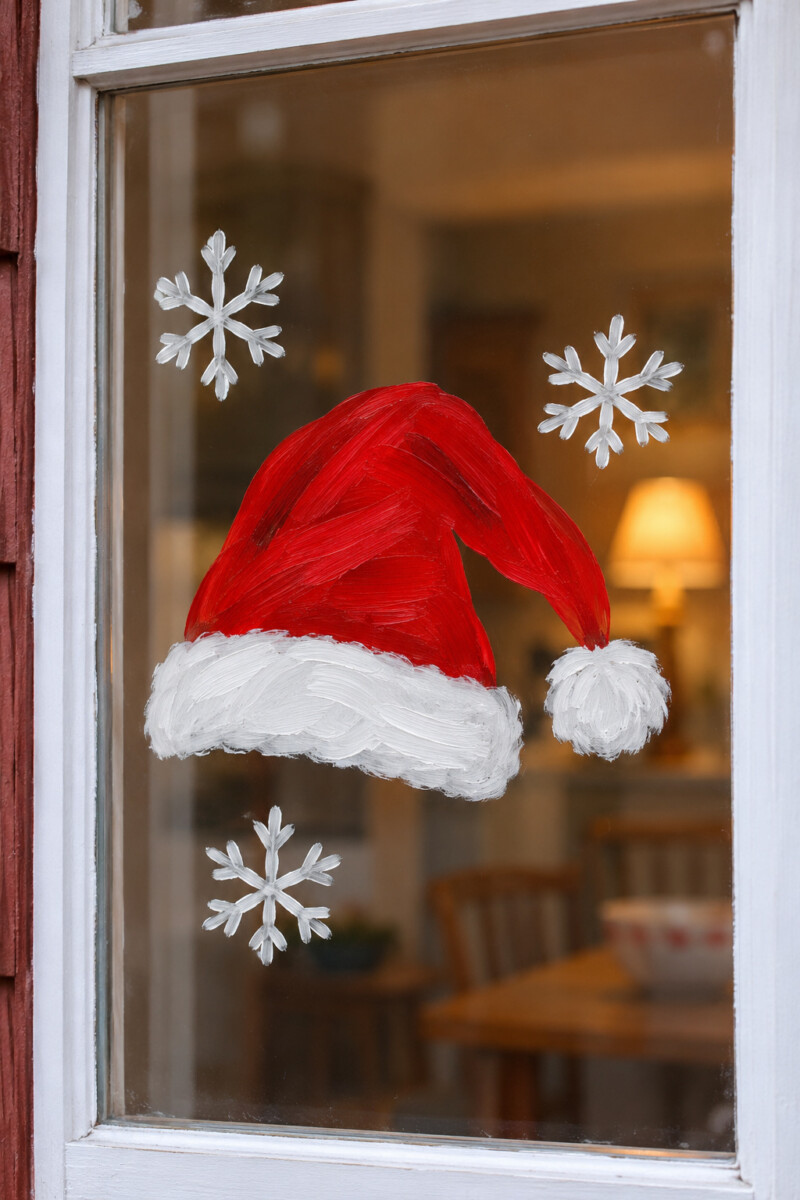
A bright red Santa hat makes a clear Christmas centerpiece, while a few white snowflakes fill the space around it. The simple shape works well on a kitchen window or a narrow pane where a full holiday scene would feel crowded. White trim and a fluffy pom-pom help the hat stand out even from outside.
Draw the hat slightly tilted rather than perfectly upright, then paint the red section first. Once it dries, add the white brim, pom-pom, and scattered snowflakes with a washable window marker. Keep the flakes smaller than the hat so the Christmas motif remains the main feature.
2. Draw a Snowy Path to Santa’s Workshop
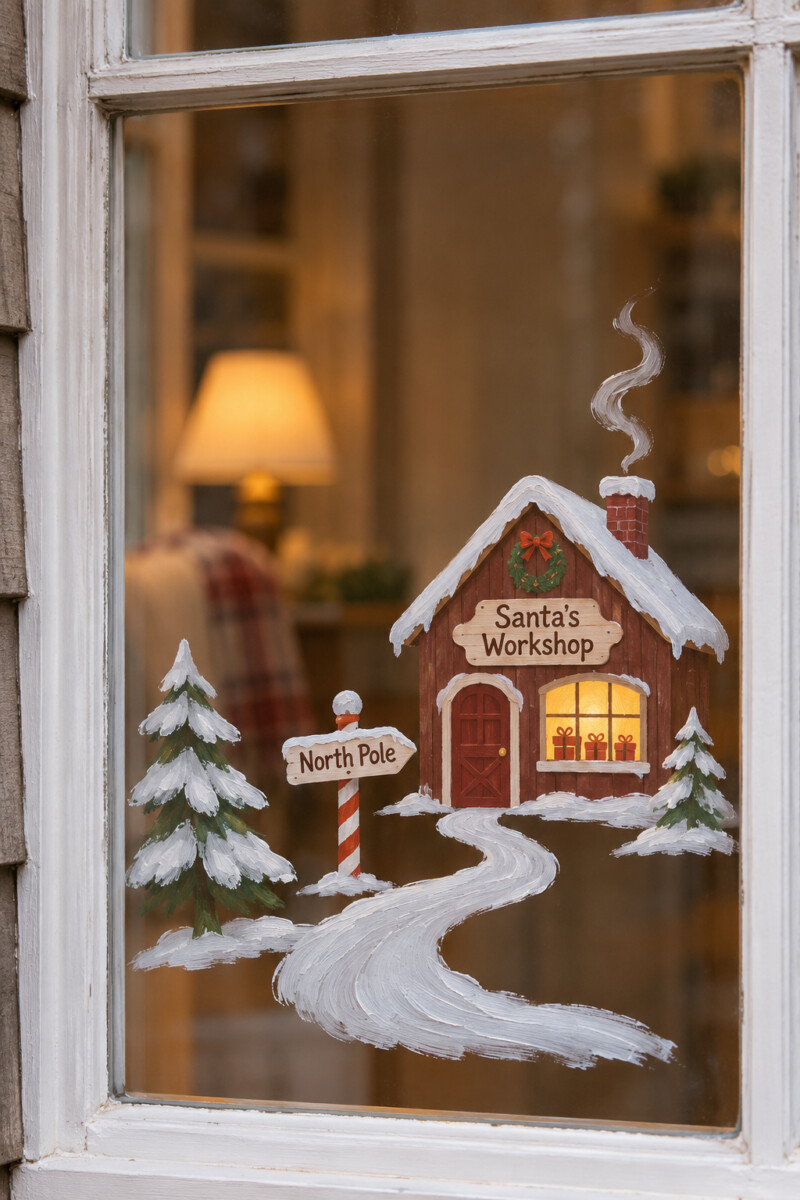
Instead of painting a snowbank by itself, give the scene a destination: a little workshop marked with a North Pole sign. A winding path, a few snowy trees, and a warm yellow window make it look like the place where Christmas gifts are being prepared.
Paint the workshop along the lower edge of a broad pane, then draw the path leading toward its door. Add a simple sign reading ‘Santa’s Workshop’ or ‘North Pole’ and a striped candy-cane post. Limit the snowy background so the building and sign remain easy to read.
3. Light Up a Painted Christmas Tree Forest
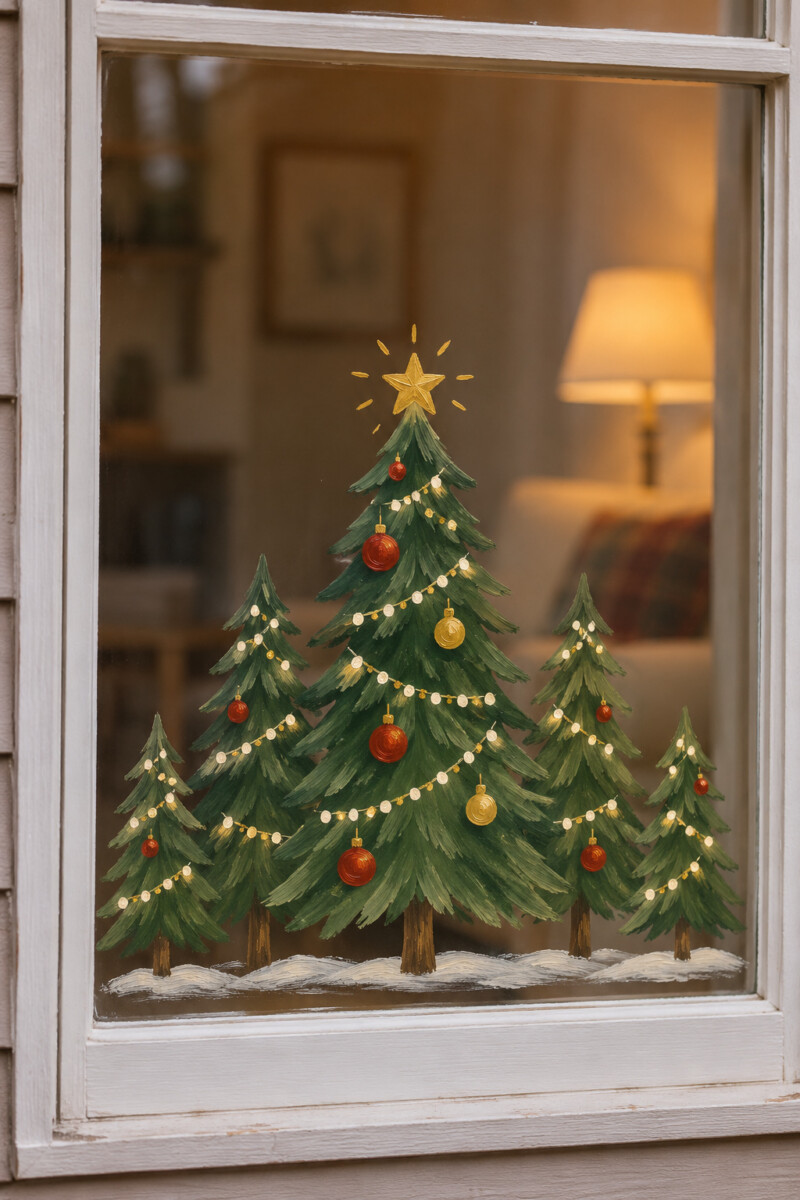
A group of evergreen trees can feel much more Christmassy when they are covered in painted lights and ornaments. Arrange several trees of different heights, with one taller tree decorated as the centerpiece. Red, gold, and white accents are especially visible against the deep green branches.
Sketch the tree shapes first, leaving gaps between their branches so the display does not become a solid block of paint. Add loose strings of lights and a star on the largest tree after the green layer dries. Keep the smaller background trees minimally decorated to give the main tree more attention.
4. Paint a Christmas Village with Decorated Shopfronts
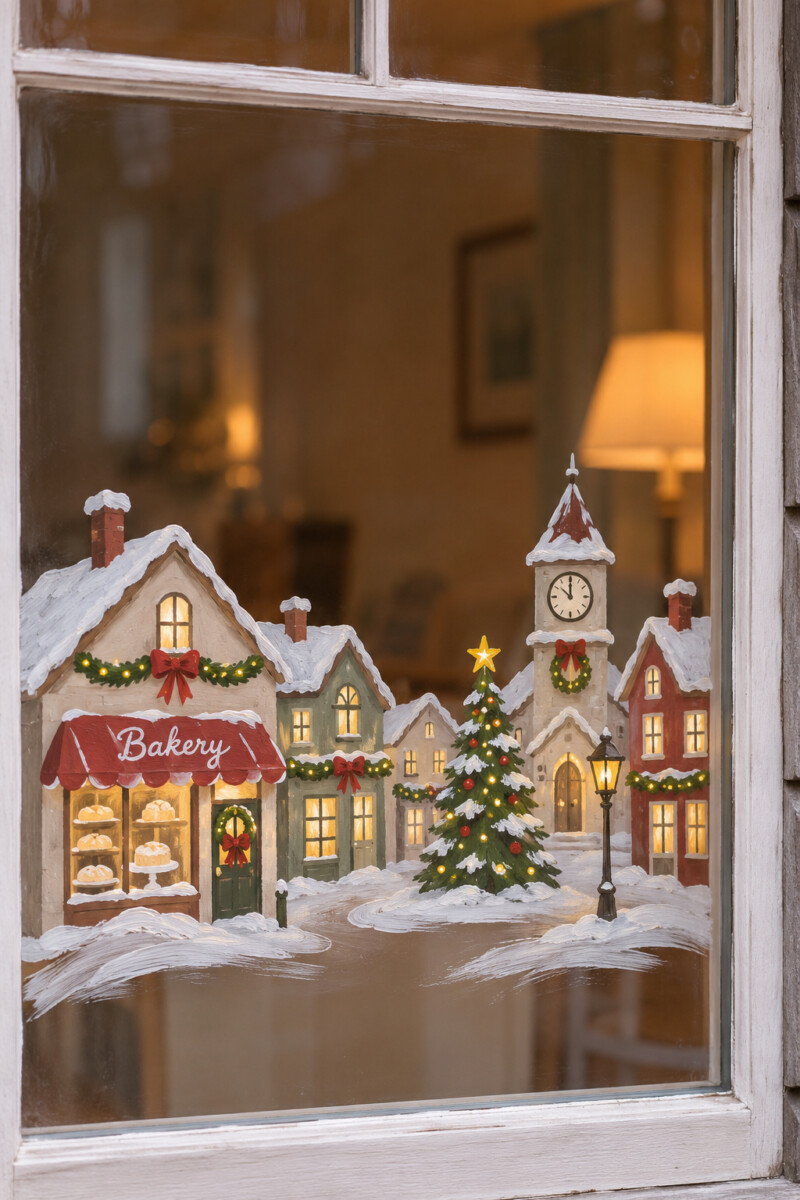
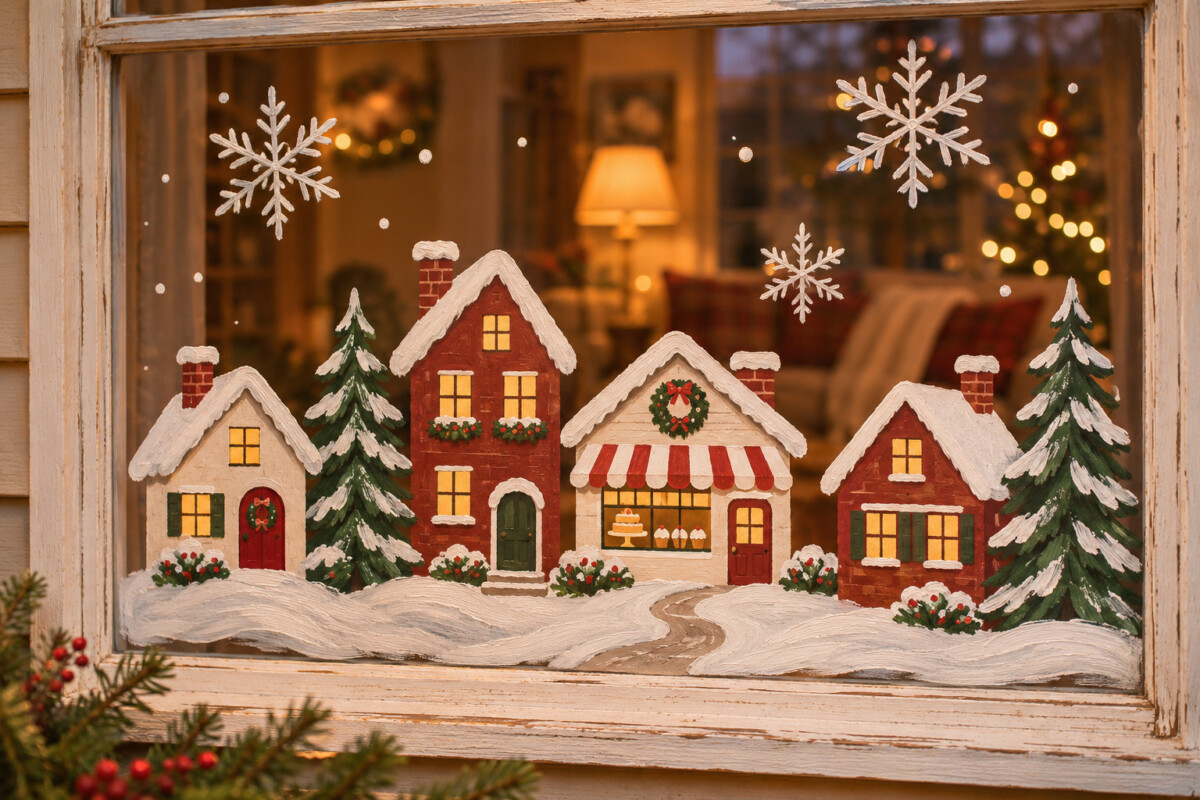
A row of snowy cottages becomes a recognizable Christmas village with wreaths, garlands, and a tree in the little town square. Include a bakery with a red awning, a few glowing windows, and a small clock tower if your pane is wide enough. The details make this more than a generic winter street.
Start with simple house outlines, then add the Christmas decorations once the main colors dry. Paint the roofs with light white strokes and keep doors and windows large enough to read from a few steps away. One decorated tree near the center gives the village a clear focal point.
5. Show Santa’s Sleigh Crossing the Sky
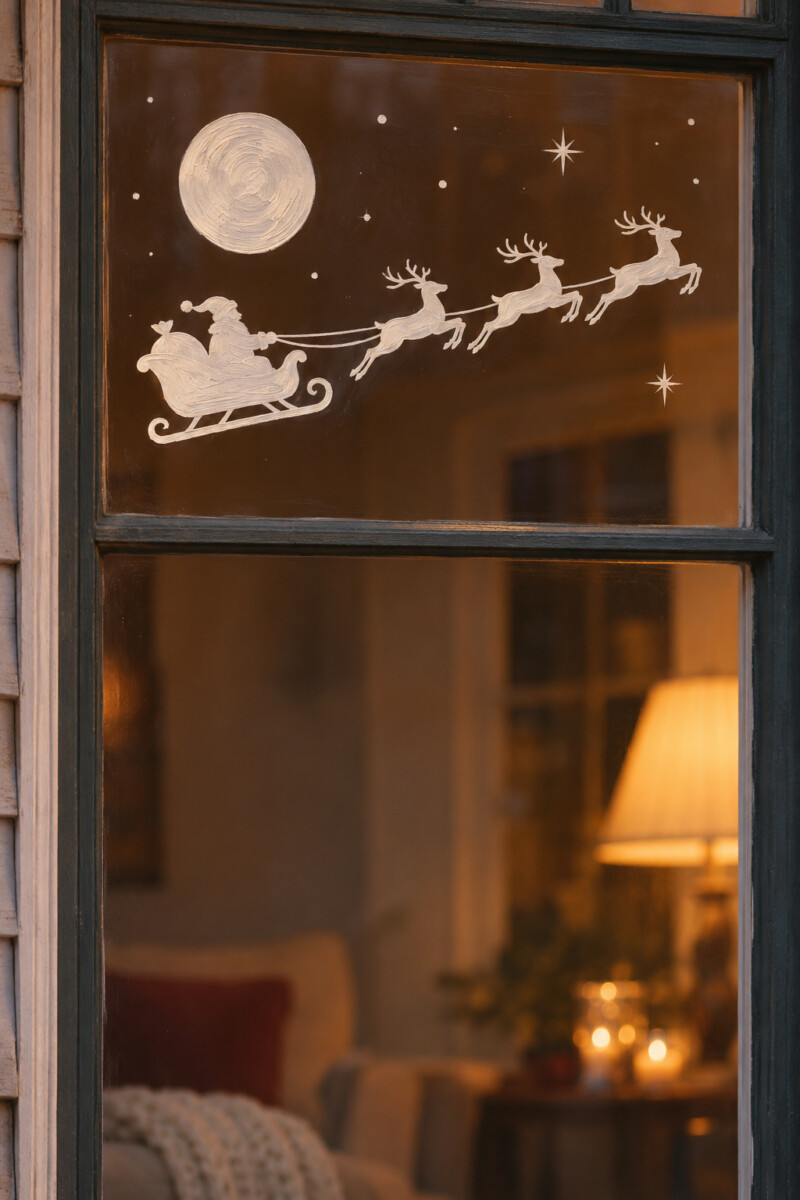
A silhouette of Santa’s sleigh and reindeer looks especially effective on an upper windowpane. The design feels festive from a distance and leaves the lower part of the glass open. It works well above a snowy village, but it can also stand alone against the evening sky.
Use a paper stencil if you want the reindeer shapes to be easy to recognize. Keep the sleigh and team in one consistent color, such as white, gold, or deep red. Add a few scattered stars rather than painting the entire background.
6. Wrap the Window Like a Christmas Present
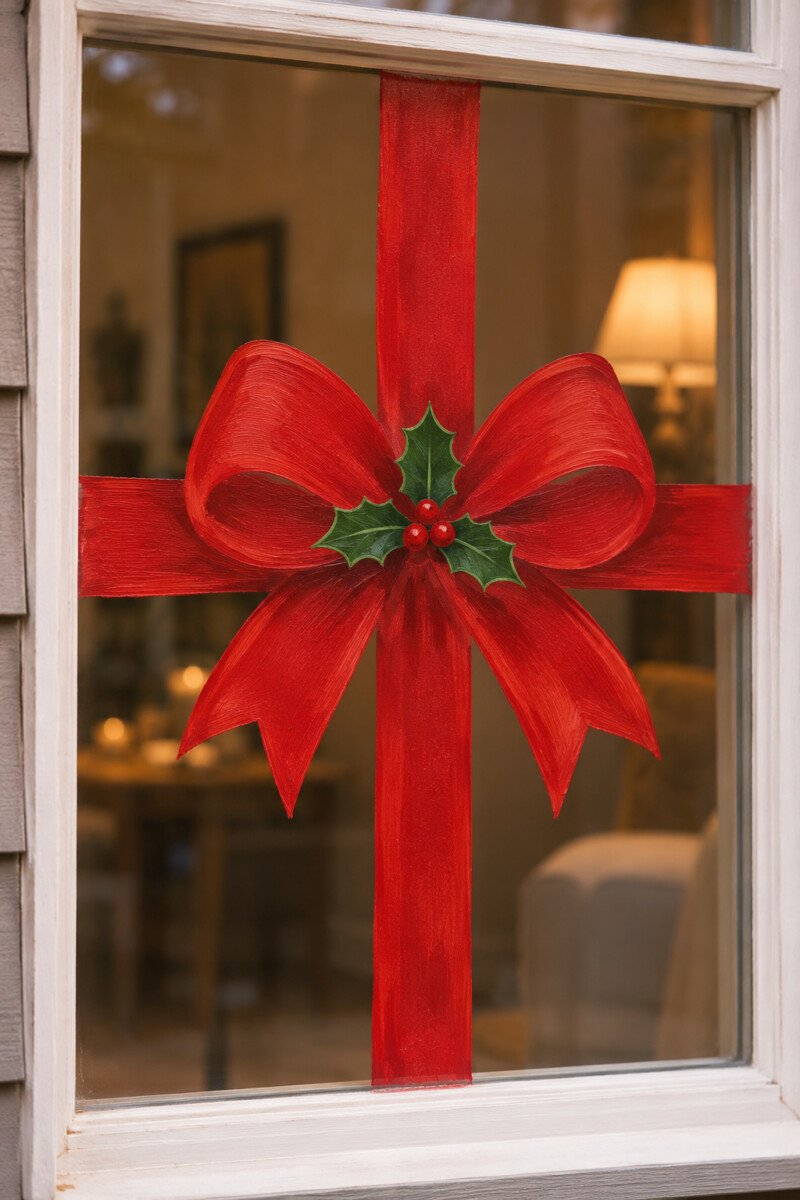
A wide painted ribbon and oversized red bow can make an entire pane look like a Christmas gift. This design is particularly effective on a square window because the vertical and horizontal ribbon bands naturally divide the glass. Add a small sprig of holly at the center for an unmistakably seasonal finish.
Draw the ribbon bands lightly before filling in the color, then build the bow from two rounded loops and flowing tails. Leave portions of the glass clear inside the ribbon lines so daylight still comes through. A few tiny gold stars can add detail without competing with the bow.
7. Hang a Garland of Painted Ornaments
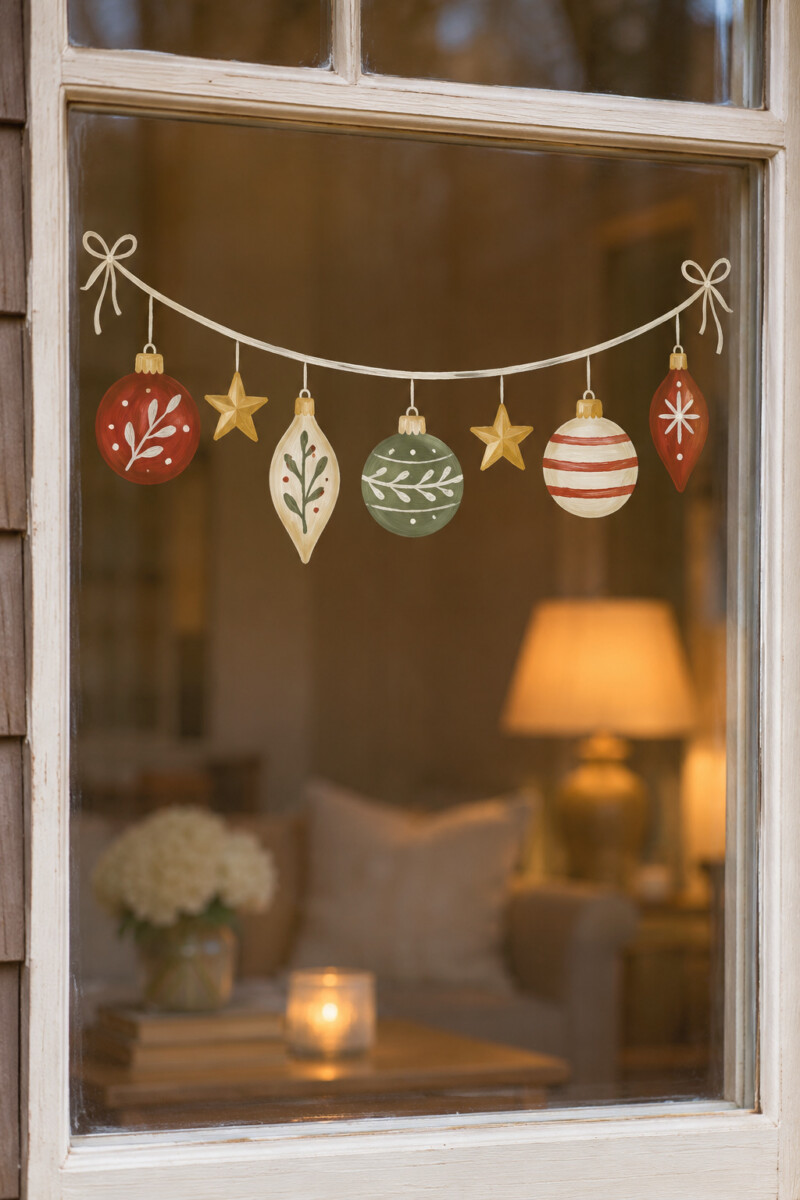
A painted ornament garland brings color to a window without attaching anything to the glass. Round baubles, teardrops, and small stars can hang from a simple curved line across the upper third of the pane. Mix a few patterns to make the ornaments look collected over time.
Outline each ornament first and keep the hanging strings fairly thin. Fill the shapes with two or three coordinated colors, then add stripes, dots, or tiny sprigs. Leave a little distance between the ornaments so they remain distinct when viewed from outdoors.
8. Paint Nordic Christmas Hearts and Hanging Stars
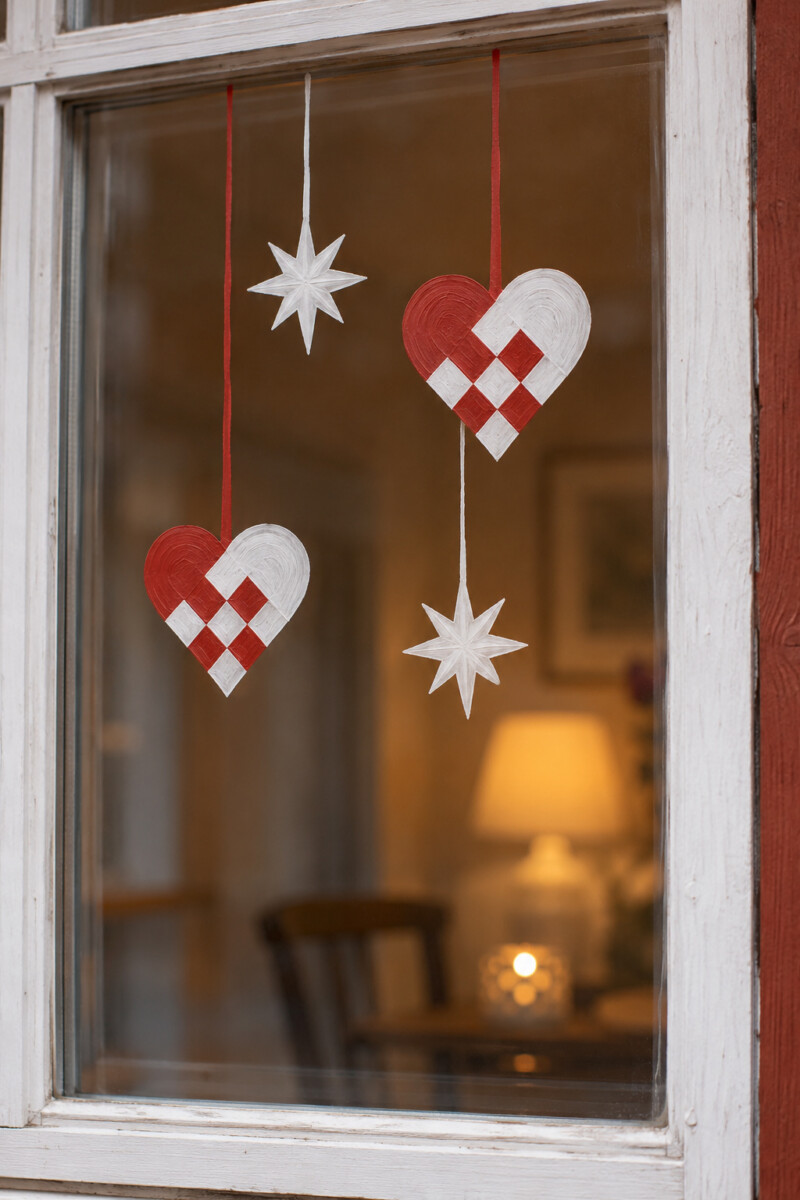
Red woven-heart motifs and white hanging stars give a window a Scandinavian-inspired Christmas look. The hearts resemble traditional paper decorations often displayed during the holidays, and their simple geometric shape works well with minimal decor. A short string can make each motif appear to hang from the top of the pane.
Use a paper guide for the heart shapes, then add crossing curved lines to suggest the woven pattern. Keep the stars and hearts at different heights, with plenty of clear space between them. Limit the palette to red, white, and a little warm gold for a tidy finish.
9. Paint Snowmen Delivering Christmas Gifts
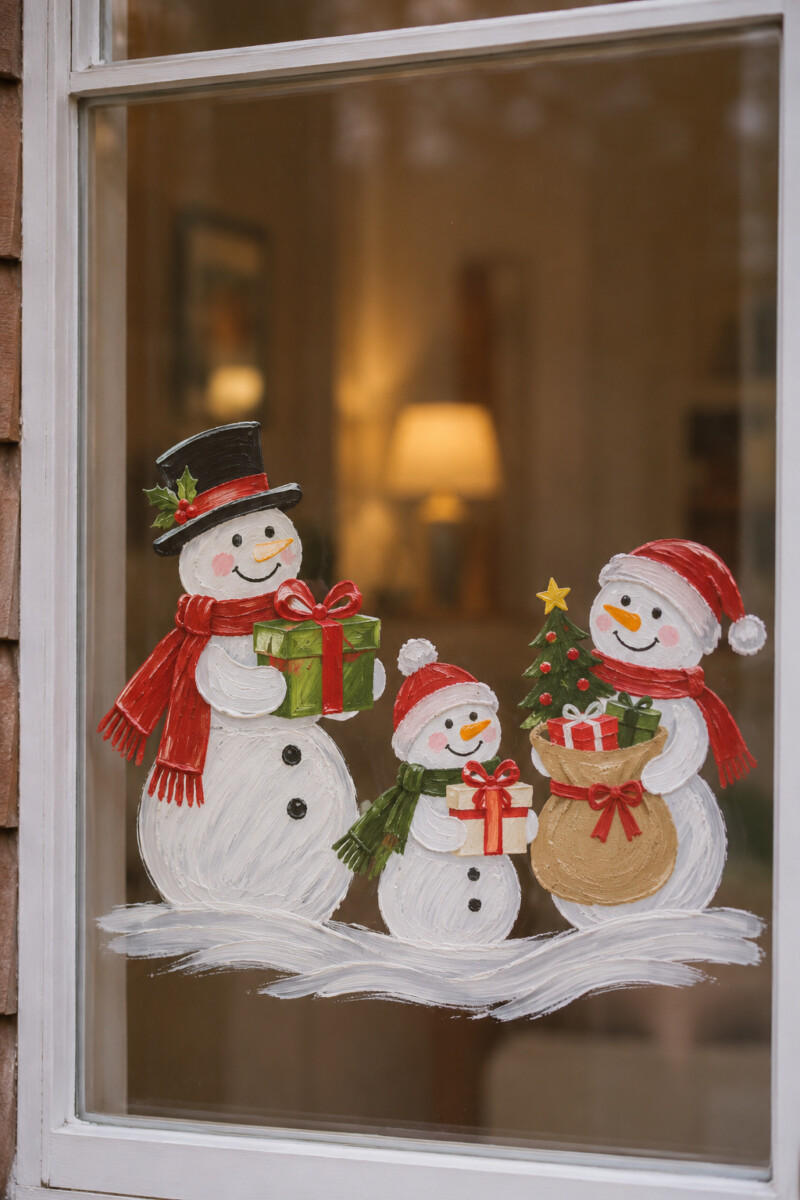
Give a family of snowmen a Christmas errand by painting them with wrapped presents, a small decorated tree, or a sack labeled ‘Gifts.’ Their bright scarves and hats make the scene playful, but the presents are what set it apart from a general winter picture. This works well on a family room window.
Build the snowmen from simple white shapes and add their faces and clothing once the paint dries. Place one gift box in a snowman’s arms and stack two more at the side. Use bold ribbons and a little holly rather than lots of tiny background snowflakes.
10. Frame the Glass with Holly and Red Berries
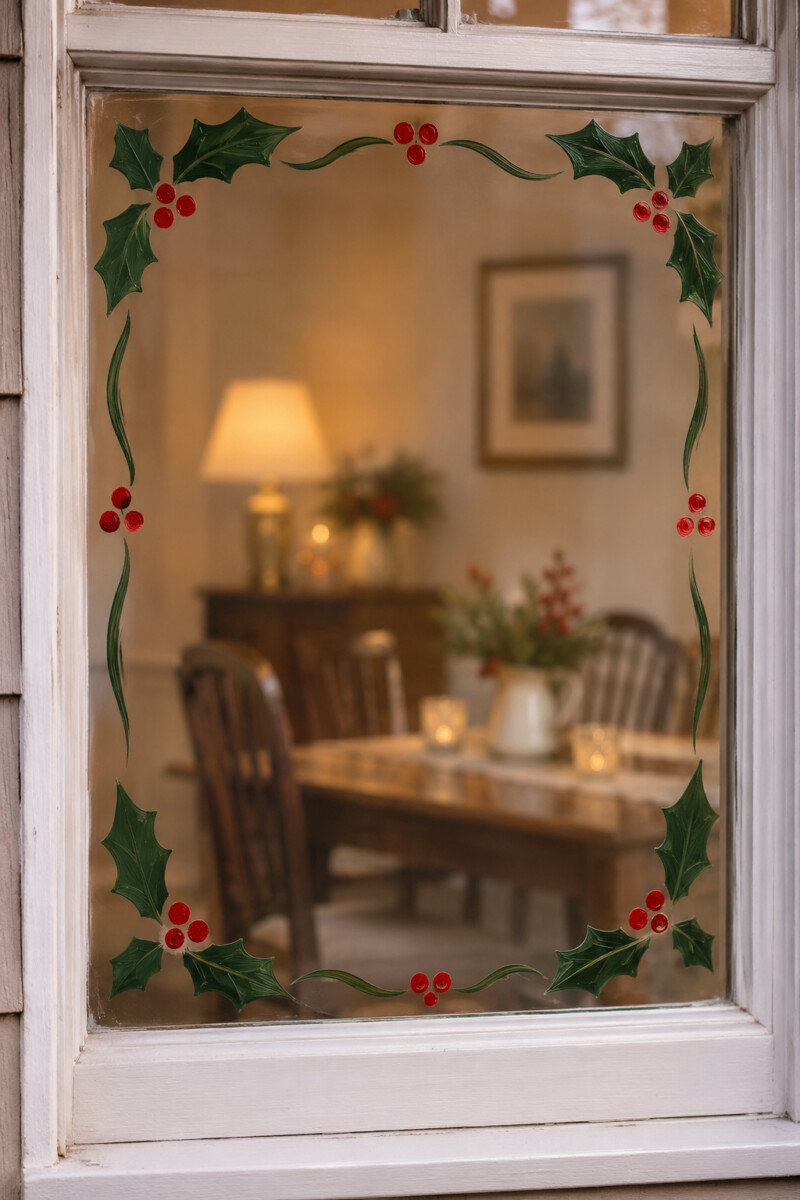
Holly leaves and berries make a classic Christmas border around the edges of a window. The dark green shapes and bright red dots stand out against the glass without taking up much space. This is a good option for a dining room where you want festive color but still prefer a clear view.
Paint small clusters in the corners and connect them with loose curved stems. Avoid making every leaf identical; slight changes in angle keep the border natural. For an easier version, draw only the leaf outlines and fill in the berries with red window paint.
11. Turn a Window into a Gingerbread House
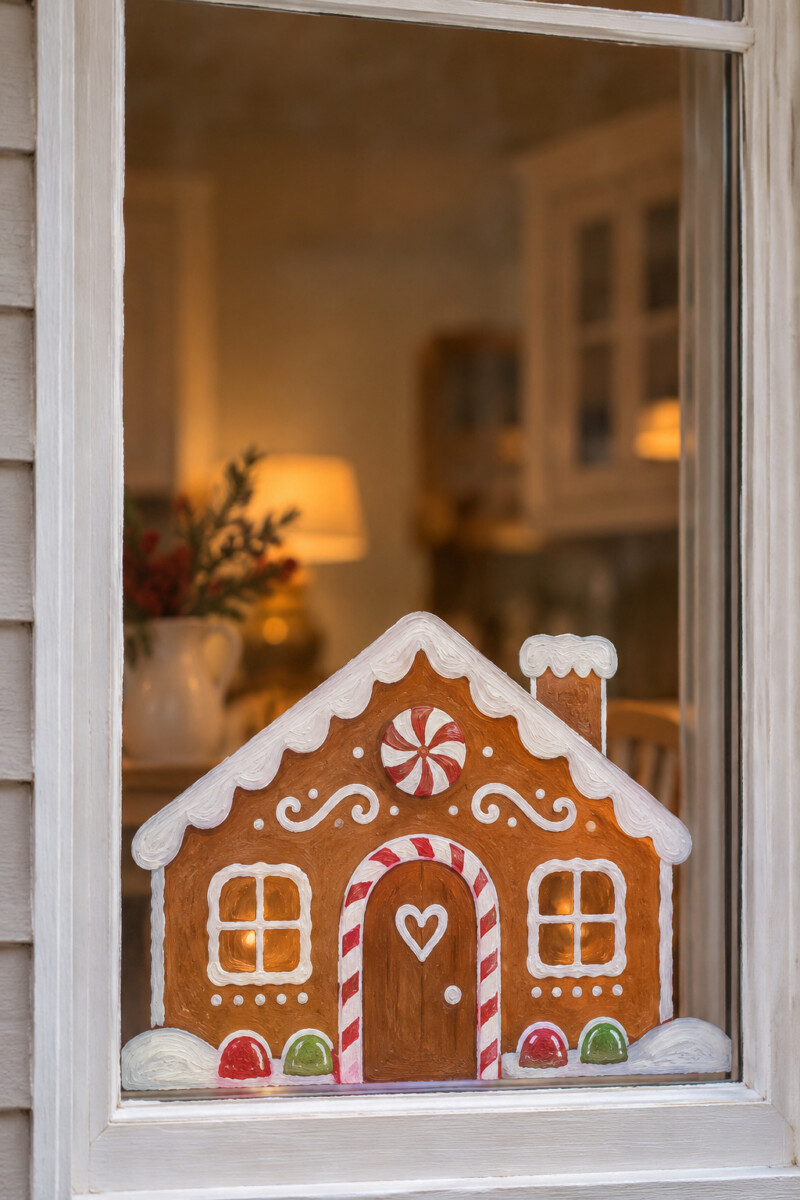
A gingerbread-house design brings the look of holiday baking to a kitchen window. Brown walls, white icing lines, candy-cane trim, and colorful sweets create a cheerful scene. You can paint one large house or a few little cottages along the lower edge.
Begin with the roof and main walls, then use a white marker to draw the icing details. Keep the candy decorations large enough to recognize from a few feet away. If you want the kitchen to stay bright, leave the space around the house unpainted.
12. Show Santa’s Reindeer Waiting at the North Pole
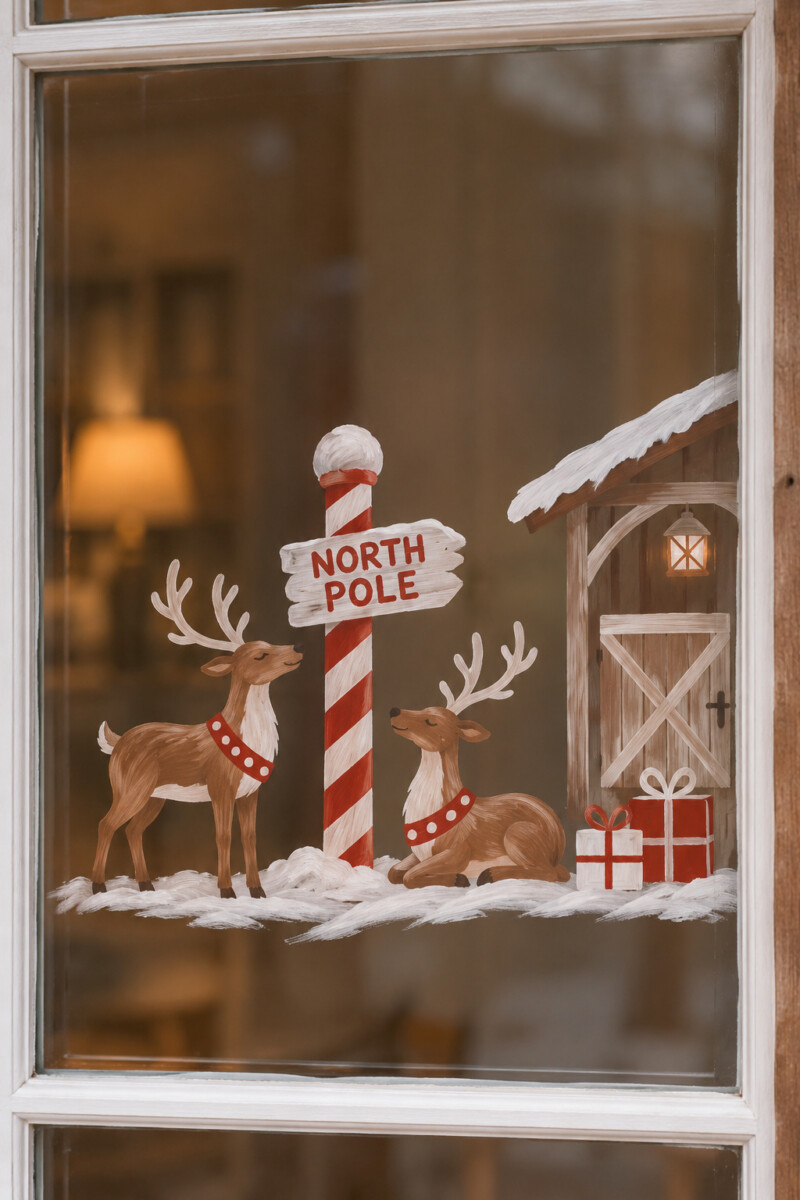
A pair of reindeer beside a candy-striped North Pole sign creates a Christmas scene without repeating the familiar sleigh silhouette. Add a small pile of wrapped gifts and a stable door in the background to suggest that the reindeer are getting ready for their big trip. Brown, red, and white paint is enough for the whole design.
Trace simple reindeer outlines if antlers are difficult to draw freehand. Put the North Pole sign between the animals and keep the gifts low on the glass. A red harness or little bell around one reindeer’s neck reinforces the holiday theme.
13. Draw One Simple Christmas Tree Outline
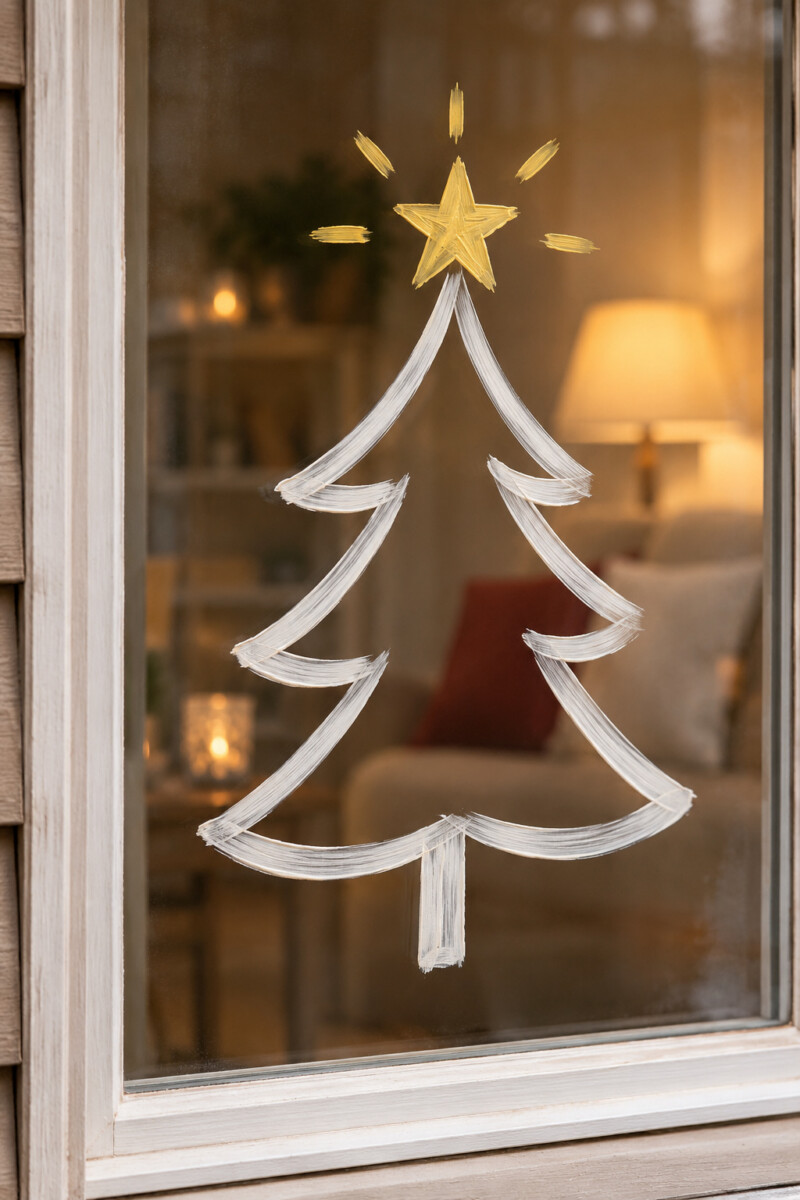
A single Christmas tree outline is ideal for beginners and for windows that already have plenty of holiday decorations nearby. A triangular tree made from loose, layered lines can look modern and festive without needing a painted background.
Use a white or green window marker to draw the main shape, then add a star and a short trunk. Small colored dots can suggest ornaments if you want more detail. Center the tree on the pane and leave enough clear glass around it to give the design breathing room.
14. Line Up Colorful Retro Christmas Trees
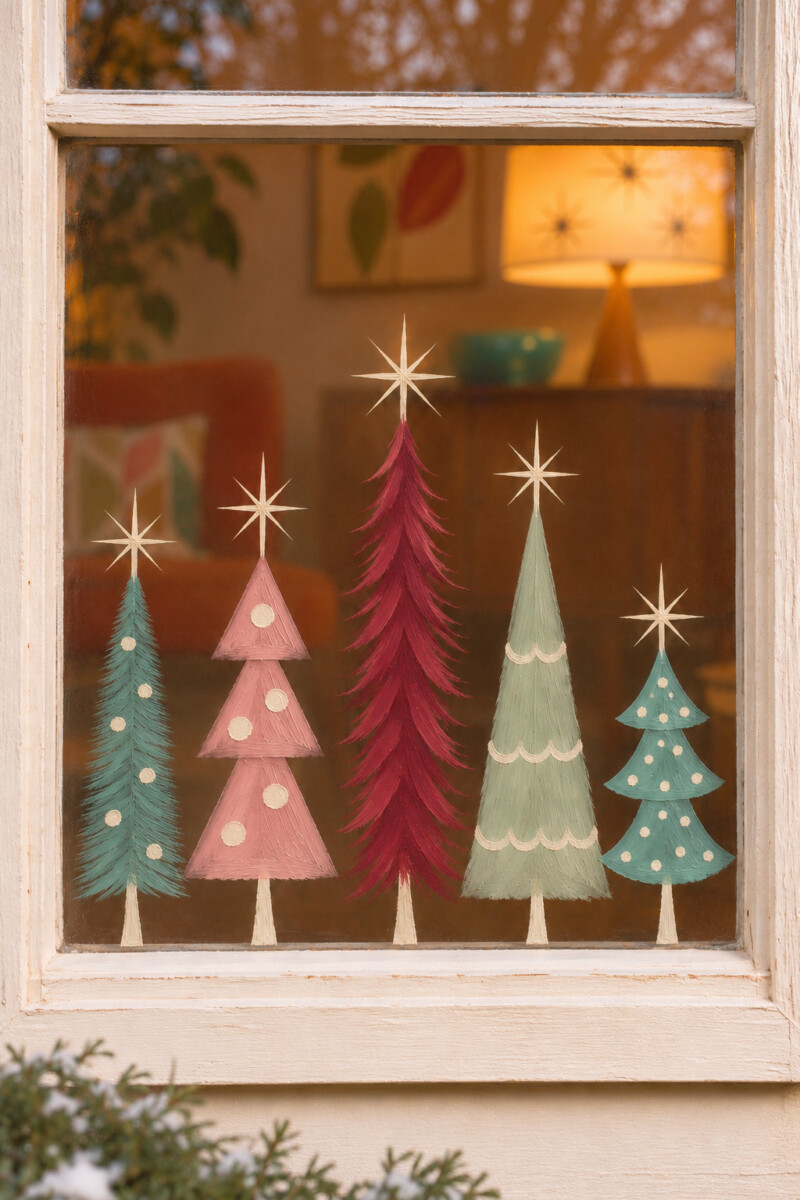
A row of small, colorful Christmas trees brings a playful vintage feel to a window. Different shapes, from skinny bottlebrush-style trees to wide triangular ones, create a cheerful pattern. Teal, pink, red, and pale green can give the arrangement a midcentury-inspired palette.
Keep the bases of the trees aligned along the bottom of the pane, but vary their heights. Paint each tree as a simple silhouette and add a few white dots or thin garlands once dry. Repeating the colors across the row helps the display feel cohesive.
15. Paint Candy Cane Stripes on the Corners
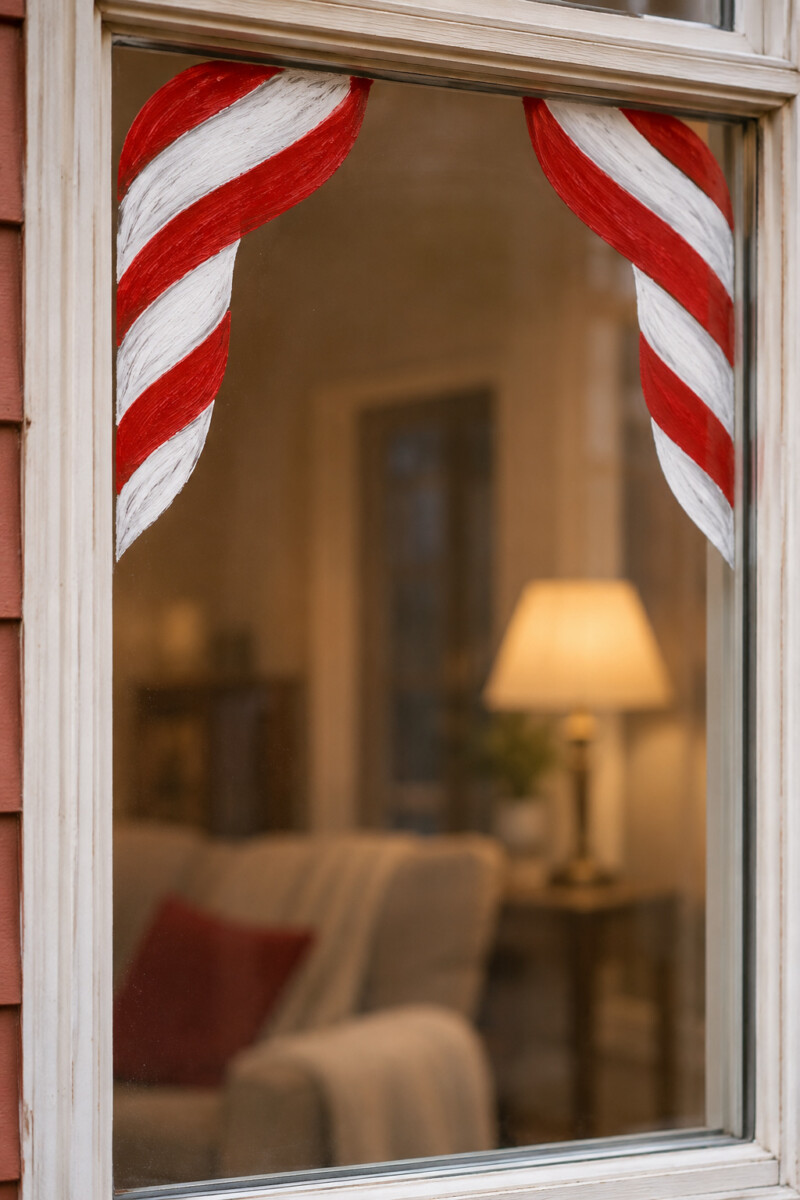
Candy cane stripes give a window a clear Christmas look using only two colors. Red-and-white diagonal bands can frame the upper corners or run down one side of the glass like oversized candy sticks. The graphic pattern works especially well on narrow windows.
Use low-tack tape as a guide only if it is suitable for the glass and nearby finish, and remove it carefully. Paint the red areas first, leaving the clear or white bands between them. Keep the stripes away from window seals and moving hardware.
16. Illustrate a Row of Christmas Stockings
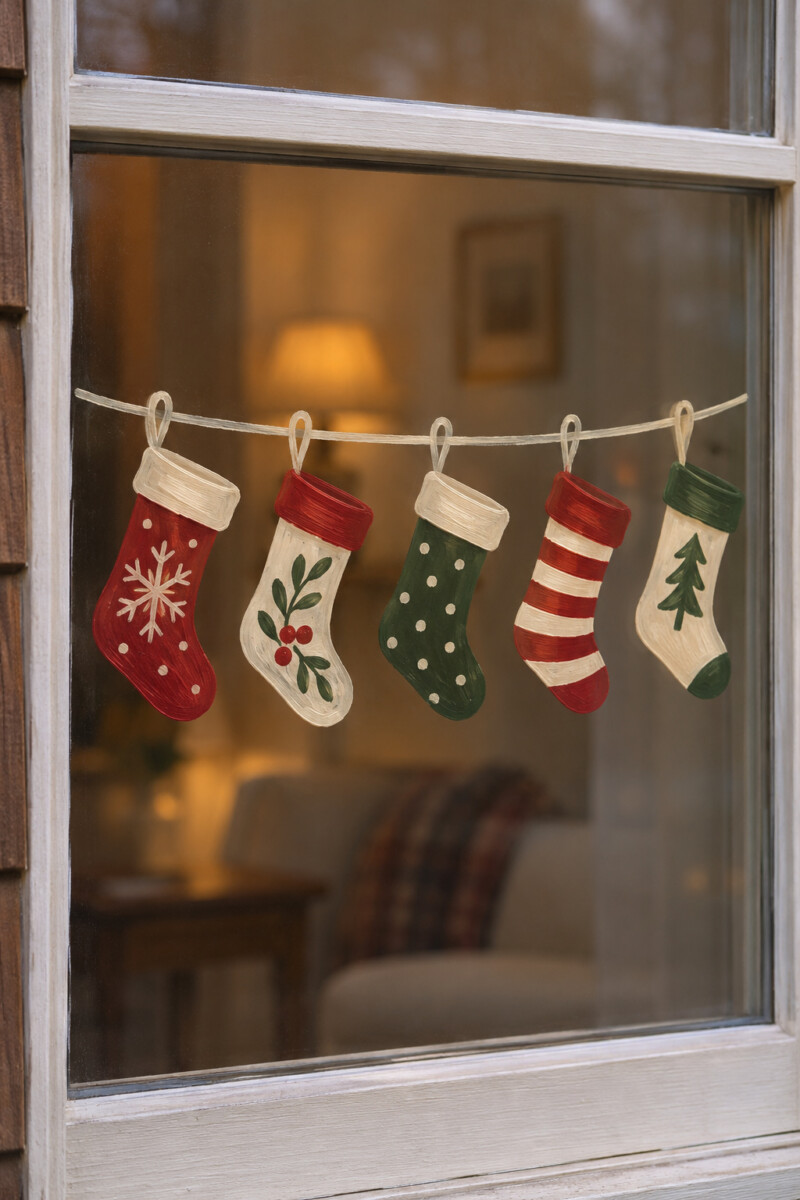
A line of painted stockings makes a charming window decoration for a living room or hallway. Draw them hanging from a simple horizontal line, with each stocking in a different pattern. Red, cream, and forest green create a traditional look without needing a full holiday scene.
Start with the stocking shapes and keep them similar in size. Add stripes, checks, or tiny stars after the first color has dried. If the design is meant to be seen from outside, view it from the street before adding small details that might disappear at a distance.
17. Place a Nutcracker at the Side of the Pane
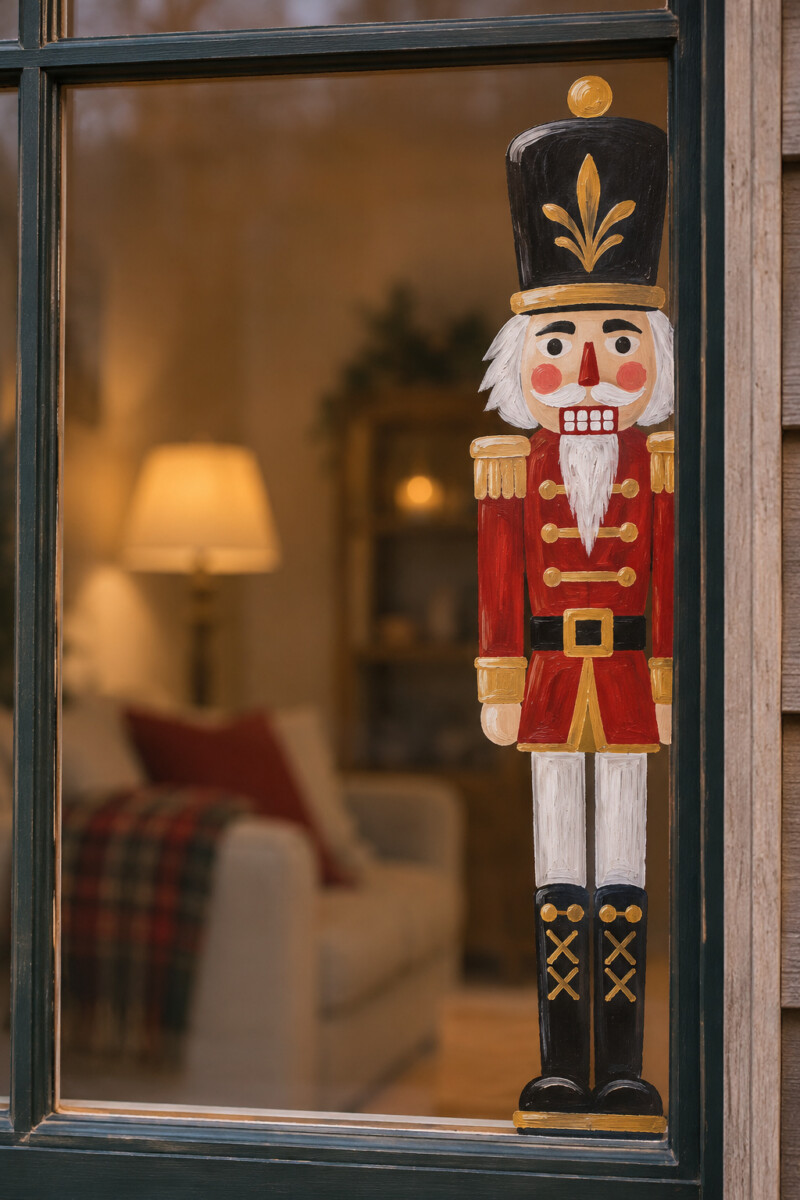
A tall nutcracker illustration can turn the edge of a window into a playful holiday feature. Its straight uniform, hat, and boots suit a vertical pane, while the red and gold details give the character a festive appearance. The rest of the window can remain clear.
Break the figure into easy shapes: a tall hat, rectangle for the jacket, narrow arms, and boots. Trace a paper drawing if needed, then add the face and uniform trim with a fine-tip marker. Keep the bottom of the figure aligned with the lower window frame.
18. Write a Christmas Greeting Inside a Painted Wreath
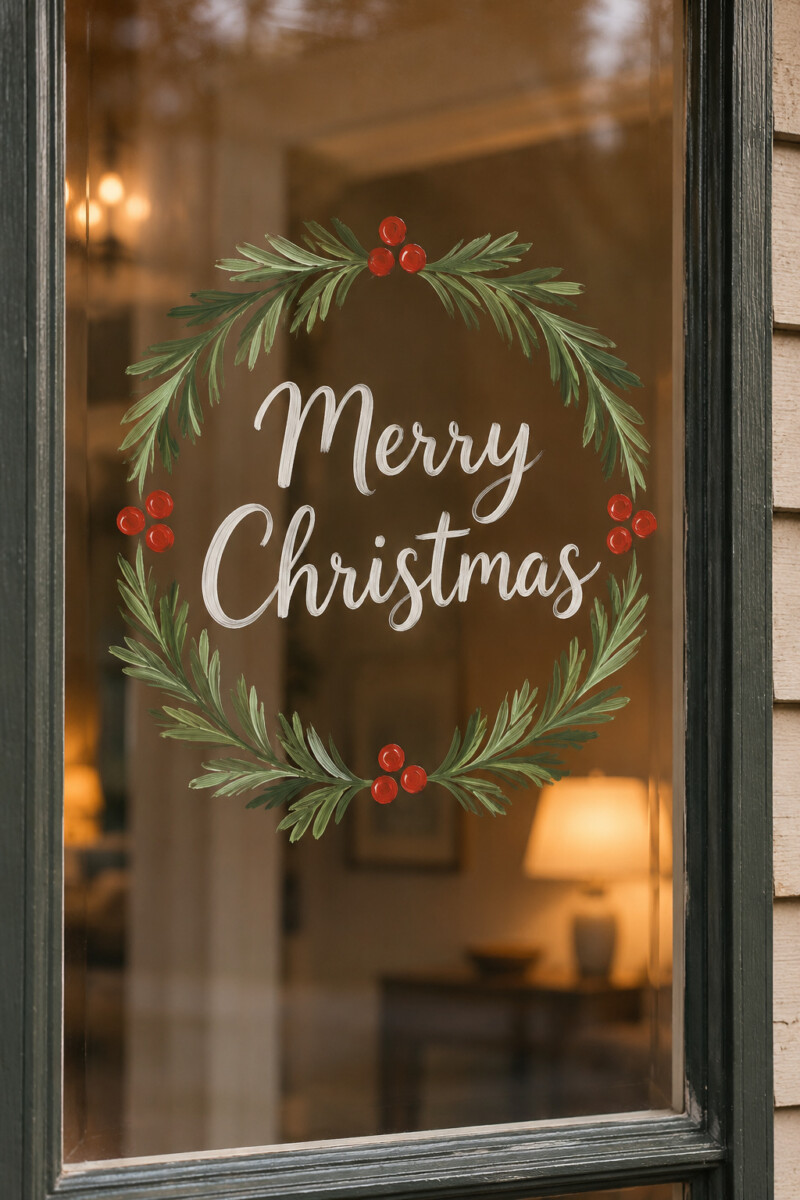
A wreath surrounding a short greeting creates a window design that feels personal. Simple words such as “Merry Christmas” or “Joy” can sit inside a circle of evergreen sprigs. This works particularly well on an entry window where visitors can see the message as they arrive.
Decide which side of the glass people will read, then check the lettering orientation before painting. Use a template for the text if neat lettering matters. Keep the foliage loose and avoid overly detailed leaves that could make the words harder to read.
19. Trace a String of Colorful Holiday Lights
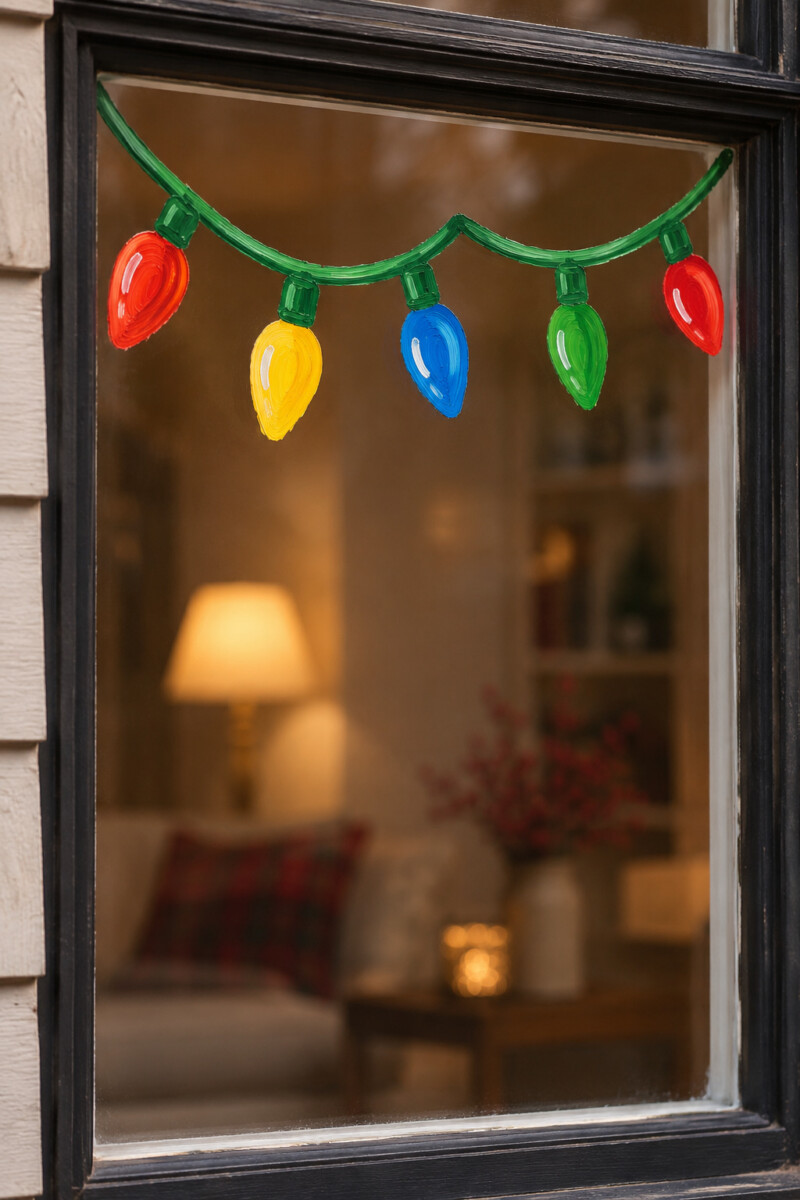
A painted strand of Christmas lights gives a window a cheerful border without cables or electrical decorations. Curved lines can run across the top of the pane, with oversized bulbs in red, yellow, blue, and green hanging at uneven intervals.
Draw the cable with a dark washable marker, then outline the bulbs before adding color. Leave a small clear spot on each bulb to suggest reflected light. For a cleaner finish, limit the design to one strand rather than crisscrossing the entire window.
20. Paint a Christmas Greenery Swag with Red Bows
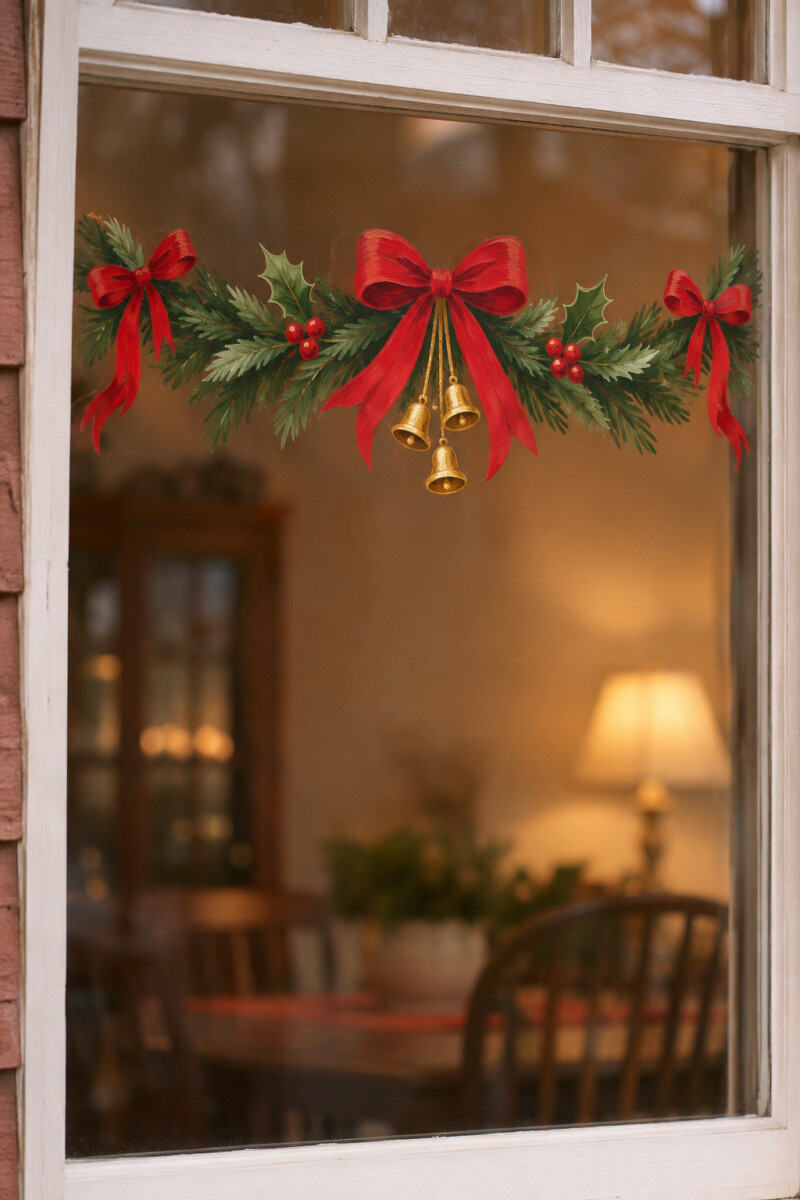
A swag of evergreen branches across the top of a window looks festive when it is finished with red bows, holly berries, and a few hanging bells. It has the feel of a traditional Christmas garland without attaching real greenery to the glass. The long horizontal shape suits a dining room or living room window.
Draw a loose curved line first, then layer short green strokes along both sides to form the branches. Add one larger bow in the middle and two smaller ones near the ends. Keep the bells simple and avoid covering window latches or the view below.
21. Paint a Christmas Gift Ribbon Across Several Panes
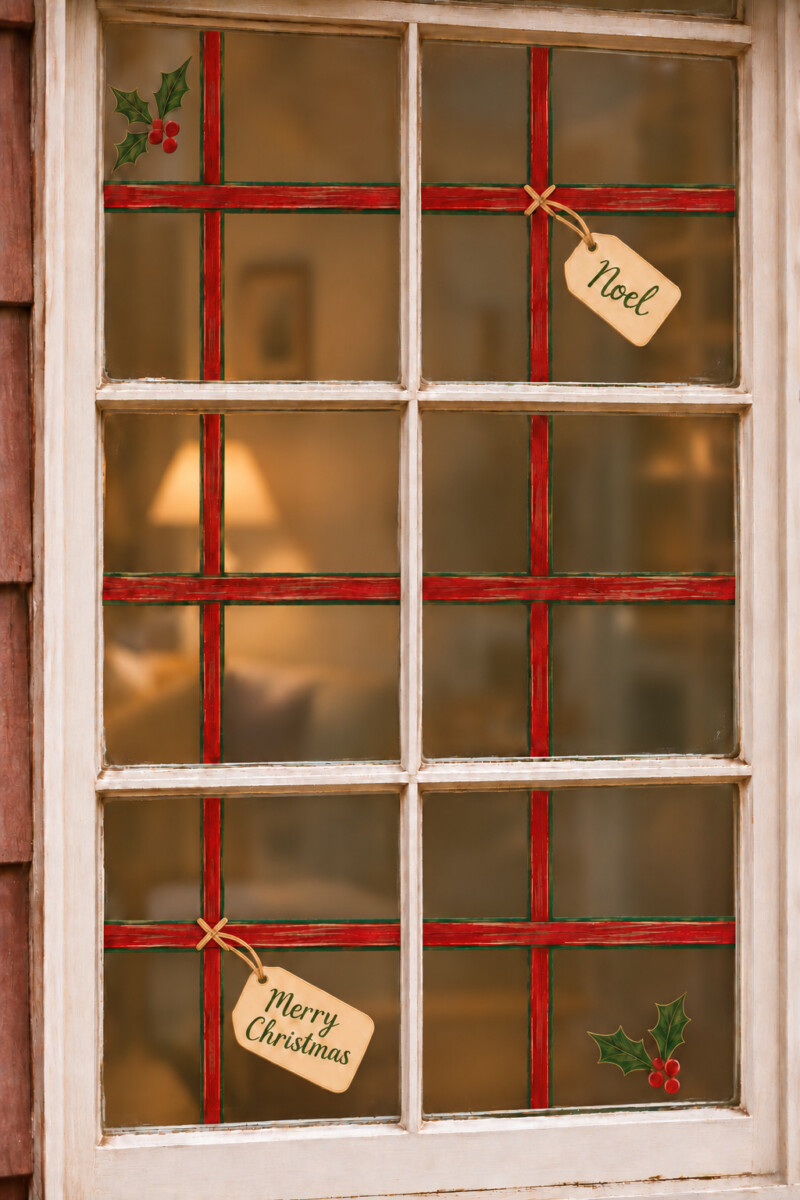
When a window has multiple panes, a painted gift ribbon can tie the whole arrangement together. Instead of repeating a single large bow, let narrow red-and-green ribbon bands continue from one pane to the next, with small gift tags and holly sprigs at the corners. The result resembles a row of wrapped Christmas parcels.
Measure the height of the bands so they line up across the window. Paint the ribbons first, then add little tags marked ‘Noel’ or ‘Merry Christmas’ on selected panes. Leave the glass near handles, tracks, and seals free of paint.
22. Paint Christmas Penguins Carrying Presents
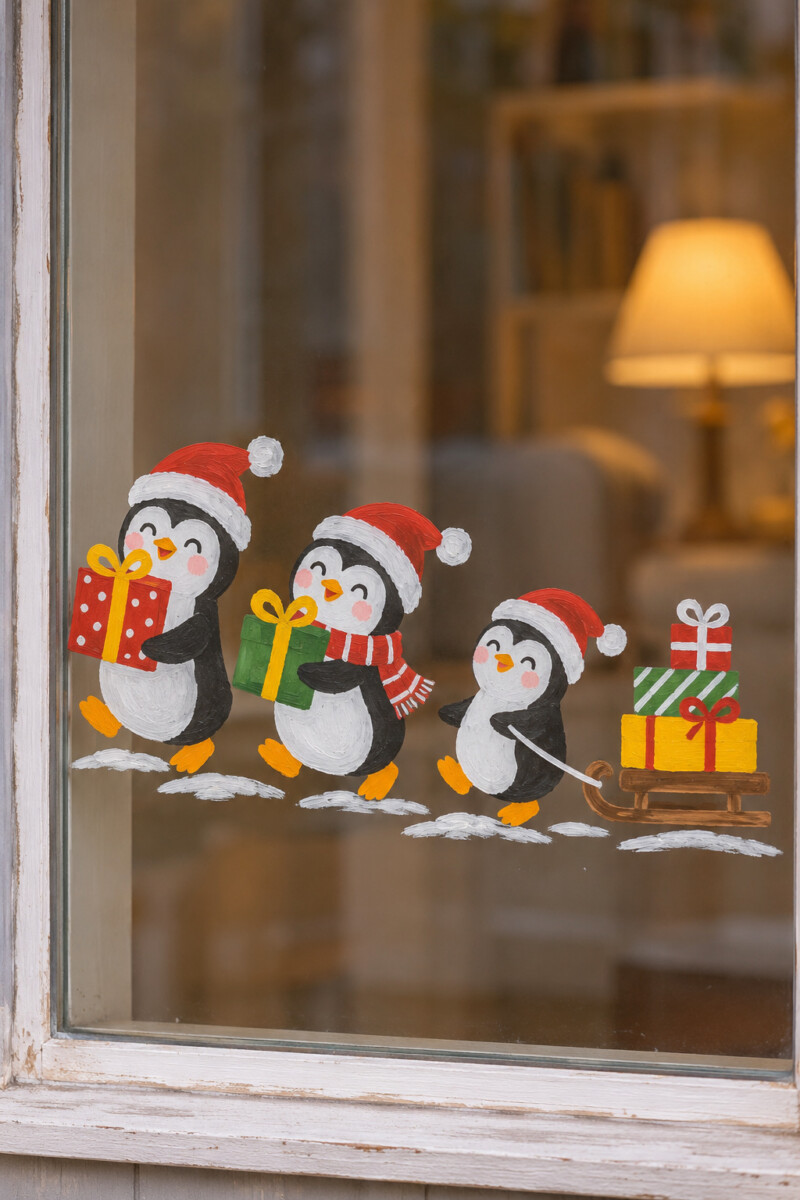
Penguins become a Christmas scene when they are delivering gifts rather than simply sliding on snow. Paint two cheerful penguins in Santa hats carrying colorful boxes, with a third pulling a small sled piled with presents. Their rounded shapes are easy for beginners and suit a children’s room.
Place the characters along the lower third of the pane, leaving the center mostly open. Paint the black-and-white bodies before adding the red hats, bows, and orange beaks. Use only a few snow dots so the gifts stay prominent.
23. Dress a Polar Bear in a Santa Hat
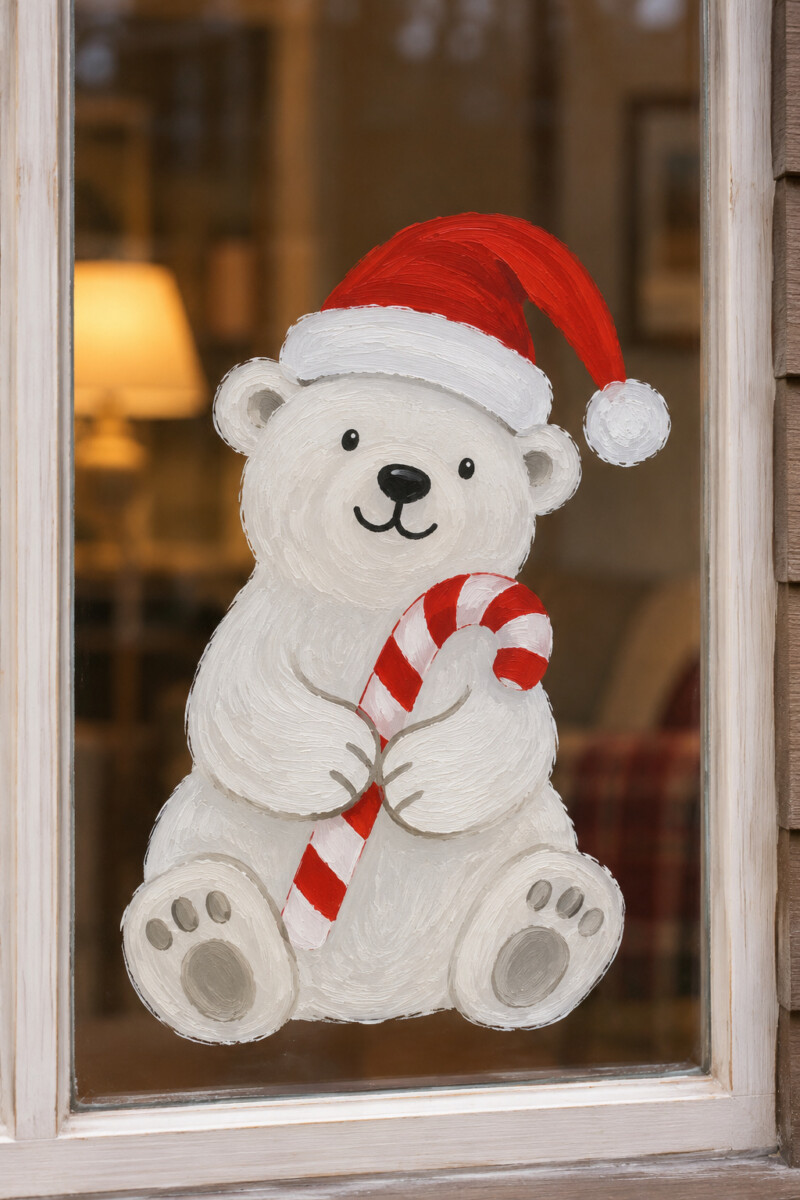
A white polar bear wearing a red Santa hat and holding a striped candy cane makes a playful Christmas window painting. The recognizable holiday accessories prevent the animal from looking like ordinary winter wildlife. A seated bear is also an easy shape to fit into a narrow pane.
Use a simple outline and a pale gray line around the body if the outdoor background is light. Paint the Santa hat and candy cane after the body dries, keeping the red areas strong enough to show from a distance. A tiny wrapped gift beside the bear can complete the picture.
24. Paint a Christmas Eve Rooftop with a Gift Sack
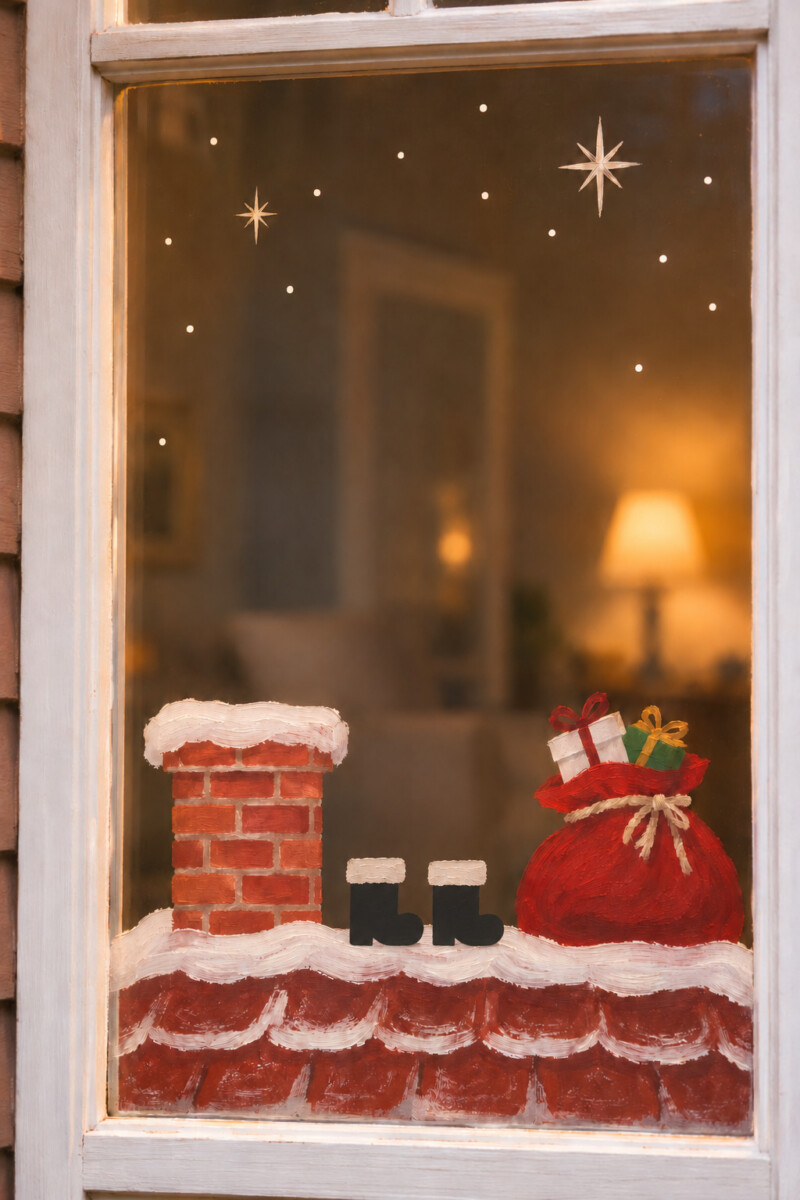
A chimney, a sack of presents, and a pair of Santa’s boots create a funny Christmas Eve scene without needing to paint Santa’s whole body. Place the rooftop across the bottom of the pane and add a dark blue or white starry sky above. The picture tells a small story in just a few recognizable shapes.
Start with an angled roofline and chimney, then paint a pair of empty black boots standing side by side on the snowy roof, as if Santa has already slipped down the chimney. Add a red gift sack beside the chimney and a few white stars overhead. Keep the sky mostly clear to avoid blocking too much natural light.
25. Frame the Window with Frosted Christmas Bells
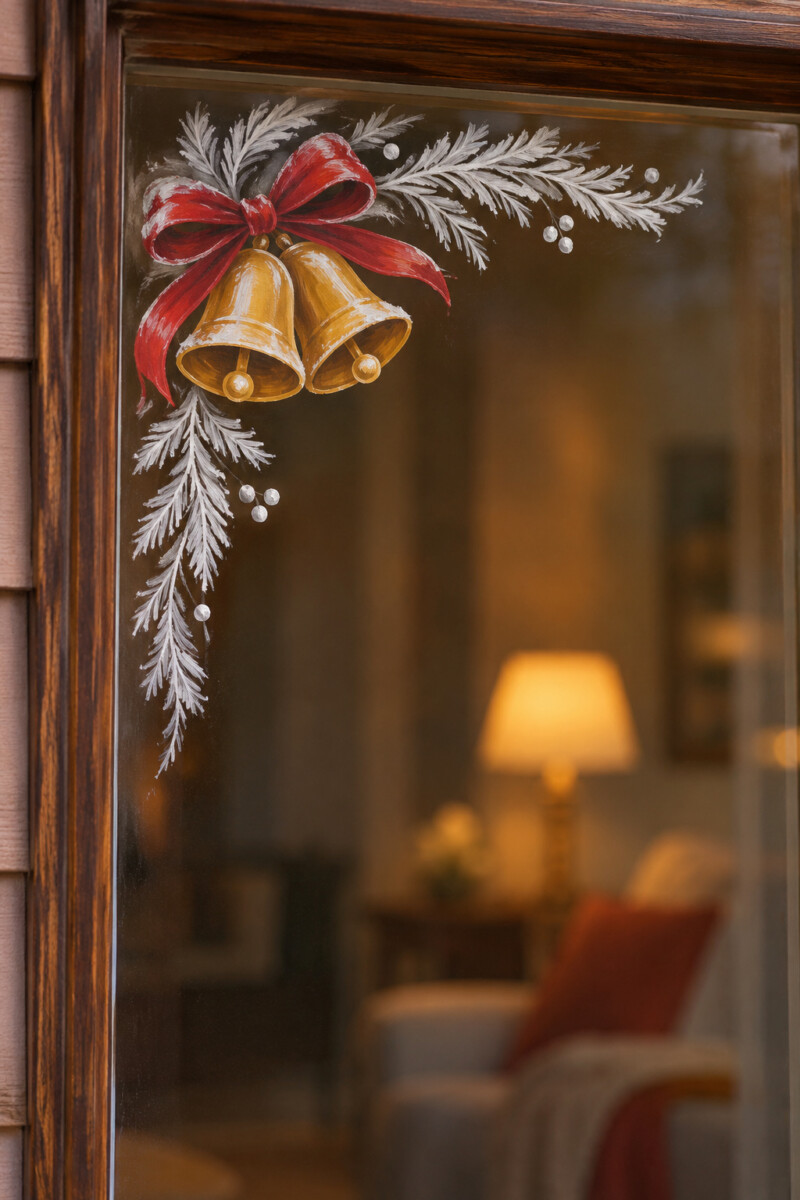
Delicate white frost patterns can still feel distinctly Christmas when they surround a pair of golden bells tied with a red bow. Put the bells in one upper corner and let the frosty branches extend partway along the top and side. This combines a subtle winter texture with a clear holiday symbol.
Draw the bells first so they remain the most prominent detail. Add the bow and small clappers, then extend thin white curls and dots outward from the corner. Make the frost lighter toward the center of the pane and leave most of the view open.
26. Design a Vintage Christmas Postcard Scene
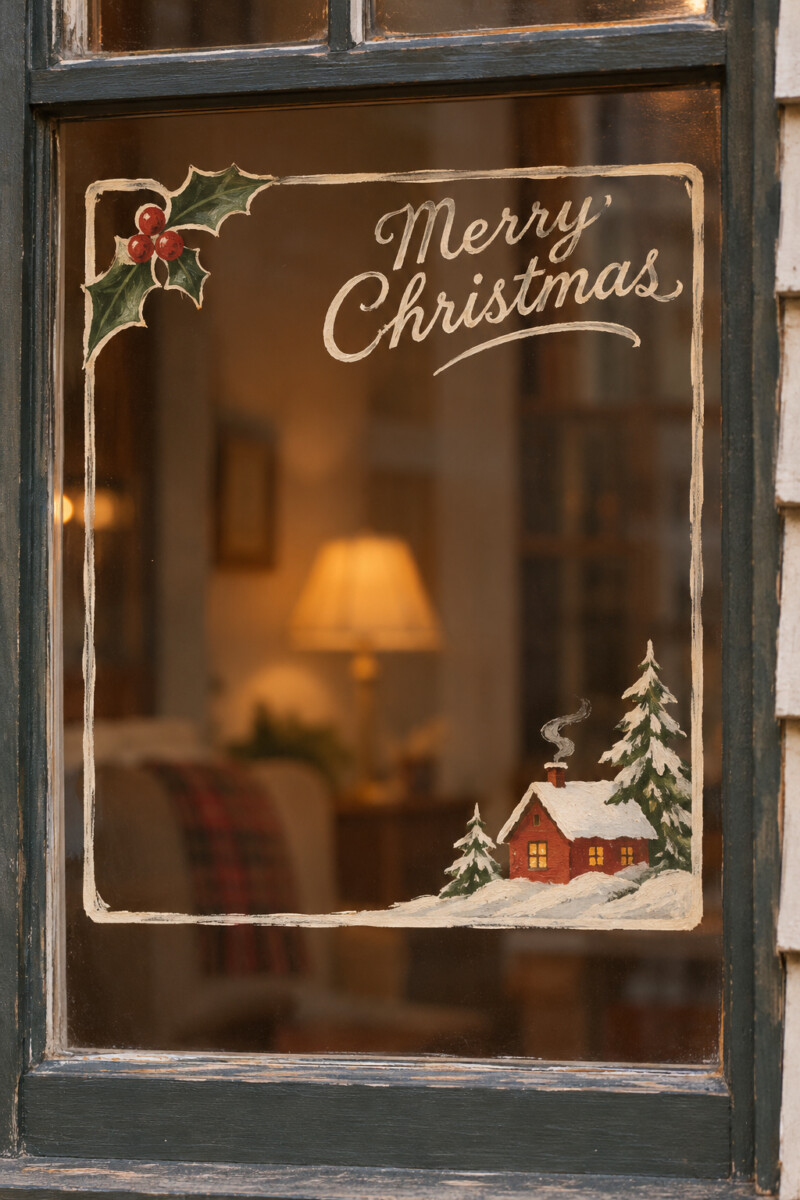
A painted postcard frame can make a window feel like an old holiday greeting. Draw a simple rectangular border with a small illustration of a snowy cottage, holly sprig, or Christmas tree in one corner. Add a short greeting in a handwritten-style script.
Choose muted red, dark green, cream, and brown for a vintage palette. Keep the lettering legible from the side of the window where it will be viewed most often. If your window has several panes, treat one pane as a single oversized postcard.
27. Let a Reindeer Peek Around the Window Frame
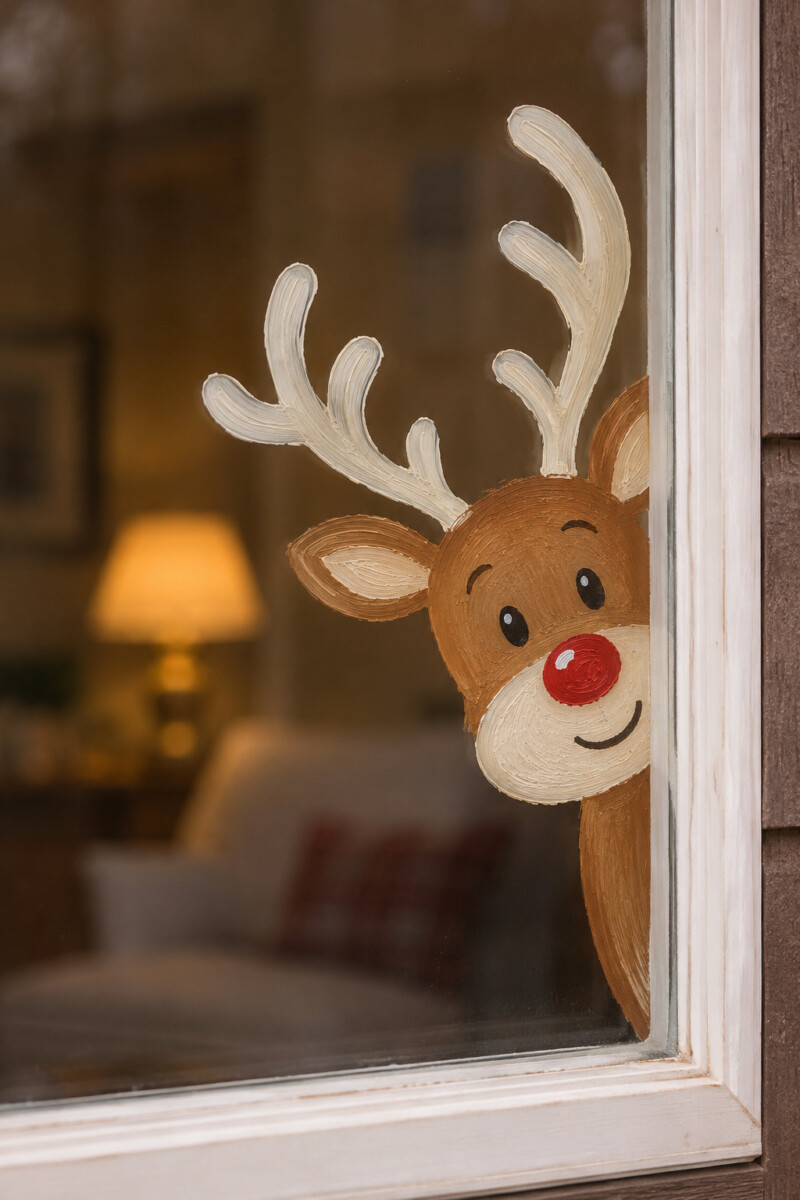
A reindeer peeking in from the edge of the glass adds humor without requiring a large mural. Show only its head, antlers, and one shoulder, as though it has wandered into view. A small red nose can turn it into Rudolph, while a brown nose keeps the design more subtle.
Position the face near a lower corner so it appears to emerge from the frame. Use a stencil for the antlers if necessary, then add simple eyes and ears. Leave the opposite side of the pane mostly empty to emphasize the playful composition.
28. Make a Peppermint Candy Border
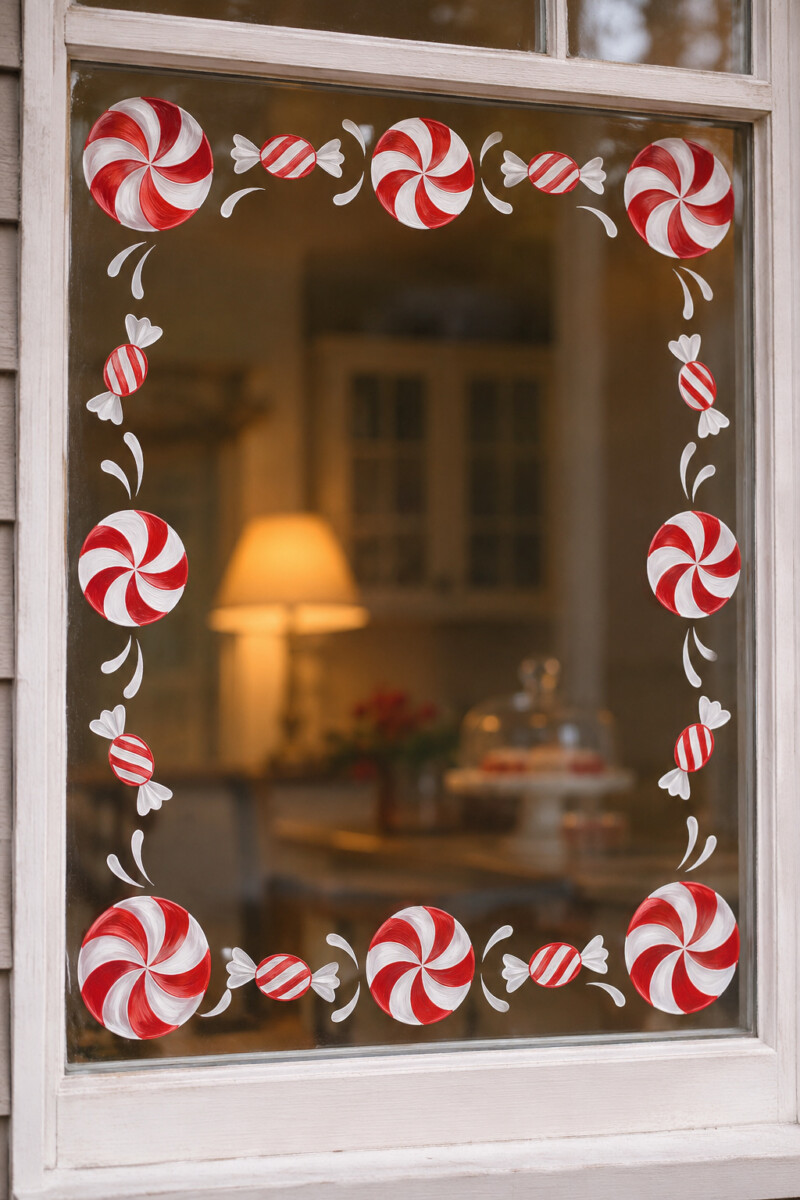
Round peppermint swirls and small wrapped candies bring a bright, graphic pattern to Christmas window art. Their red-and-white colors stand out against glass, and the repeated circles make the border feel lively. This idea suits a kitchen or a window near a holiday dessert table.
Place the larger peppermint shapes near the corners and add smaller sweets between them. Draw the spiral lines before filling the red sections, keeping the paint within the outlines. Avoid covering the whole window with candy shapes; a border is usually enough.
29. Paint Transparent-Centered Christmas Baubles
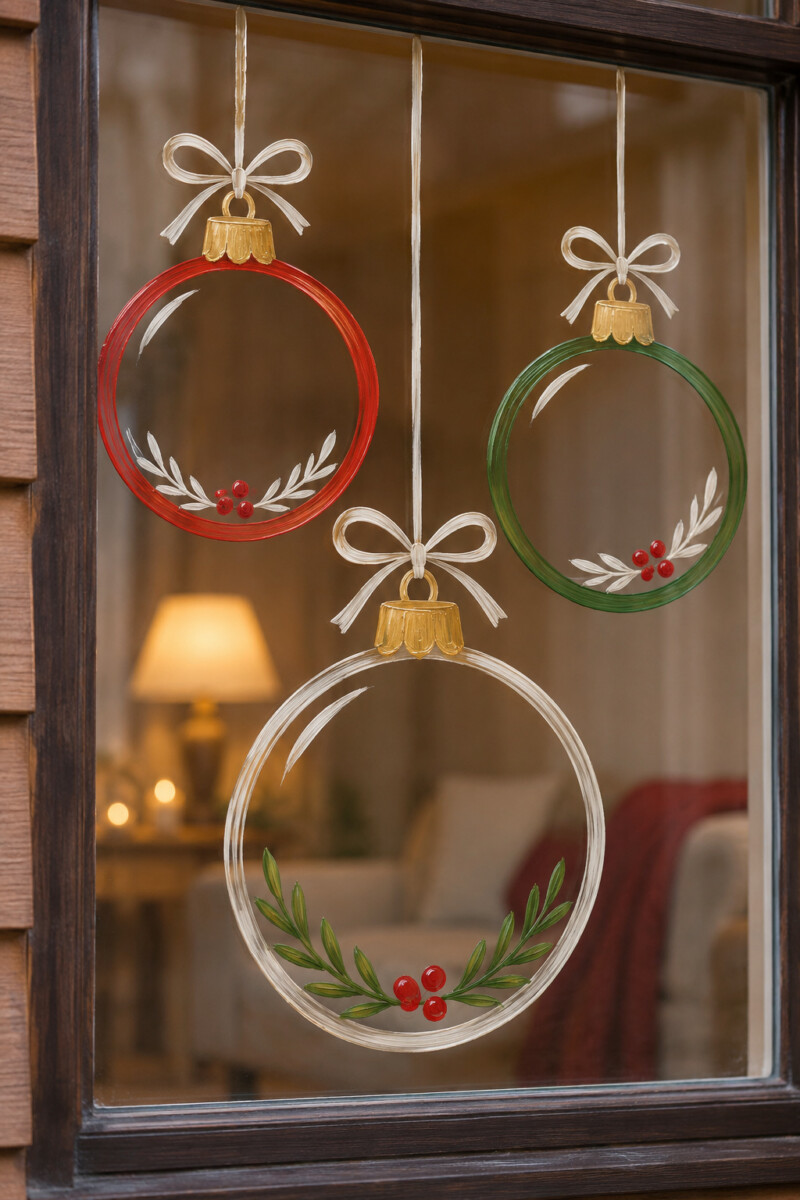
Oversized baubles with painted outlines and mostly clear centers allow light to pass through while still looking festive. This style is useful for windows where you want a colorful decoration that does not make the room noticeably darker.
Outline two or three large ornaments using washable window markers, then add painted caps, thin hanging strings, and a few small motifs inside. Leave broad areas of bare glass in each ornament. The open centers help the shapes read well in both daylight and evening light.
30. Stack Presents Beneath a Painted Christmas Tree
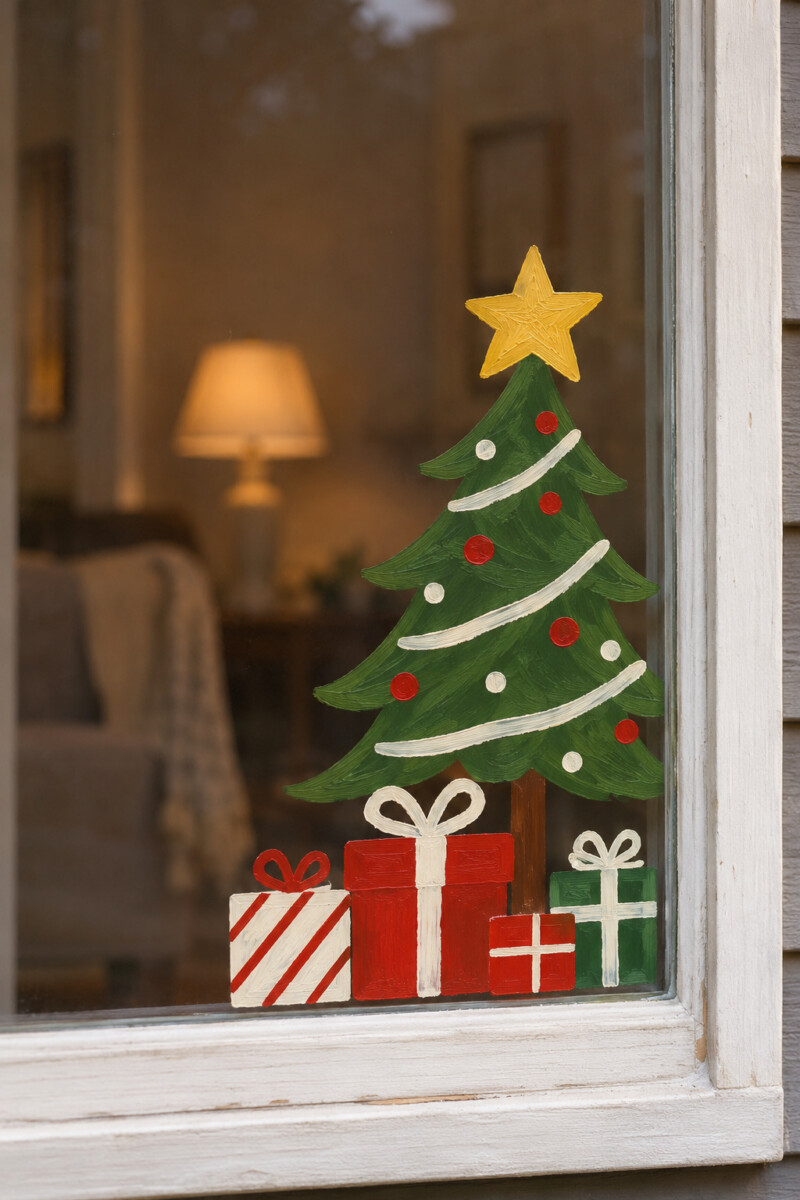
A pile of bright packages looks more clearly Christmas-themed when it sits beneath a small decorated tree. Combine different box sizes, striped ribbons, and one large star on the tree, creating an easy scene for a lower window corner. The simple geometric shapes also make this a good beginner project.
Draw the tree and largest gift box first, then overlap smaller presents in front. Use red, green, gold, and cream for the wrapping, and add a few tags or tiny holly motifs once the paint dries. Keep the group near the frame so the rest of the window stays clear.
31. Paint a Small Mistletoe Sprig
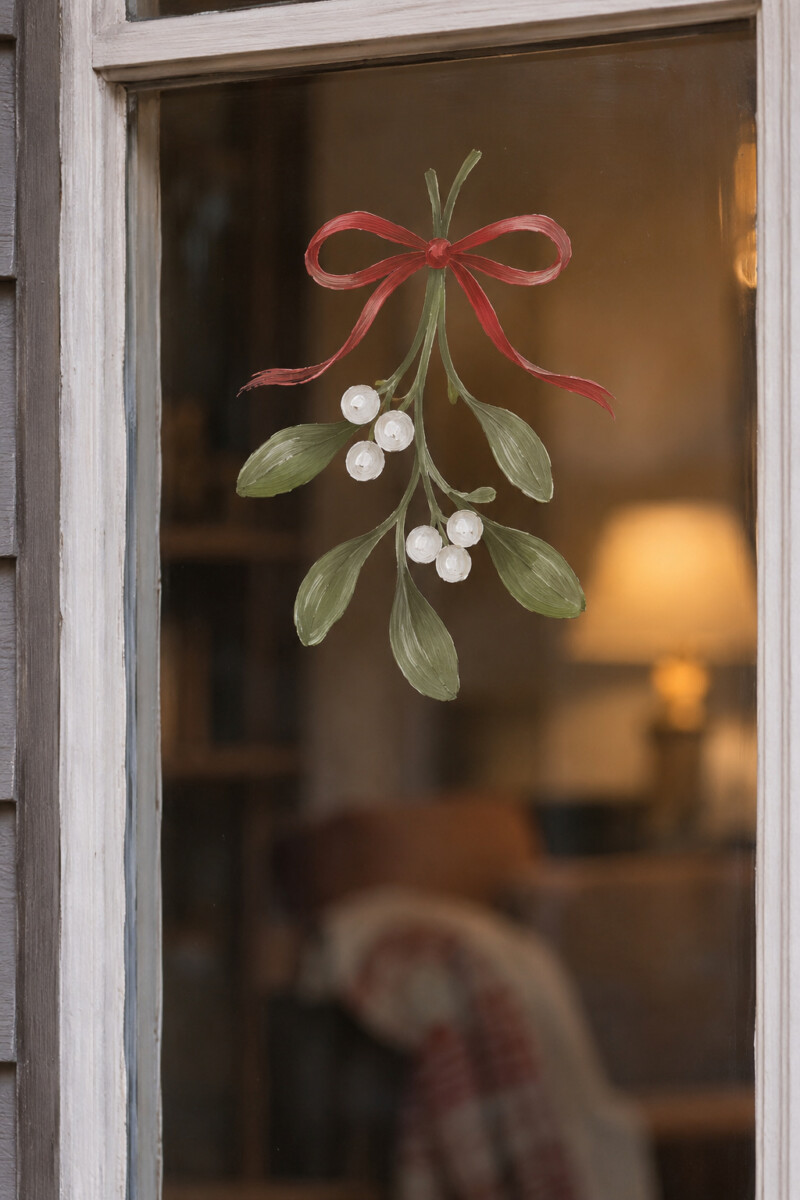
A sprig of mistletoe makes a delicate Christmas painting for a narrow window or an upper pane. Rounded leaves, white berries, and a thin tied ribbon provide enough detail for the design to feel complete. It is a subtle option when you prefer seasonal decoration without large characters or scenes.
Keep the sprig close to the top center and let the stems hang downward. Use green outlines and small opaque white dots for the berries. A muted red ribbon adds contrast, but you can leave it out for a quieter botanical look.
32. Paint a Christmas Cardinal on an Ornament-Laden Branch
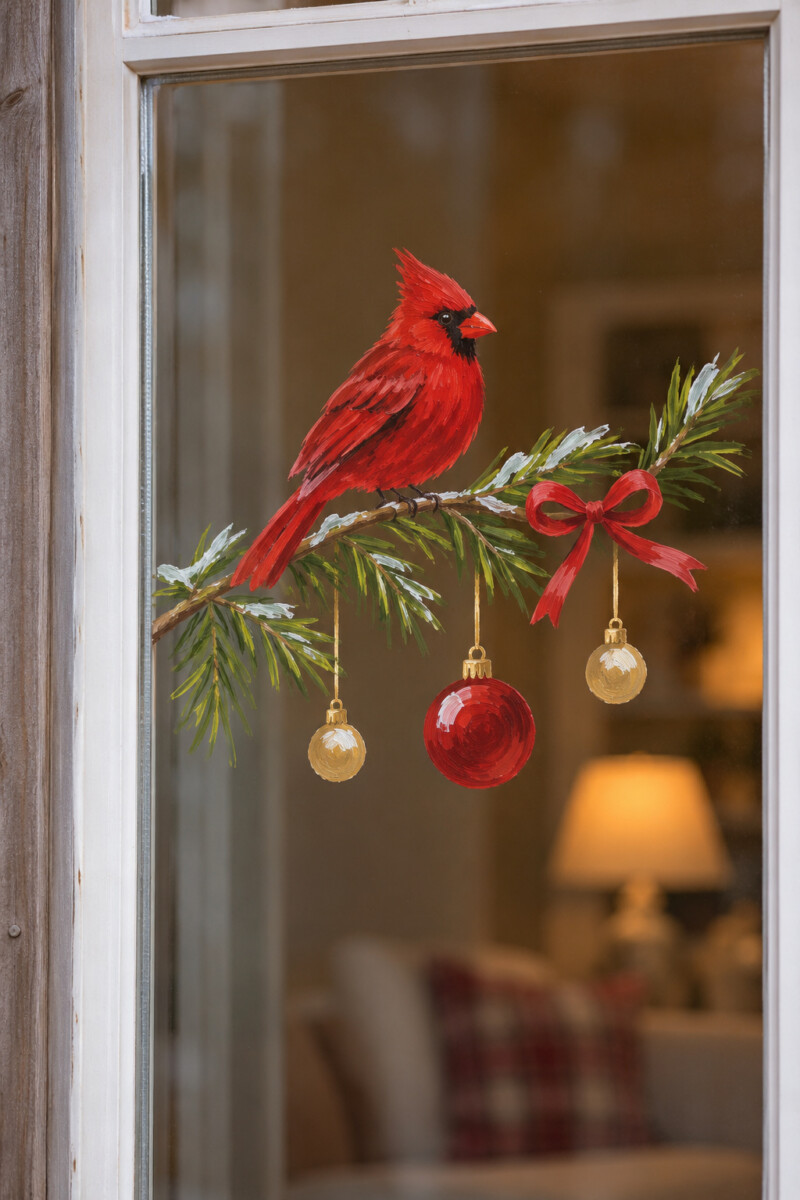
A red cardinal perched on a green fir branch can become a Christmas design with a few hanging baubles and a little ribbon bow. The bird provides a strong pop of color, while the ornaments connect the natural scene to the holiday. This is a good option for someone who prefers wildlife to cartoon characters.
Draw the branch entering from one side, then position the cardinal near its tip. Paint two or three ornaments hanging beneath the needles, using different sizes but a restrained palette. Keep the bird’s silhouette simple so it reads clearly against the glass.
33. Paint a Nativity Scene Beneath the Christmas Star
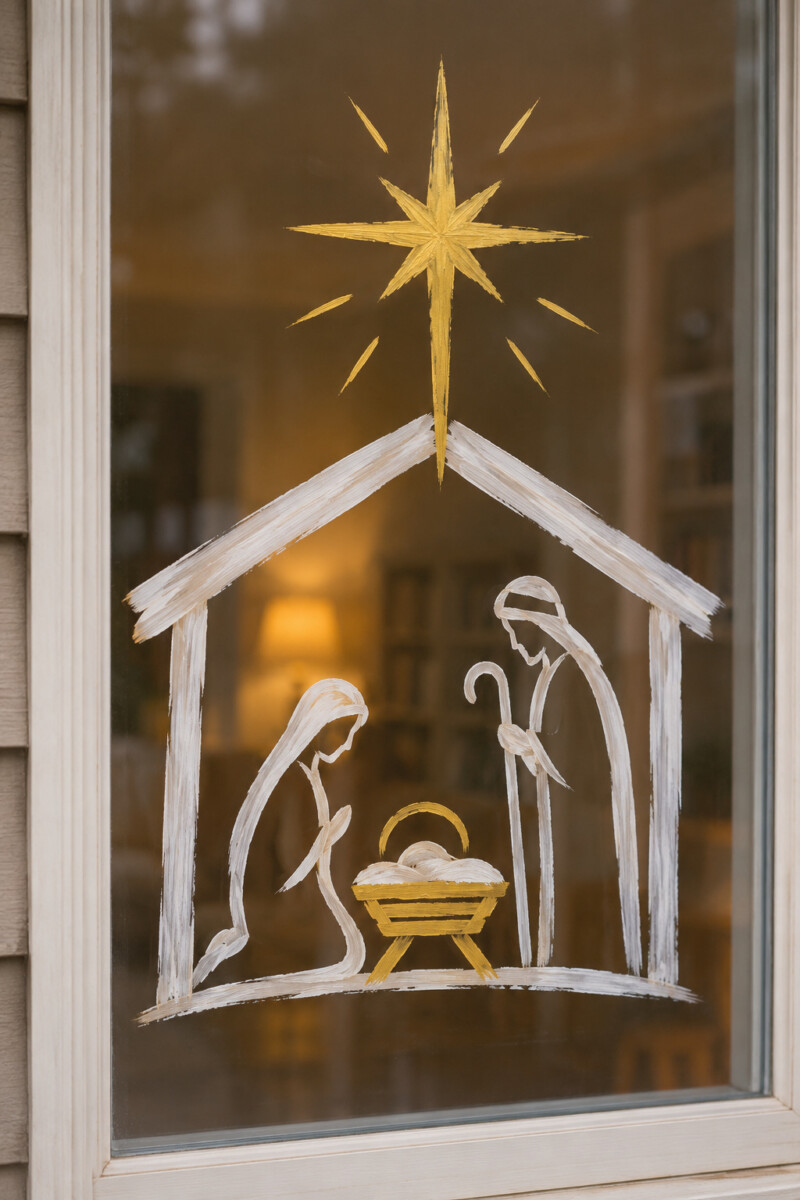
A simple Nativity silhouette offers a traditional religious Christmas window painting. The stable roof, Mary, Joseph, and a manger beneath a bright star are recognizable without extensive detail. White, gold, or dark blue outlines can make the scene work on a single broad pane.
Sketch the stable as a few straight lines and keep the figures in uncomplicated shapes. Leave open glass around the scene, then add one prominent star above the roof. If you want lettering, a small ‘Peace on Earth’ banner beneath the stable is enough.
34. Fill a Pane with Christmas Icon Doodles
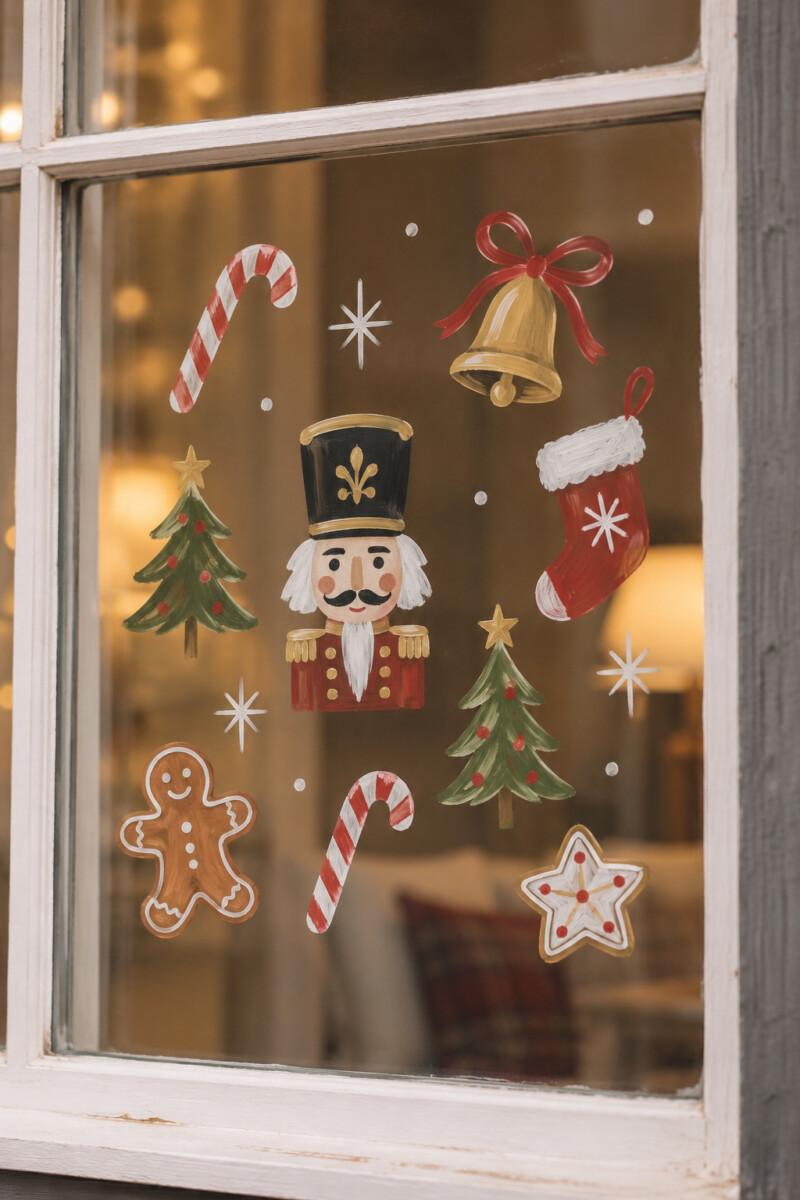
A collection of small Christmas drawings can turn one windowpane into a cheerful sketchbook. Mix nutcracker hats, candy canes, bells, Christmas cookies, stockings, and tiny decorated trees. A loose arrangement works well when you would rather draw with markers than paint large areas.
Begin with five or six bigger motifs, then fill the gaps with little holly leaves and stars. Keep a consistent line thickness so the pictures feel related. A short ‘Merry Christmas’ in the middle can give the scattered icons a clear center.
35. Run a Vintage Toy Train Along the Bottom Pane
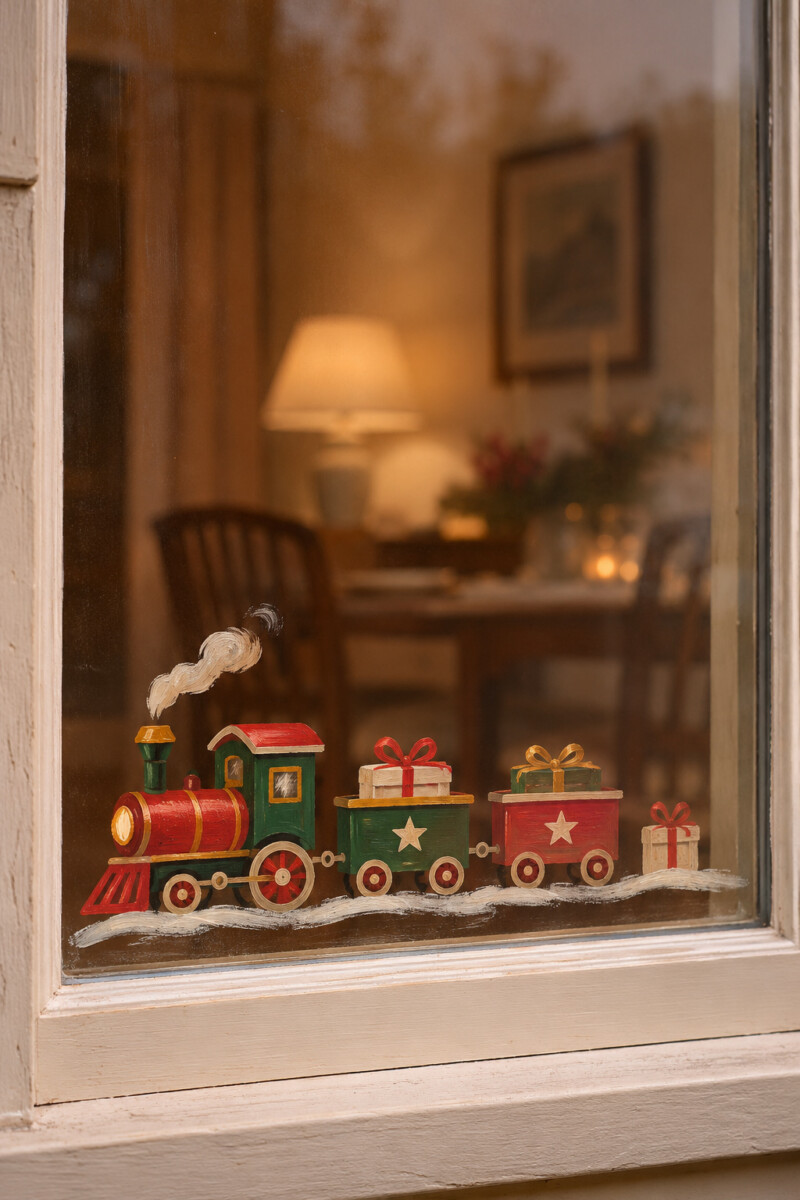
A painted toy train makes a cheerful Christmas scene on a long window. A small engine, two colorful carriages, and a few gift boxes create a nostalgic look without taking up the whole pane. The horizontal shape fits especially well beneath a dining room or living room window.
Sketch the train as simple rectangles and circles before filling in the colors. Keep the wheels aligned and leave room for the carriages to connect. Add a little steam or a short snowy track, but avoid too many tiny details that will be hard to read from a distance.
36. Create a Painted Advent Countdown
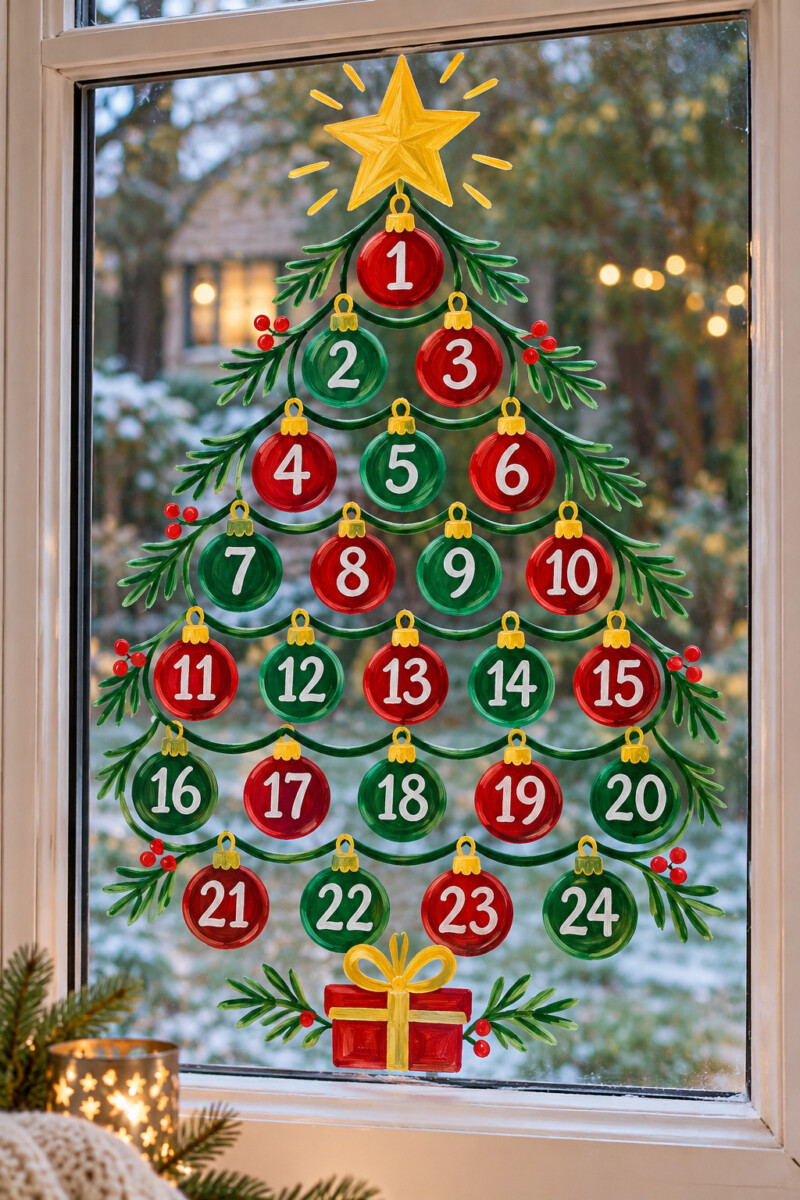
An Advent countdown turns a window into an interactive holiday display. Twenty-four small numbered stars, ornaments, or gift tags can form a loose Christmas tree shape or a neat grid. The arrangement gives children something to look for each day in December without requiring a separate wall calendar.
Paint the outlines first and keep the numbered spaces large enough to read. If you plan to mark off each day, use a compatible removable marker and test it on top of the dried design. Put the countdown where it can be reached safely without climbing on furniture.
37. Paint a Christmas Dried-Orange Garland
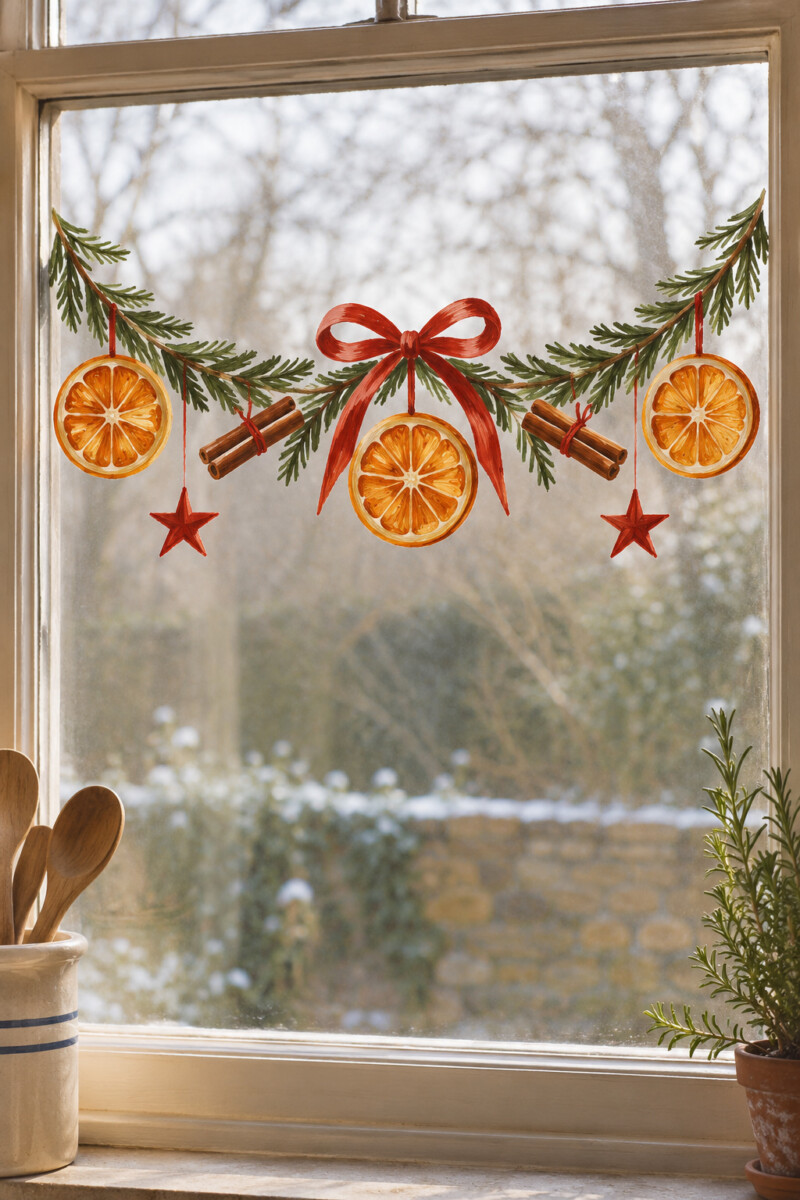
Dried orange slices, cinnamon bundles, and evergreen sprigs can form a painted Christmas garland across a kitchen window. Add a few red ribbons or stars so the warm-toned ingredients read as holiday decoration rather than ordinary food illustrations. This suits a rustic or traditional kitchen scheme.
Arrange the orange circles in a gently curved line, connecting them with short green branches and twine details. Use thin white lines to show the segments inside each slice. Paint the ribbon bows last and keep the garland above areas that are likely to get splashed.
38. Illustrate a Little Christmas Market Stall
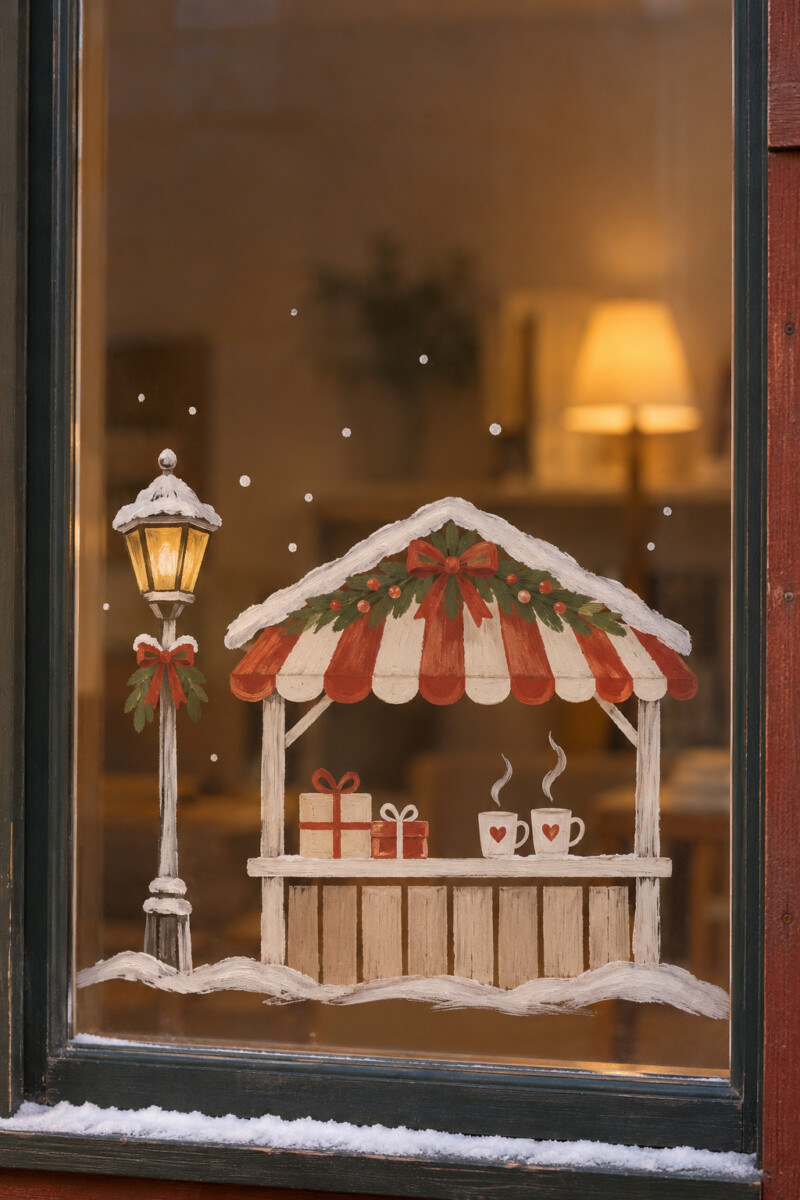
A Christmas market stall can bring a storybook atmosphere to a large window. Draw a striped awning, small counter, and a few simple items such as wrapped gifts or mugs. A neighboring lamp post and a dusting of snow help establish the outdoor scene.
Start with the awning and counter because they define the stall’s shape. Keep the rest of the scene simple, using warm colors for the stall and white for the snow. This design works best on one broad pane where the details have room to breathe.
39. Paint a Faux Stained-Glass Christmas Star Topper
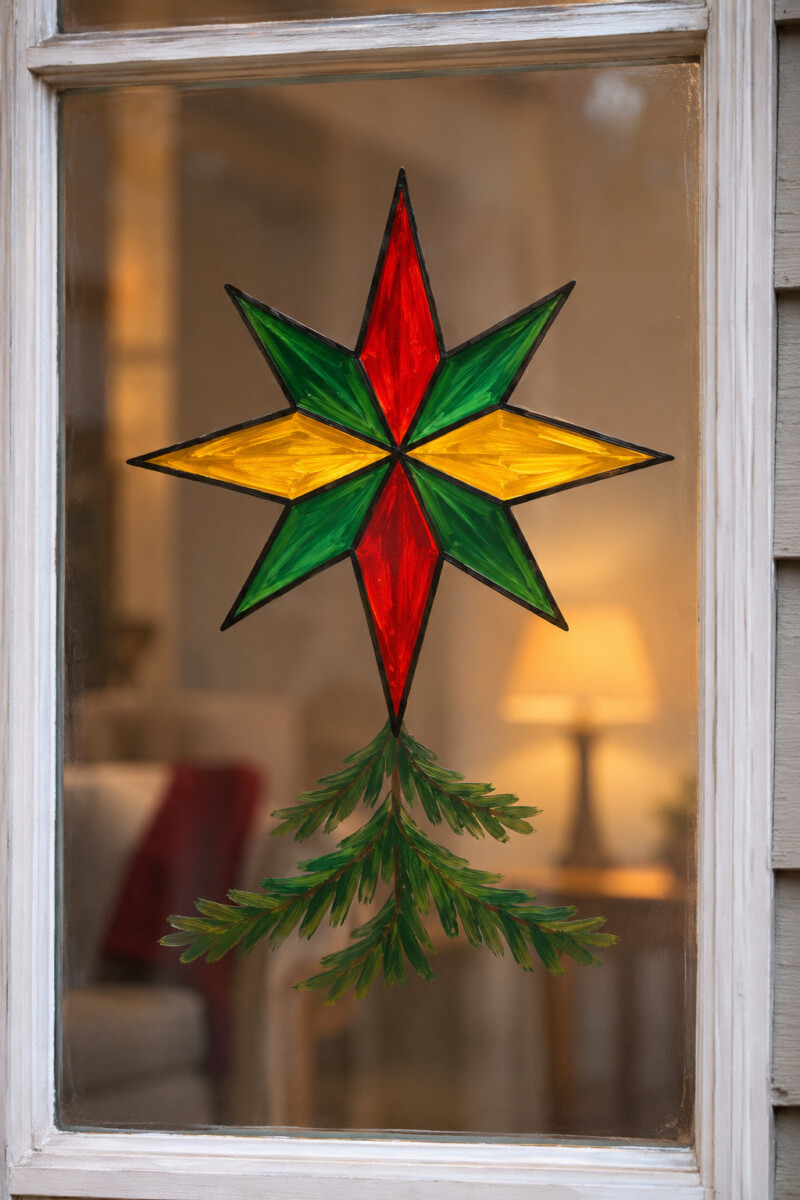
A large Christmas tree topper drawn in a stained-glass style brings bold color to one windowpane. Divide an eight-pointed star into jewel-toned sections and add a short green fir branch beneath it to suggest the top of a decorated tree. The combination makes the star read as Christmas decor rather than an ordinary geometric ornament.
Outline the star with a removable marker approved for glass, then fill selected sections with compatible translucent colors. Leave a few sections clear so light can pass through. Test the materials on a small area before filling the entire shape, especially if the glass has a special coating.
40. Paint a Christmas Snow Globe with Santa’s Village
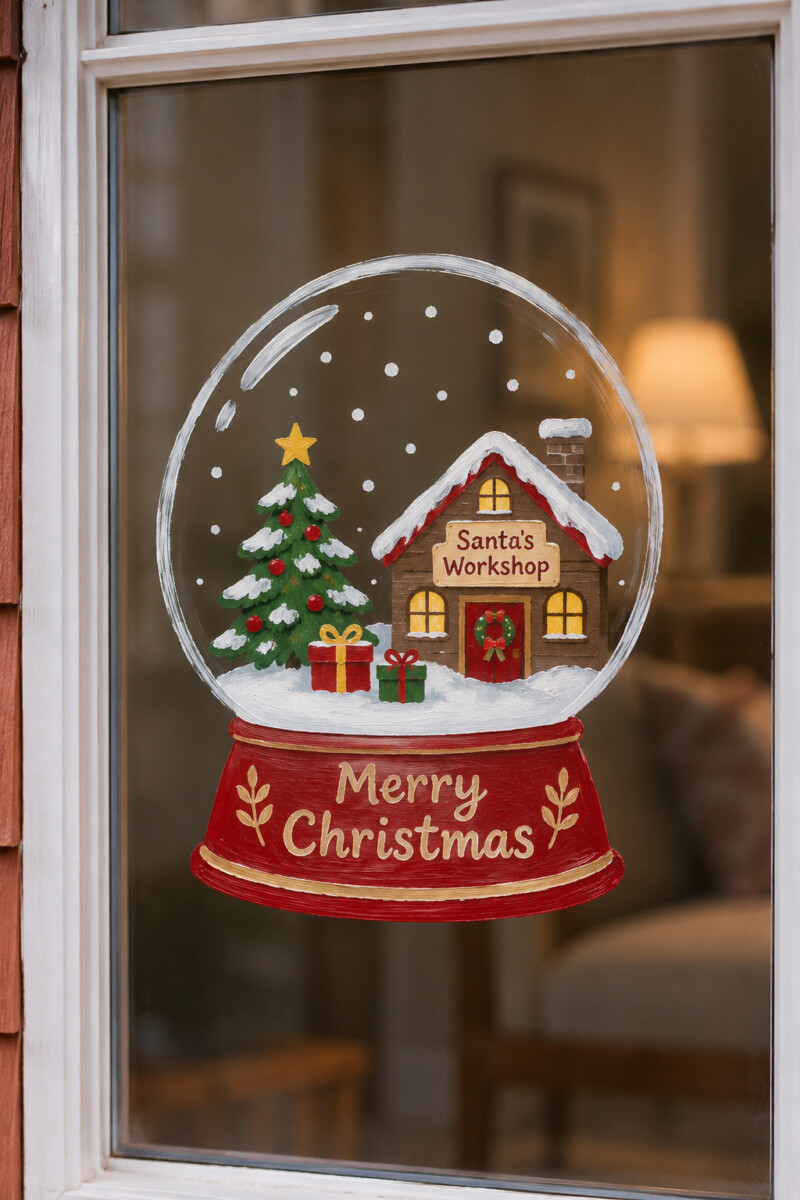
A snow globe is a fun way to fit a miniature Christmas scene onto one pane. Instead of a generic snowy landscape, fill it with a tiny decorated tree, Santa’s workshop, and two little gift boxes. A red base marked ‘Merry Christmas’ makes the theme unmistakable.
Draw a large circle and base first, leaving enough room inside for the buildings and tree. Use simple rooflines and larger decorations so the scene remains legible from a distance. Finish with a few white snow dots inside the globe and keep the surrounding window clear.
Make Your Christmas Window Art Easy to Enjoy and Remove
The best Christmas window painting is recognizable as a holiday design and suits the time and space you have available. A bold Santa hat, a simple wreath, or a small Nativity silhouette can work as well as a full Christmas village mural, especially when the design suits the window and the room around it. Consider how the painting appears in daylight and after dark, and leave clear areas if you want to preserve the view.
When the season is over, follow the paint or marker manufacturer’s removal instructions. Use the recommended cleaner and a soft cloth, and avoid harsh scraping on treated or coated glass. Starting with removable materials and a small test patch makes it easier to enjoy the artwork in December and return to clear windows afterward.
